
How to Restore Mold-Damaged Photos: 9 Essential Tips
Ever found an old family photo, only to discover it's been damaged by mold? It's a common problem many people face with their treasured memories.
The good news is, these precious images don't have to be lost forever.
There are effective ways to breathe new life into mold-damaged photos, bringing back their original beauty.

Mold can seem daunting, but with some careful steps, new life can be given to these photos.
With modern technology and techniques, it's easier than ever to tackle even the most delicate of repairs.
Embracing this journey can lead to not only restored images but also a renewed appreciation for the memories they hold.
1) Assess the Damage

When photos have mold damage, the first step is to take a good look. Imagine you're a detective investigating a case. The goal is to figure out how bad it is before deciding on a plan.
Notice the mold spots and any color changes. Is there a musty smell? These clues tell you where to start.
Dr. Laura Whitman, an expert in photo preservation, always says, "Spend some time looking closely."
Check both the front and back of the photo for any signs of mold. Hold it up to the light. This might show tiny spots you missed.
Think about how much of the photo is affected. Is the damage just in the corner, or is it more widespread? Knowing this helps in planning the restoration.
You've got this! It’s almost like a puzzle waiting to be solved, piece by piece.
2) Wear Protective Gear
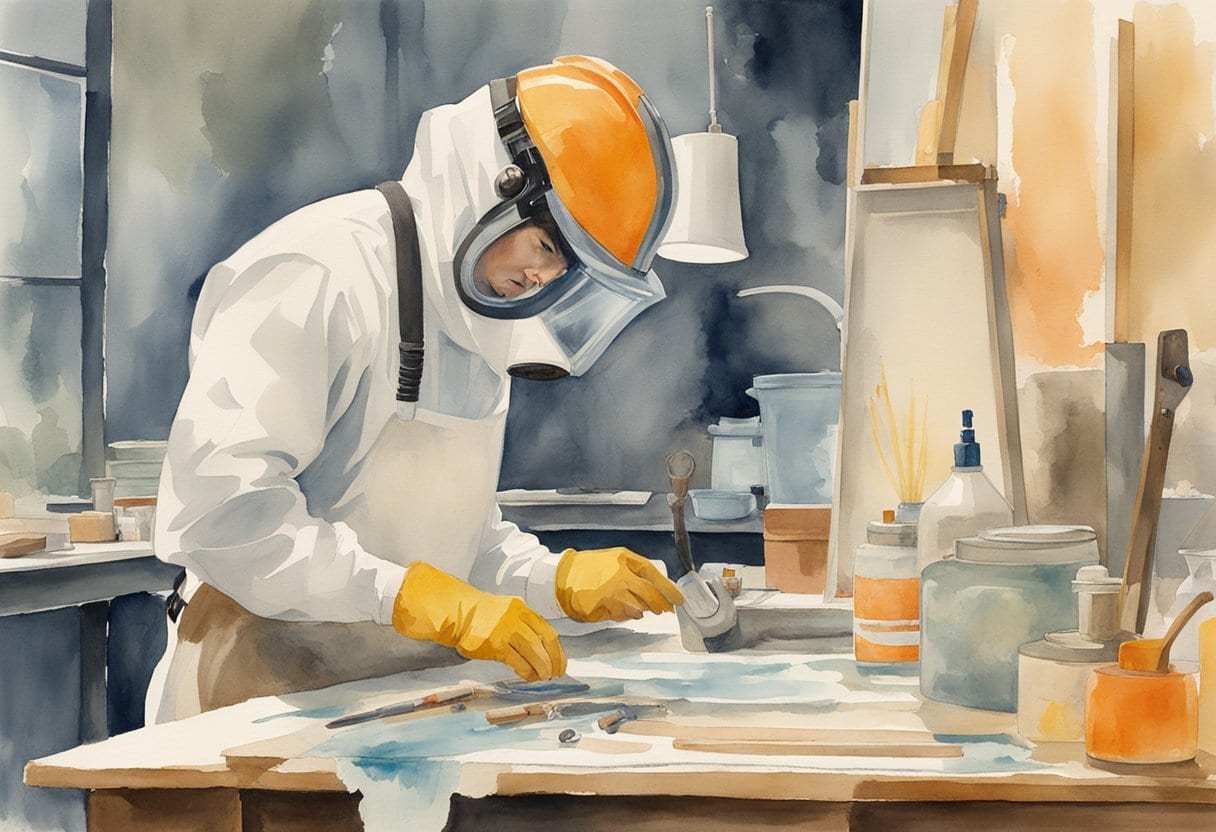
Picture this: you're ready to tackle those cherished photos covered in mold. Can you smell it in the air? It's crucial to prioritize safety first.
Wear goggles or safety glasses. Eyes are precious. Protection prevents accidental exposure to mold particles.
A face mask is a must. An N95 respirator, if available, is ideal. It filters out harmful particles, ensuring you breathe easy while working.
Imagine all those tiny spores floating around. Better safe than sorry.
Even a long-sleeved shirt and long pants play a part. These clothes act as a barrier, keeping you covered and protected in more ways than one.
Fresh air is your friend. By taking these precautions, you're set to restore those photos safely.
3) Remove the Photo Carefully
Imagine finding an old photo tucked away for decades, its surface now tinged with mold. Can you smell the musty air? Don't fret.
Removing a photo affected by mold needs a gentle touch, much like handling a fragile relic from the past.
First, consider the environment. A clean, dry, and well-ventilated space is ideal.
Using gloves is a must to avoid transferring oils from the fingers to the photo. It’s like handling a delicate artifact, one slip could spell disaster.
Don’t rush this part; patience is your best friend.
Slowly loosen the photo from any backing or surface it adheres to. Ever try peeling off a sticker carefully to avoid ripping? Same idea here. Use gentle tools like a plastic card or soft spatula if needed.
Watch for signs of sticking or tearing. Stop if you sense resistance. Does it feel stuck? Then it’s wise to moisten the back environment slightly, allowing it to ease off naturally.
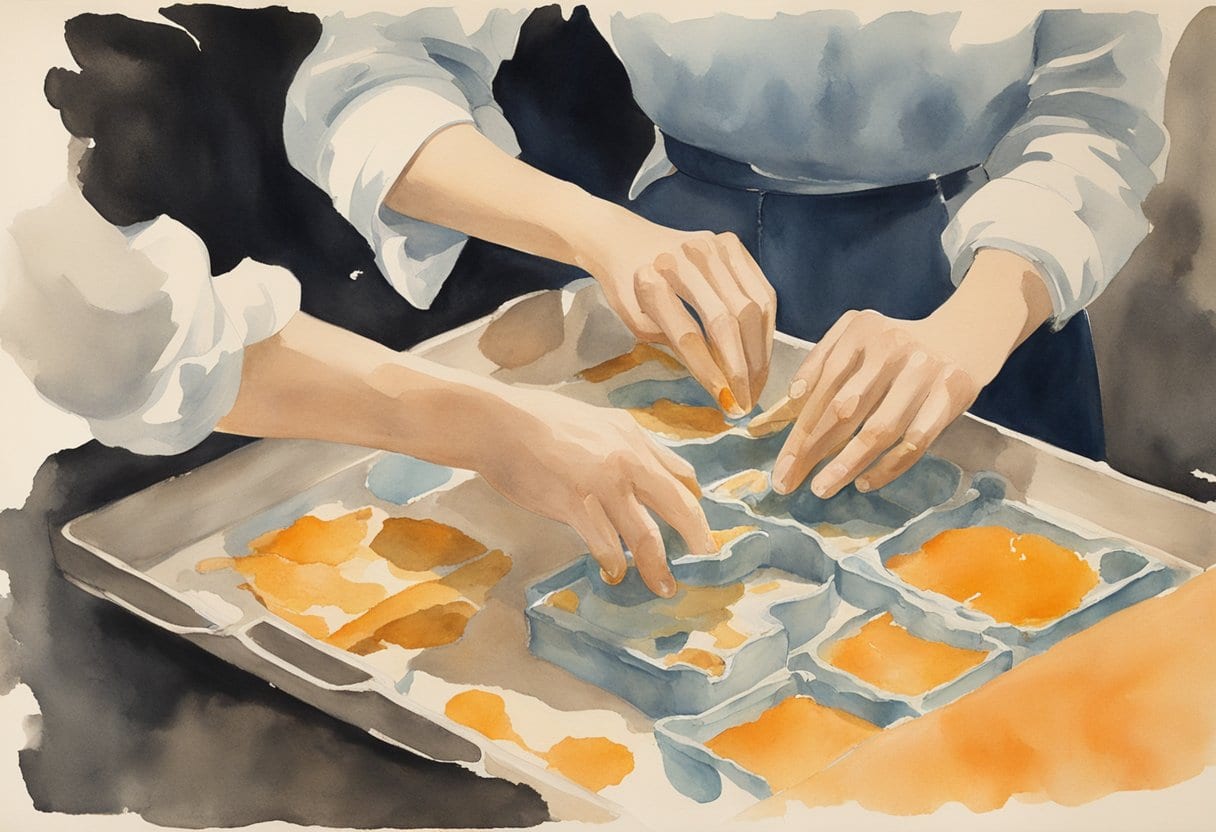
4) Clean with a Soft Brush
Imagine someone holding a dusty old photograph. They feel sad seeing the mold creeping in.
Now, picture this. A soft brush in hand can make a huge difference. Why? Photos are fragile, like memories.
A soft brush, like one used for painting, works well. Remember, don't rush. Slow and steady wins the race here.
Another tip? Use a microfiber cloth. It helps remove loose particles.
It's almost like magic how the photograph begins to look better!
Can you smell that musty scent? Mold can leave a lingering odor. Consider using containers with baking soda or charcoal to absorb it.
Handling the photo carefully is key. Delicate hands, gentle movements, it’s like a dance.
This process is rewarding. You see a beloved picture return to its old glory.
It's like bringing a piece of history back to life!
Every brush stroke revitalizes not just the picture but also the memories tied to it. It's a wonderful endeavor.
5) Use a Mild Cleaning Solution

Can you smell the musty odor yet? Mold on old photos can be a real headache. If faced with moldy photos, using a mild cleaning solution is a great step.
A gentle touch is key. A soft cloth or cotton swab works wonders. Dip it lightly in the cleaning solution.
Make sure the swab isn't dripping wet, as too much liquid can harm the photo.
Carefully dab at the affected areas. Be gentle and patient. Rubbing too hard can damage delicate surfaces. Change swabs often to avoid spreading the mold.
The right cleaning solution matters. Distilled water combined with a bit of vinegar can be effective.
It's crucial to do a patch test first in the corner of a photo to ensure there's no negative reaction.
6) Dry the Photo Thoroughly
Can you smell it? That musty scent often clings stubbornly to mold-damaged photos.
The first task on the list is drying these delicate memories. The process matters as it affects the preservation.
To start, lay the photo on a flat, clean surface. Make sure the area is free of dust or other particles.
A surface like a drying rack offers great airflow, helping speed things up without causing damage.
Patience really pays off here. Rushing could result in warping or further damage.
Let each photo dry at its own pace. Check them periodically to see how they're progressing.
When drying is in process, avoid direct sunlight. It may seem like a quick solution, but sunlight can fade images.
Instead, choose a shady area with lots of ventilation.
During this whole time, handle corners gently. Excessive handling might create new creases.
With care, those treasured photos will soon be crisp and mold-free.
7) Flatten with Weight

Mold-damaged photos can be frustrating. As they dry, they often become curled. Can you smell that musty old attic? Let's tackle those curves.
First, place the photo between two sheets of clean, acid-free paper. This protective layer prevents scratches.
Now comes the magic trick, weight! Grab a few heavy books. Maybe those hardcover classics you haven't touched in years.
Layer the books on top of the photo sandwich. It's like giving your photos a cozy press.
Allow this setup to sit for at least 24 hours. It needs this time to work its flattening charm.
Why not peek now and then? But patience is key! Avoid shifting the books. Movement can create unwanted wrinkles.
8) Scan and Digitize
To restore mold-damaged photos, the first crucial step is to scan and digitize your images.
Imagine the excitement of bringing old memories back to life. Can you picture that moment when you see the digital version of a cherished photo, free from mold damage? It's a powerful first step.
Using a high-resolution scanner is essential. This ensures every detail is captured, allowing you to work with a crisp and clear digital image.
Some might wonder, why not use a smartphone camera? While convenient, a scanner often captures images more precisely.
Consider the lighting. Proper illumination can reveal details hidden by mold. Ensuring your scanner or phone camera captures these details preserves the photo's integrity.
A backup of your scanned image is also smart. This keeps the original safe in case you need to start over.
9) Consult a Professional Restorer
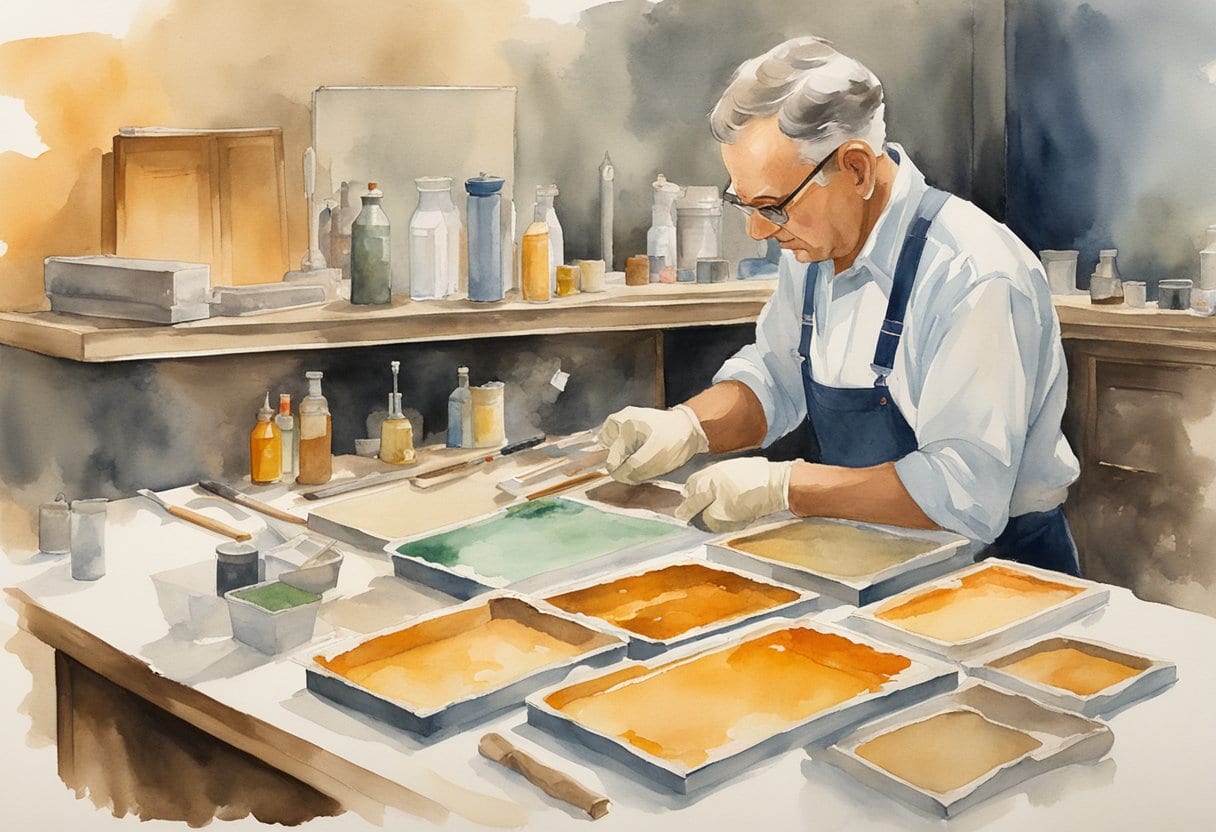
Is that musty smell still lingering? That's when you know mold has really taken hold.
Mold damage on photos can be tricky, and sometimes the damage is too much for a DIY fix.
This is where professional photo restorers, like those at MemoryCherish, come in with the skills to tackle such challenges.
They use advanced techniques and technology to bring back photos to near-original quality.
Some people hesitate to contact a professional due to worries about costs or time, yet the results often justify the spending.
What is a cherished memory worth? MemoryCherish offers tailored solutions, assessing the damage first to determine the best approach, ensuring your photos receive the care they need.
Finding the right expert is key. Look for someone with good reviews and a proven track record, especially those specializing in restoring mold-damaged images.
So, when mold gets too tough to tackle alone, MemoryCherish is there to help.
Conclusion
In conclusion, restoring mold-damaged photos requires careful attention and expertise. The process begins with assessing the damage to determine the best approach.
Remember to handle affected photos gently to avoid further harm. Proper cleaning techniques can often salvage images, but caution is key. If the damage is extensive, consider seeking professional help.
Experts have the tools and knowledge to restore photos effectively. They can bring back details that may seem lost forever.
Using advanced techniques, professionals can breathe new life into your cherished memories. The investment in restoration is often worth the emotional value of the photos.
Don't hesitate to explore options like MemoryCherish for expert assistance. They specialize in treating mold-damaged images with care.
Always prioritize preserving your photos in a safe environment to prevent future issues. Regularly inspect your photo collection for signs of mold.
With the right steps, you can protect and restore your treasured memories.
Embrace the evolution of photo restoration and its possibilities. Every effort you make helps preserve your family history.
Your memories deserve the best care possible. Remember, the right techniques and expertise can make all the difference.
Ready to restore your own photos?
Our artists bring your damaged photos back by hand, most within a few days.
Rated 4.96 out of 5 stars.4.96/5 · Loved by 400,000+ families