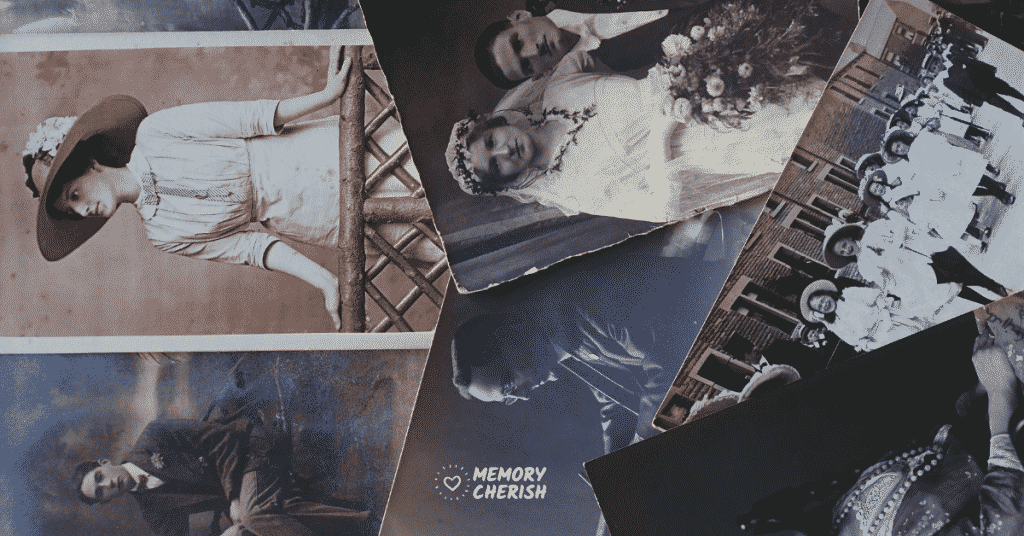
General
Behind the Scenes of Photo Restorations - All Secrets Revealed

We’re about to grant you an exclusive peek into the work we put into photo restoration behind the scenes. We reveal the exact process the skillful artists at MemoryCherish use to rescue old, tattered memories.
We let you peek under the hood of the delicate art of digitally repairing old photos that we’ve carefully nurtured, cultivated, and perfected over the years.
Capturing the Damaged Photo
Restoring old pictures to life starts with making a quality copy of them digitally.
Remember, in photo restoration, the quality of the photo determines the final output. Always scan a photo at the highest possible resolution or at least 600dpi for the best results.
A high-resolution image lets us dig down and eliminate even the tiniest scuff marks on the picture. Hi-res enables us to enlarge the restored image to some unbelievable sizes. We can fix a small photo and reprint up to 8x the original size – in crisp detail.
Working the Magic in Photoshop
Adobe Photoshop remains one of the best tools in photo restoration, behind the scene it facilitates all the magic. This versatile tool allows us to assess the photo's damage to chart a proper plan of action.
After uploading the hi-res photo scan, we open the image in Photoshop. The tool allows us to zoom in closely and examine each blemish sullying the photo. Tears, debris, creases, water damage, wrinkles, and scratches are the most common physical damages to old photos.
Photoshop provides a range of tools to eliminate all these imperfections. Using tools such as spot healing brush, patch tool, clone stamp, and content-aware fill, we set to work on the blemishes.

A Labor of Love
Naturally, this step is a labor of love. It’s both tedious and laborious but most gratifying - if you do it right. Some companies prefer to automate this step and leave the computer to figure it out.
That’s not us. At MemoryCherish, we double down on the tricky bits to give your old print the best-looking shiny look.
We pride ourselves on our attentiveness to detail, giving each photo you send to us the amount of love and attention it deserves. And that’s one of the reasons we love to reveal the work that goes into photo restoration behind the curtain.
Since the face is always the center of attention, it makes the best starting point. We use our skills and knowledge to make the face blemish-free. Lesser restoration services prioritize restoring the face while giving the rest of the picture a second-rate treatment.
We’re not most restorers, and we pride ourselves on the ability to sweat the small details. Our skilled restoration artists work on every inch of the photo to bring it back to life.
More Photo Restoration Magic Behind the Scenes
We prefer the spot-healing brush to clean up scratches and dust. The tool compares the surrounding pixels and then amends the difference. The trick here is to zoom in tightly on the blemishes.
The spot-healing brush is only suitable for clearing minor blemishes. Using it over larger areas leads to blurring. To save time and improve the results, we use the clone stamp tool to restore larger sections. The tool copies a good part of the photo, so you can use that bit to cover the damaged area.
We prefer setting the clone-stamp tool's diameter slightly larger than the target area and then right-clicking on the area we need to clone. Then we judiciously cover the damage with the cloned bits.
Using a soft brush edge and setting the flow and opacity at 100% delivers the best results. It allows the repaired section to blend natively into the neighboring section. Naturally, we dial-back aggressive edits with fade control.
The clone stamp excels in restoring damaged areas with textures, shapes, or patterns. It comes in handy when dealing with creases and wrinkles running through textured clothing. We must ensure the repaired area blends with the rest of the clothing item.
Patching Up Large Blemishes
The patch tool is our go-to solution when fixing large portions of damaged clothing or background. It’s handy in replacing the damaged bits with the good, especially if you set it to ‘content-aware.’ It speeds up the restoration process when working on photos with extensive background damage.
For photos with slightly larger fixes, it's time to switch to the content-aware fill tool. The tool lets you cover large areas quickly while making effective repairs by adjusting the fill.
At this point, the photo restoration is going on very well, and the old damaged photo has reclaimed a considerable amount of its luster. But we’re not done yet.
Cleanup and spot removal is a slow and laborious process that takes several hours and multiple passes. It progresses from eliminating the biggest eye-sores to the finer blemishes, inching closer to perfection with each round.
Repairing the Gaps and Torn Edges
Gaping holes, torn corners, or fire-damaged bits remove considerable chunks from a photo. Such damage calls for extensive reconstructive surgery. Naturally, giant gaping holes complicate the restoration, but our creative team is always up for a challenge.
Cropping the image can help reduce the size of the void, but that depends on the missing pieces' location. Lesser services might resort to cropping as a crutch, but we’re above such cheap theatrics. Cropping is a measure of last resort, and we rarely use it – that’s how much we trust in our photo restoration skills.
We repair gaps and voids by cloning the surrounding areas. We then copy the clone to a new layer for easier manipulation before placing it over the hole. The Transform tool quickly resizes, rotates, and shapes the new element for a flawless fit. We use the Patch tool, set to Sample All Layers and Content-Aware, to ensure the patch blends intuitively into the background.
To fill gaps in a section of an image without intricate details, shapes, or texture, we prefer the Paint Bucket. It pairs well with the Patch Tool to customize the patch's texture and blend it seamlessly with the surrounding areas.
Making the Colors Pop
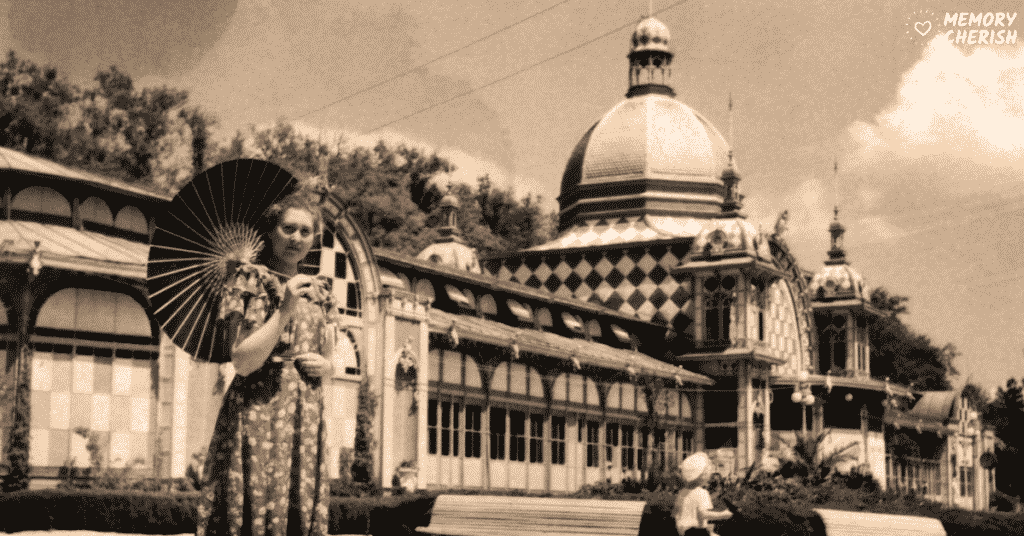
Colored photos lose their sheen because the organic dyes disintegrate over time, causing the colors to shift to blue, magenta, or other hues. Restoring color vibrancy can be a tricky endeavor.
Color Control and Auto Color in Photoshop are our go-to tools when restoring faded colors. Auto Color analyzes the image and corrects the color balance. Sometimes this feature does a great job, but not always, in which case the image calls for manual adjustment.
The Hue/Saturation and Color Balance layers are priceless when adjusting colors by the eye. They allow us to change colors across the entire image or edit the blues, yellows, reds, greens, magentas, and cyan individually. We can also adjust the luminosity and saturation of any color in the image.
The Curves adjustment layer is also critical in restoring color and contrast in a faded colored photo. We use the black and white point eyedroppers to establish the darkest and lightest areas of the image.
At this point, the old damaged photo is restored fully. We crop the outside edges to create clean new edges that match the image’s brand new look.
And there you have it, a detailed look at how we work on photo restoration behind the scenes.
 RESTORE YOUR PHOTOS 👉
Restore Your Memories Today
Now that you’ve read how our team of experts work their magic on your old damaged photos, why don't you let us help you preserve your legacy?
With decades of experience, our restoration team has seen and fixed it all. You can count on their skills and expertise to deliver stunning restored photos in up to less than 24 hours.
Didn’t like how they turned out? We offer a free revision to ensure the restored images capture the essence of that special moment.
Why Entrust Us with your Photo Restoration Needs?
- A simple ordering system – simply upload your photos on our platform and leave the rest to us.
- We restore each photo individually by hand
- A free round of revision
- Transparent pricing
- One-stop shop for all your photo restoration needs
- We have an impeccable reputation
- Our work is routinely featured on mainstream media
Final Thoughts
Passion, good judgment, and dedication are the ingredients that drive the photo restoration process. Modern technology is powerful, but it all boils down to the people – their skills, abilities, and commitment.
At Memory Cherish, we revel in our artistic skills, accuracy, and professionalism to realistically restore your old and damaged photographs.
Ready to restore your own photos?
Our artists bring your damaged photos back by hand, most within a few days.
Rated 4.96 out of 5 stars.4.96/5 · Loved by 400,000+ families