How To
How to Easily Frame a Print Like an Expert
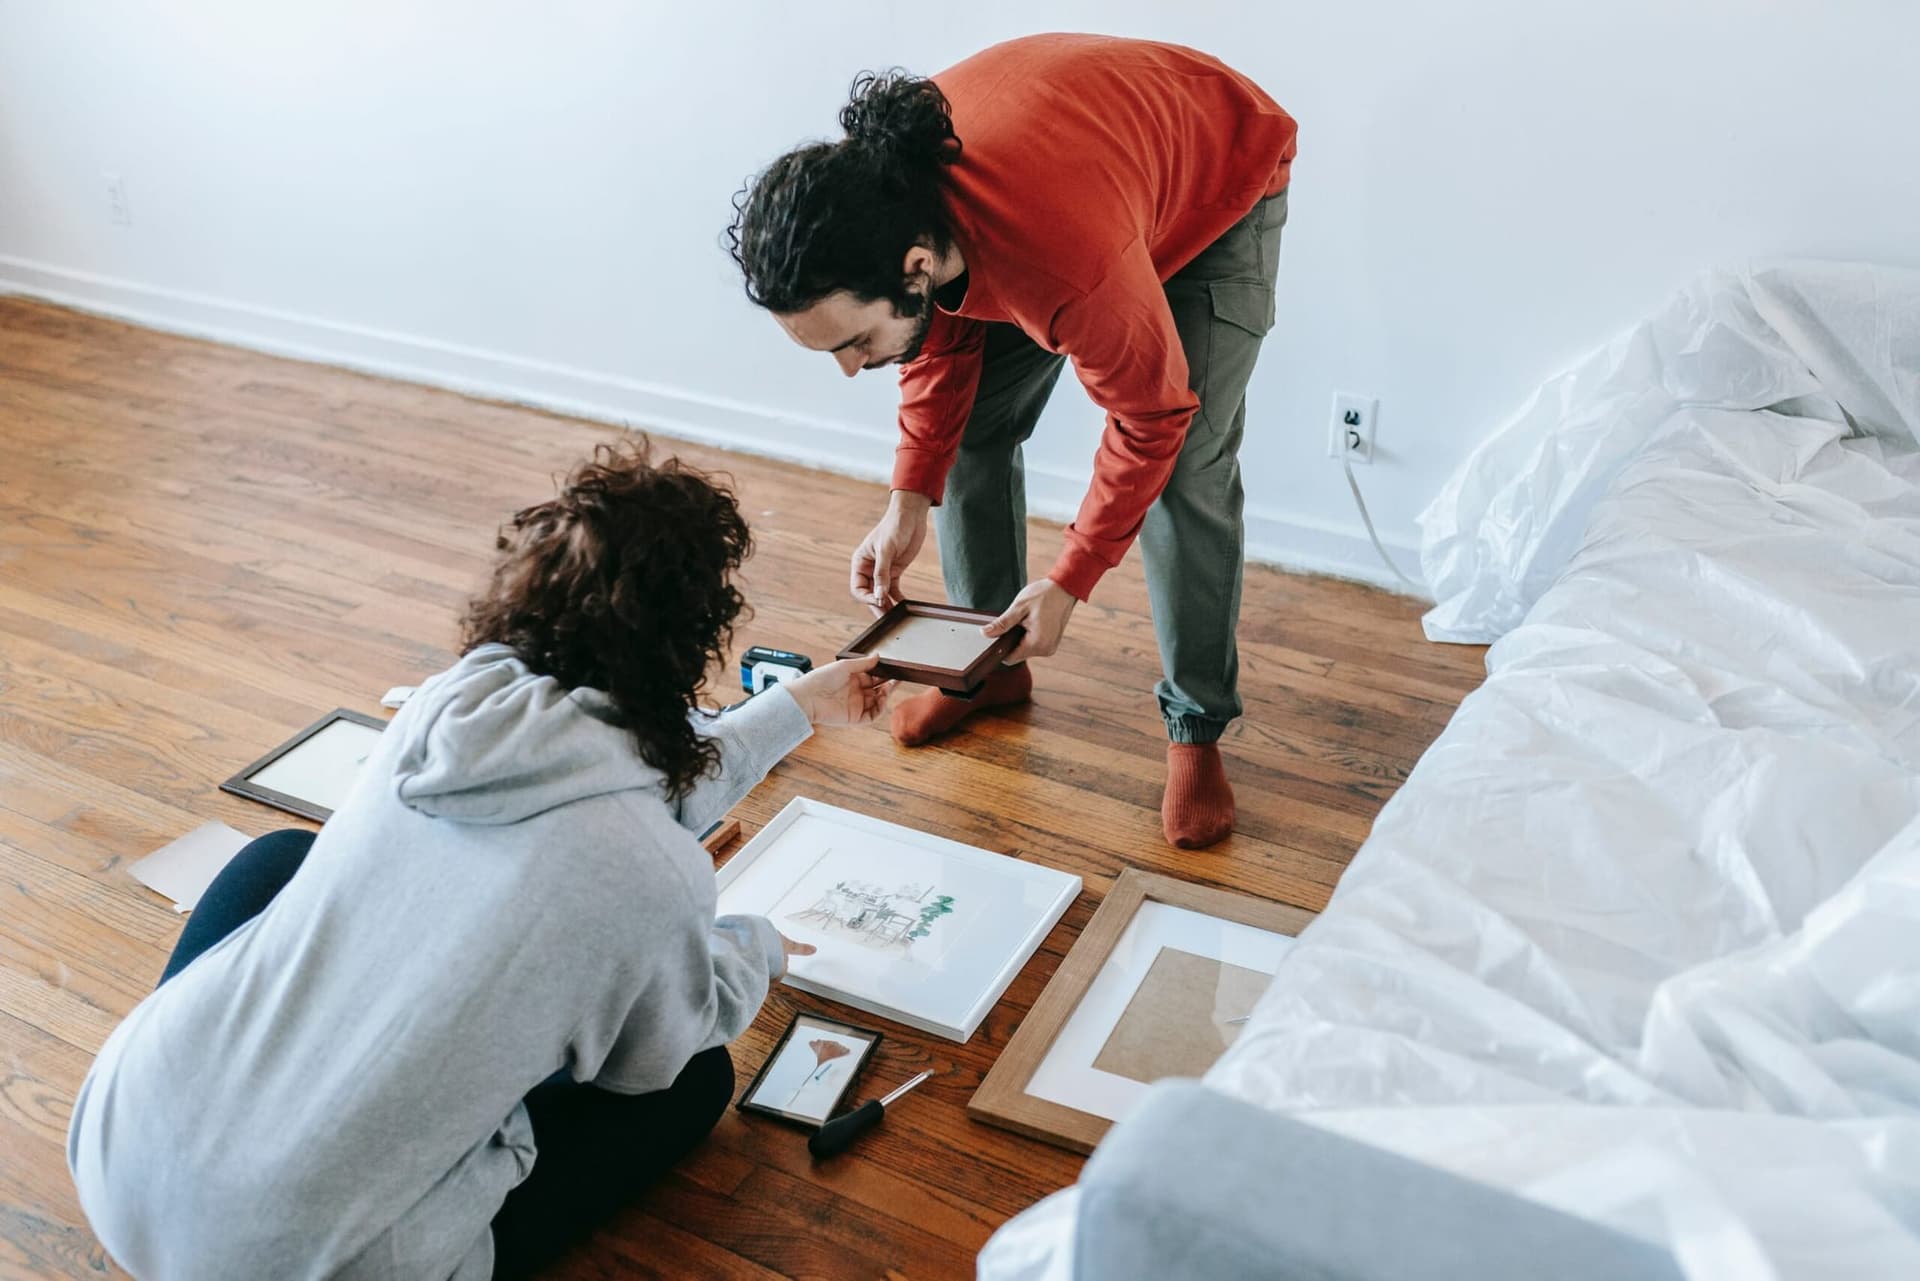
Are you looking for a way to frame a print and preserve it for years to come? If so, you’ve come to the right place. Framing prints can be tricky if you don’t know what you’re doing, but with the right tips and tricks, it doesn’t have to be difficult. In this blog post, we will discuss the ins and outs of framing a print properly – from selecting the frame size to choosing matting options – so that your finished product looks as stunning as possible. So let's get started!
Match the Right Size
Framing a print can be a daunting task but with the right frame size, you'll be sure to create a beautiful finished product. The frame size should correspond to the size of your print, as well as the frame shape and style.
When looking for frame sizes, it is important to consider both the frame and matting border sizes. A frame that is too small for the size of your print will make it look cramped, while one that’s too large will cause your image to appear washed out. With this in mind, try to choose a frame that is slightly larger than your photograph or artwork.
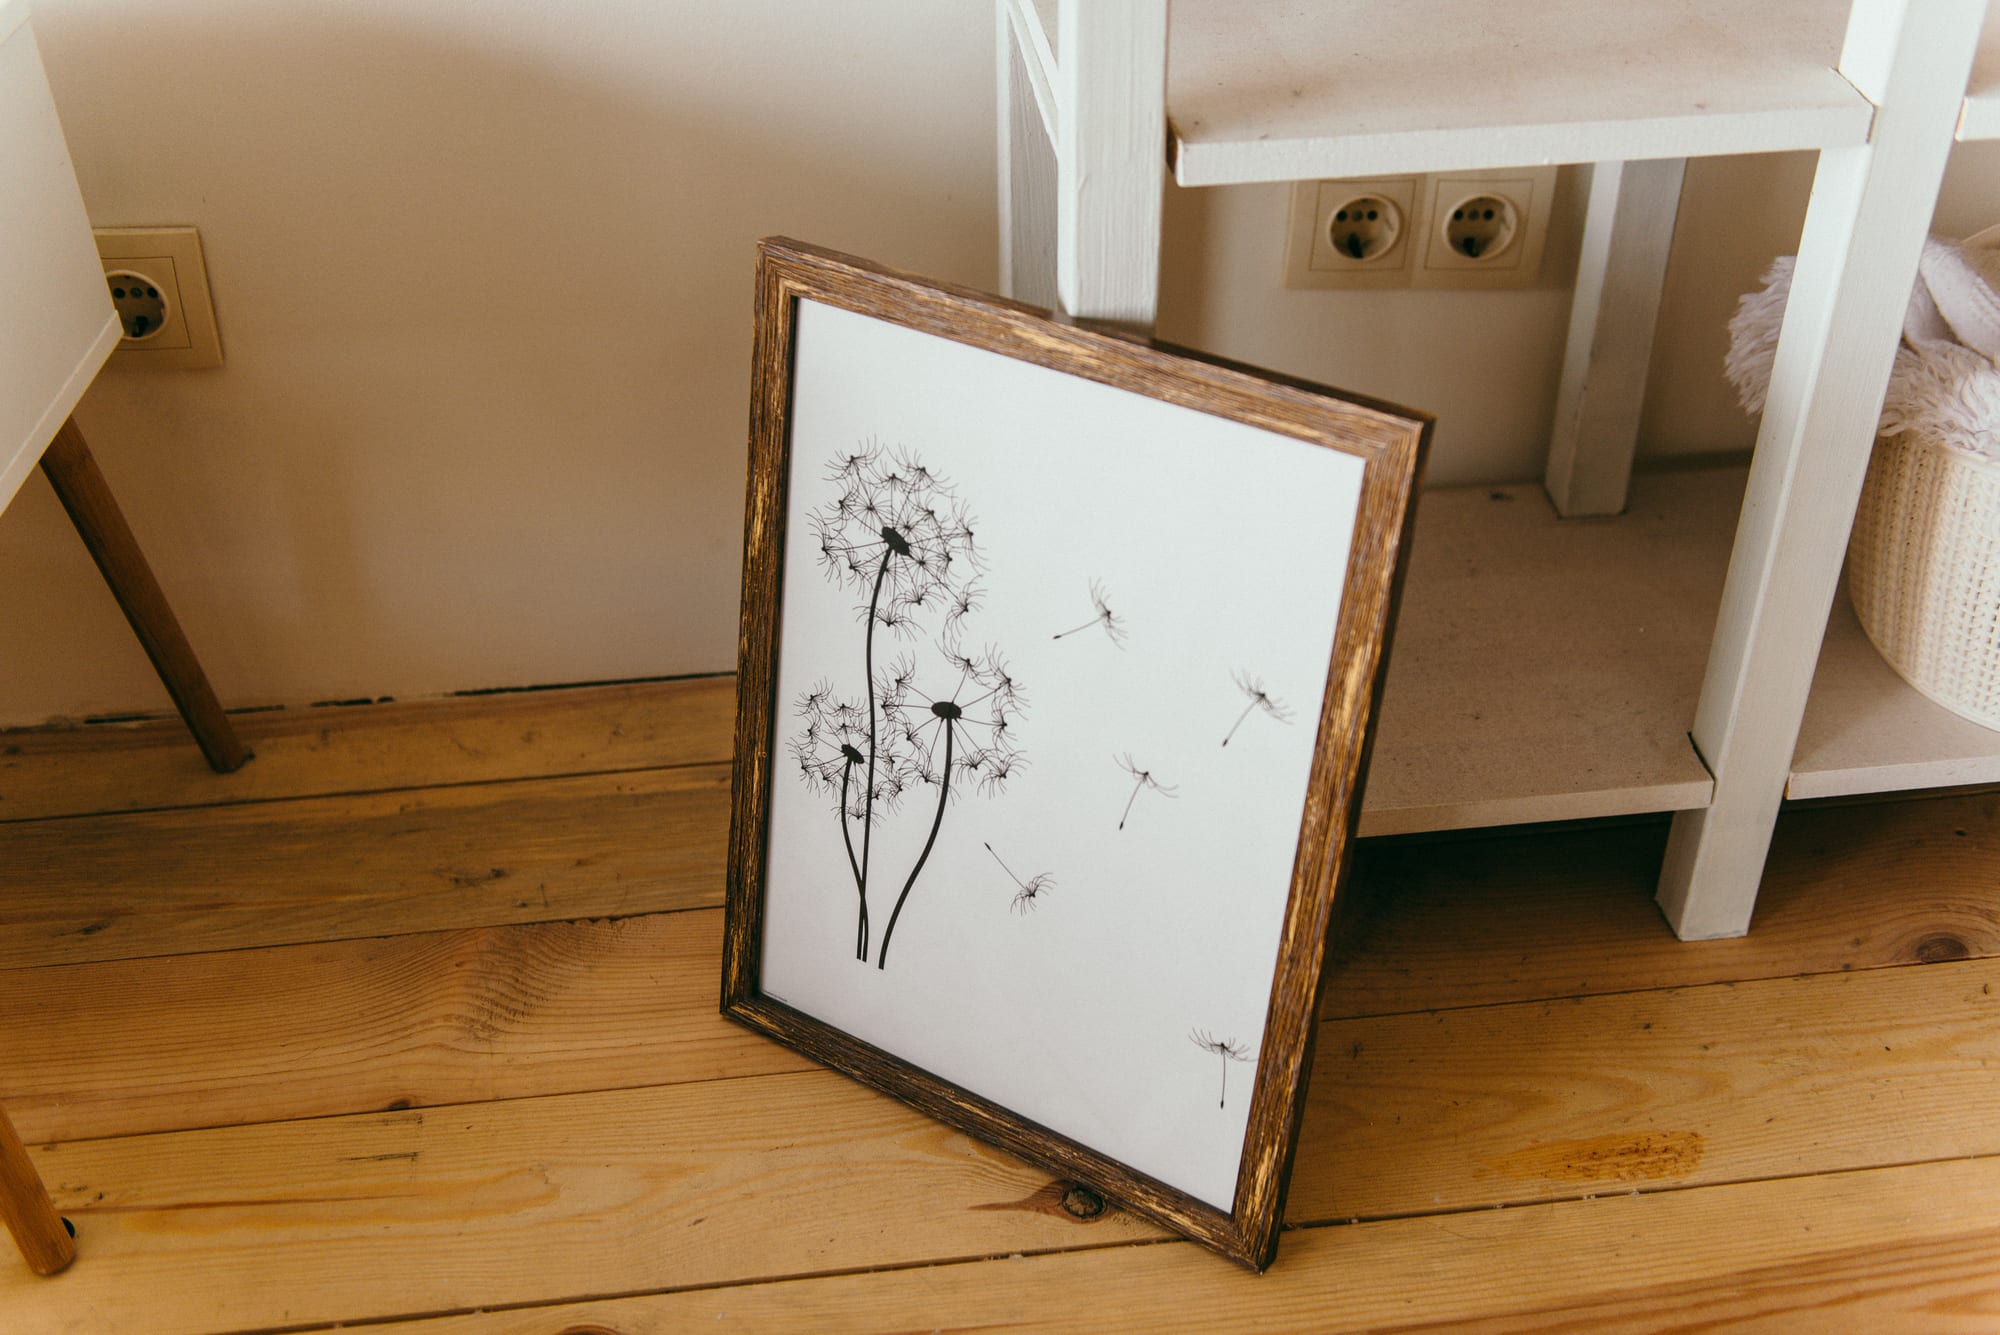
In addition to frame size, you'll also want to select the right frame shape and style. For example, square frames are great for modern prints while oval frames work best with vintage pieces. Similarly, ornate wooden frames work well with traditional art while sleek metal frames are better suited for contemporary pieces. The right frame shape and style depend on both personal preference as well as the aesthetic of your print or artwork – so take some time to explore different options before making a decision!
When framing multiple prints, you may want to consider using larger mats or spacing out smaller mats between each piece of artwork for an interesting design effect. These larger mats can provide an elegant backdrop and help draw attention to each piece within the frame. Similarly, if you're framing a series of photographs or artworks together in one frame, opt for smaller mats that are spaced closer together – this will give each piece enough breathing room without making them appear cluttered or cramped.
Finally, keep in mind that different materials require different treatments when framing and matting them - such as watercolor paper which requires special backing boards - so always double-check what type of materials are needed before beginning your project! With these tips in mind, you'll be sure to find a frame size that works perfectly with your prints or artwork.
Use a Mat
Paper prints are a popular choice for framing as they often offer a more delicate and intricate look. When framing paper prints, it is important to use a mat to protect the print from dust, dirt, and ultraviolet (UV) light that can cause fading over time. A mat also helps neatly frame the artwork by providing contrast between the frame and the artwork itself.
When choosing a matting option, consider both color and texture. Selecting colors that complement the frame color can help create a cohesive look – for example, if your frame is black, you may want to opt for cream or white mats. In terms of texture, there are several options to choose from including linen mats which give off an elegant and timeless feel; felt mats which provide an edgy look; and suede mats which offer a soft yet sophisticated vibe. Consider the overall aesthetic of your frame when selecting your mat colors and textures – this will ensure your frame looks pulled together!
One of the benefits of using mats is that it allows you to showcase multiple prints at once without overcrowding each piece. If you’re framing multiple pieces together in one frame, opt for smaller mats spaced closely together – this will give each piece enough breathing room without making them appear cluttered or cramped. Similarly, if you're framing single prints separately, try using larger mats or spacing out smaller mats between each piece of artwork for an interesting design effect. This will not only add dimensionality to your frame but also help draw attention to each work of art within it.
Finally, remember to keep UV protection in mind when selecting frames and mats for your paper prints as exposure to UV light can cause fading over time! Opting for glass with built-in UV protection – such as Tru Vue conservation grade glass – can help preserve your prints while still allowing you to enjoy them on display.
Framing a print on paper doesn't have to be difficult! With these tips in mind, you'll be sure to create beautiful displays that enhance the beauty of your artwork while protecting it from damage over time.
Disassemble the Frame and Customize it
Once you’ve selected the frame and matting that works best for your particular print or artwork, it’s time to get to work. Before you begin, make sure to carefully remove the frame from the backing board and take any glass out of the frame, if applicable. This will allow you to access the frame so you can paint it, assemble it with your chosen mats, or even clean and touch up any existing details.
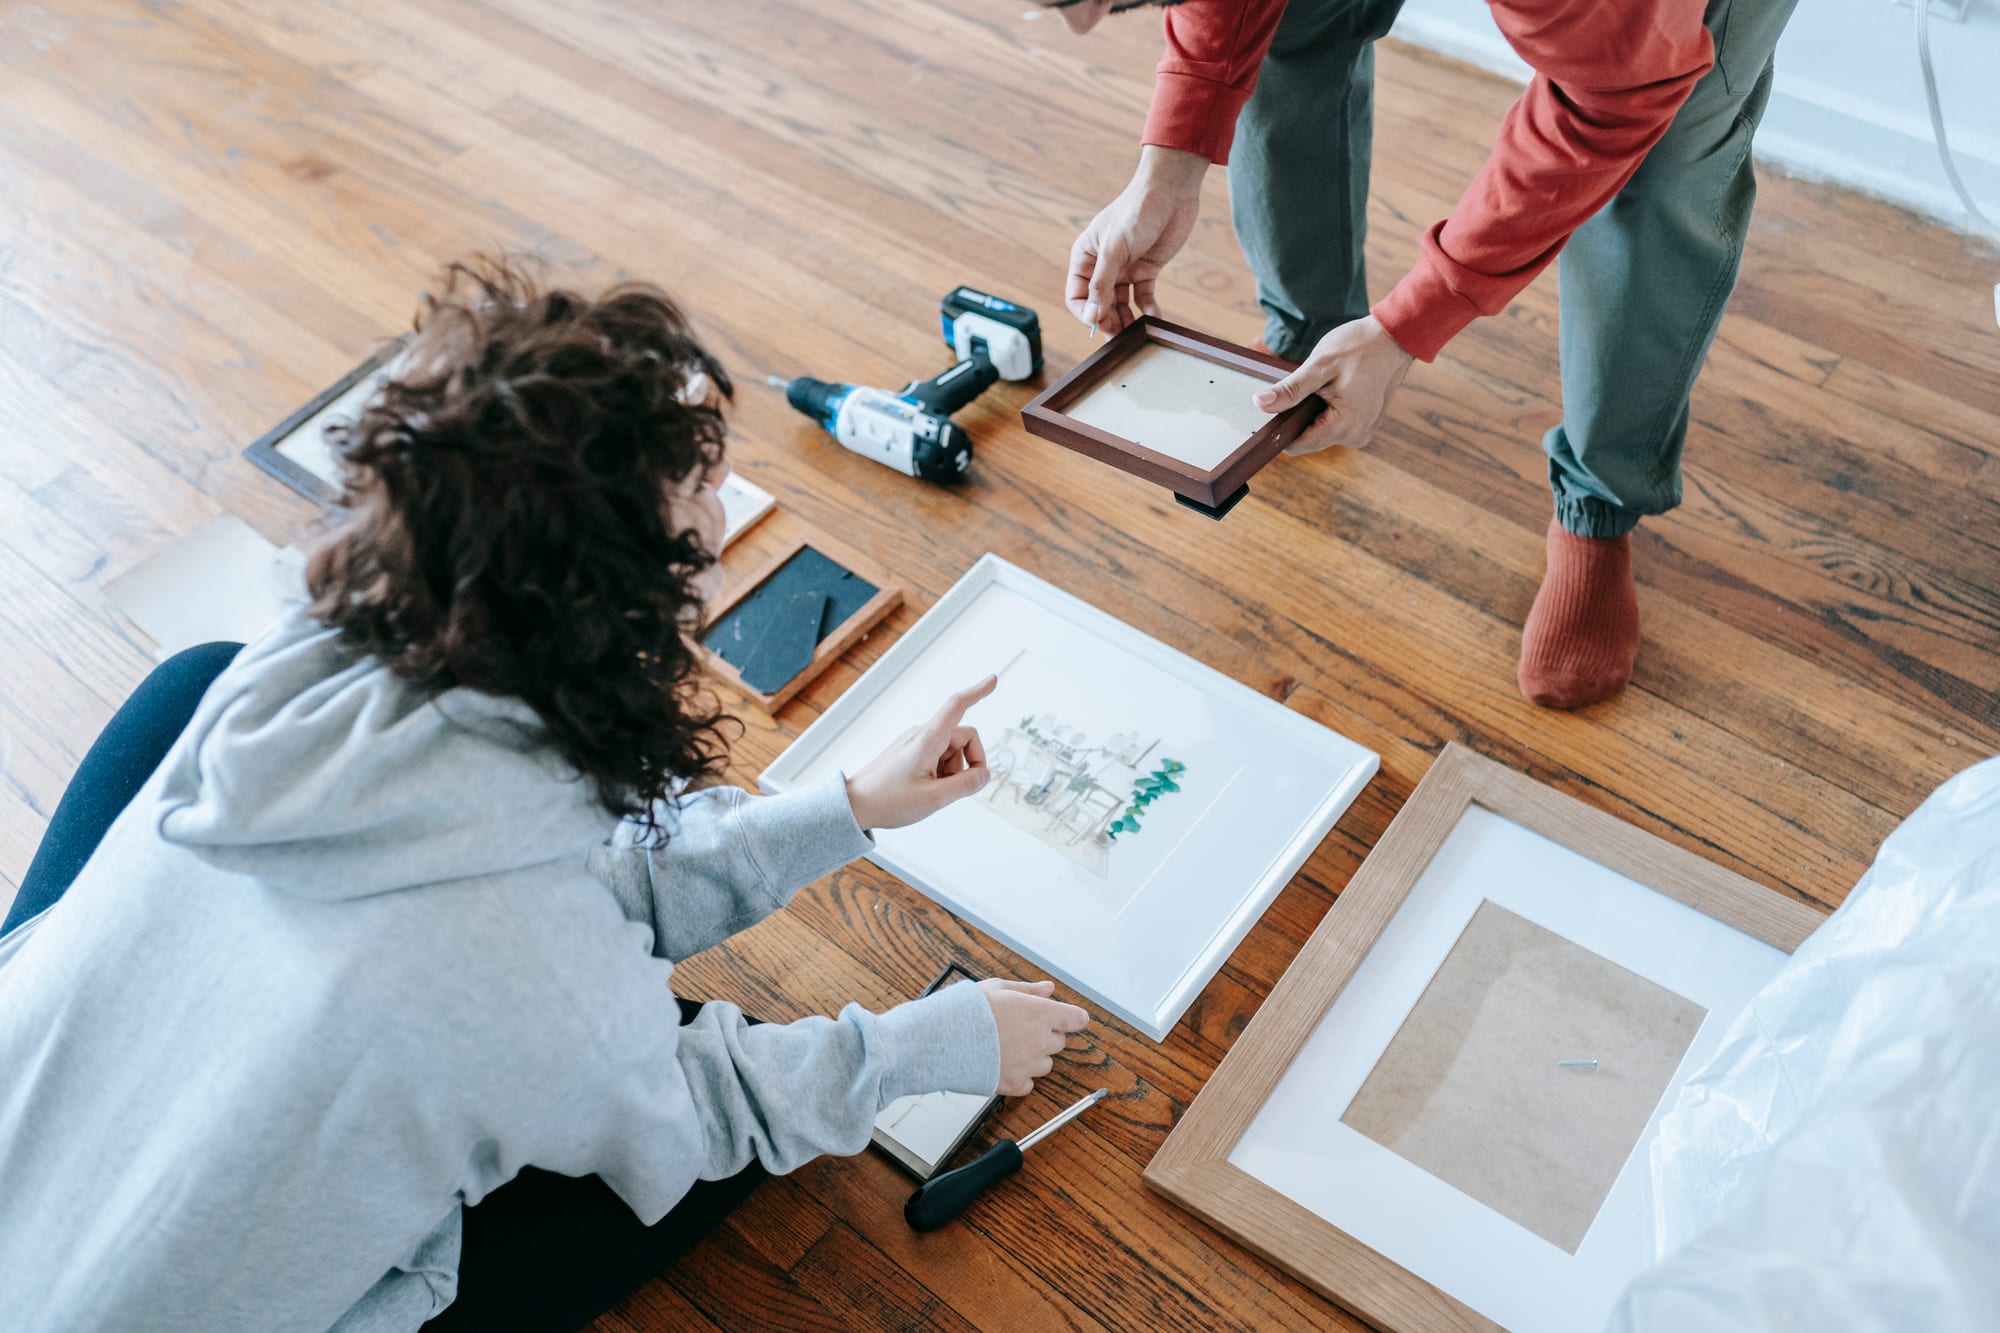
If you want to give your frame a fresh look, consider painting it with a new color before reassembling it. You can opt for a solid color or even a unique patterned look – just make sure that whatever colors or designs you choose complement both the frame material as well as your artwork within! When choosing paint colors, think about how they will coordinate with the frame material itself - for example, if your frame is made of wood then go for warmer tones like browns and golds; whereas if it’s plastic then opt for brighter colors such as blues and greens.
If painting isn't an option for you, don't worry – there are still plenty of ways to add interesting details and texture to your frame. Consider using washi tape in coordinating colors to line the edges of your frame; adding small sprigs of dried flowers; or even using crystals or beads glued onto sections of the frame itself. These little touches add dimensionality and interest without taking away from the beauty of your artwork within!
When assembling all elements – including glass (if applicable), mats, framing pieces, and backing boards – be sure not to overtighten any screws or nails to avoid damaging either material. As each piece comes together it should fit neatly into one another until everything is securely connected – this allows for easy removal down the line when necessary!
Clean the Components & Frame a Print
Now that your print is almost ready to reassemble, it's time to make sure every component of the frame is clean and free of dust, as this can negatively affect the look and longevity of your frame.
Take a clean cloth – such as a microfiber cloth – and give each frame component an even wipe down until everything is free from dirt and debris. This includes any glass pieces, frame material, mats, framing pieces, backing boards – basically everything that will be part of your frame! Don’t forget to pay special attention to the corners or areas where dust often accumulates such as in grooves or along seams.
Once all pieces are wiped down, you can use a soft brush or vacuum with a soft brush attachment to make sure no last particles remain on any frame components. This will ensure that your frame looks perfect once it’s assembled!
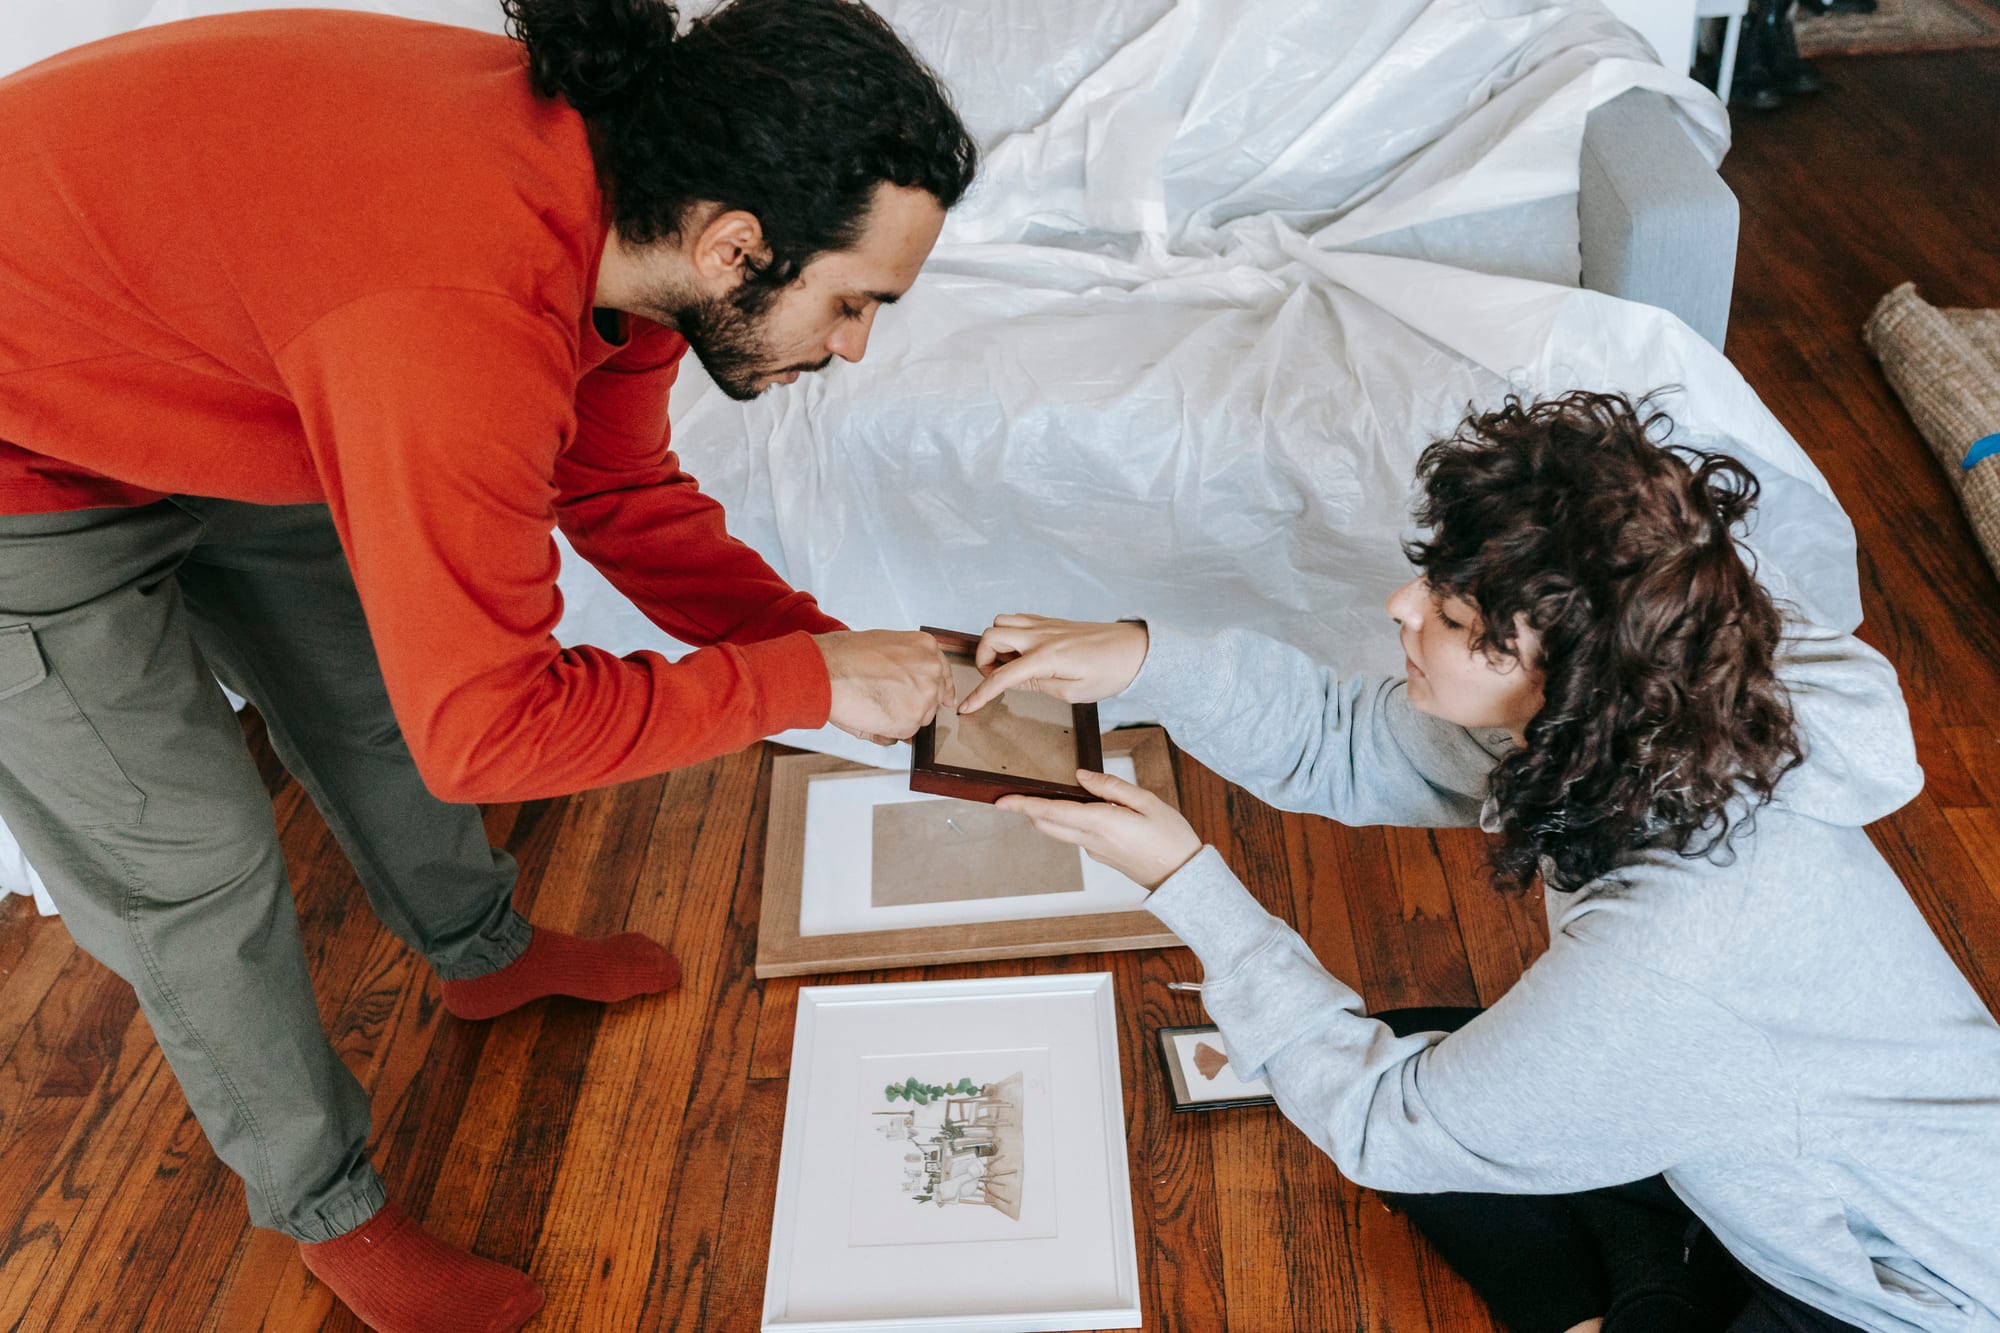
After all frame components have been cleaned up it’s time for assembly. Carefully line up each piece with its corresponding part until all elements are securely connected without overtightening any screws or nails. Make sure to double-check that there are no gaps between frame components and along the edges of mats before moving on to the next step.
Finally, when your frame has been completely assembled you can hang it up on your wall! To ensure secure hanging and avoid damaging walls try using frame hooks which help keep frames level while adding a polished look to them at the same time. You can also use easy-to-install adhesive strips for lighter frames which offer quick installation without requiring any tools.
By following these simple steps you'll be well on your way toward creating beautiful displays that will not only enhance the beauty of your artwork but also protect it from damage over time!
Attach a Picture Wire
Even if your frame has a hook already attached, using picture wire to hang your frame can make adjusting the frame on the wall much easier. Picture wire is a thin, strong cable that is often used for larger prints or heavier frames. It allows for secure hanging and also provides some flexibility when adjusting the frame’s position on the wall. Using picture wire is relatively easy and straightforward – all you need is some basic tools such as pliers, screwdrivers, a drill, and of course the picture wire itself.
To begin you’ll need to measure out how much wire you’ll need by first measuring from one frame hook to the other and then double-checking this measurement with a ruler or tape measure. Be sure to leave an extra few inches just in case you want to adjust your frame slightly once it’s hung up. Once you have the correct length of wire cut it using either scissors or heavy-duty clippers.
Next, attach each end of the wire at both frame hooks by looping them around the hook and then securing them with two screws per hook. You can use a drill to make sure the screws are tightly secured in place but be careful not to overtighten them! Once both ends of the wire have been securely attached it's time to hang your frame up on the wall.
The last step before completing this task is to check that everything looks good – give each frame hook one last twist before releasing it onto its mounting point to ensure everything is even and level on your wall.
Using picture wire makes framing prints a much simpler process – not only does it provide secure hanging but it also allows for easy adjustments without needing to remove the entire frame from its mounting point. Whether you’re framing an original painting or simply want an easy way to hang artwork around your home, using picture wire can help create beautiful displays that will enhance any space!
Hang It
Once you've carefully wiped down, vacuumed, and assembled your frame it's time to hang up your beautiful framed picture! Start by carefully measuring out the area you’d like to hang it in – make sure to leave enough space for the frame itself as well as any wall decorations that may be positioned nearby. Once you have a good idea of the frame’s placement, use a pencil or marker to draw a light outline of its size on the wall. This will help ensure that the frame is hung up in an appropriate spot and won’t look too small or too big once it’s up.
Next, take out all the frame hooks necessary to hang your frame securely – these should be included with your frame when purchased and can often be found at most home improvement stores if needed. Place each frame hook over the marked outline of your frame and secure them firmly into place using screws and/or nails depending on what type of material your wall is made of. Make sure each frame hook is level before moving on to the next step.
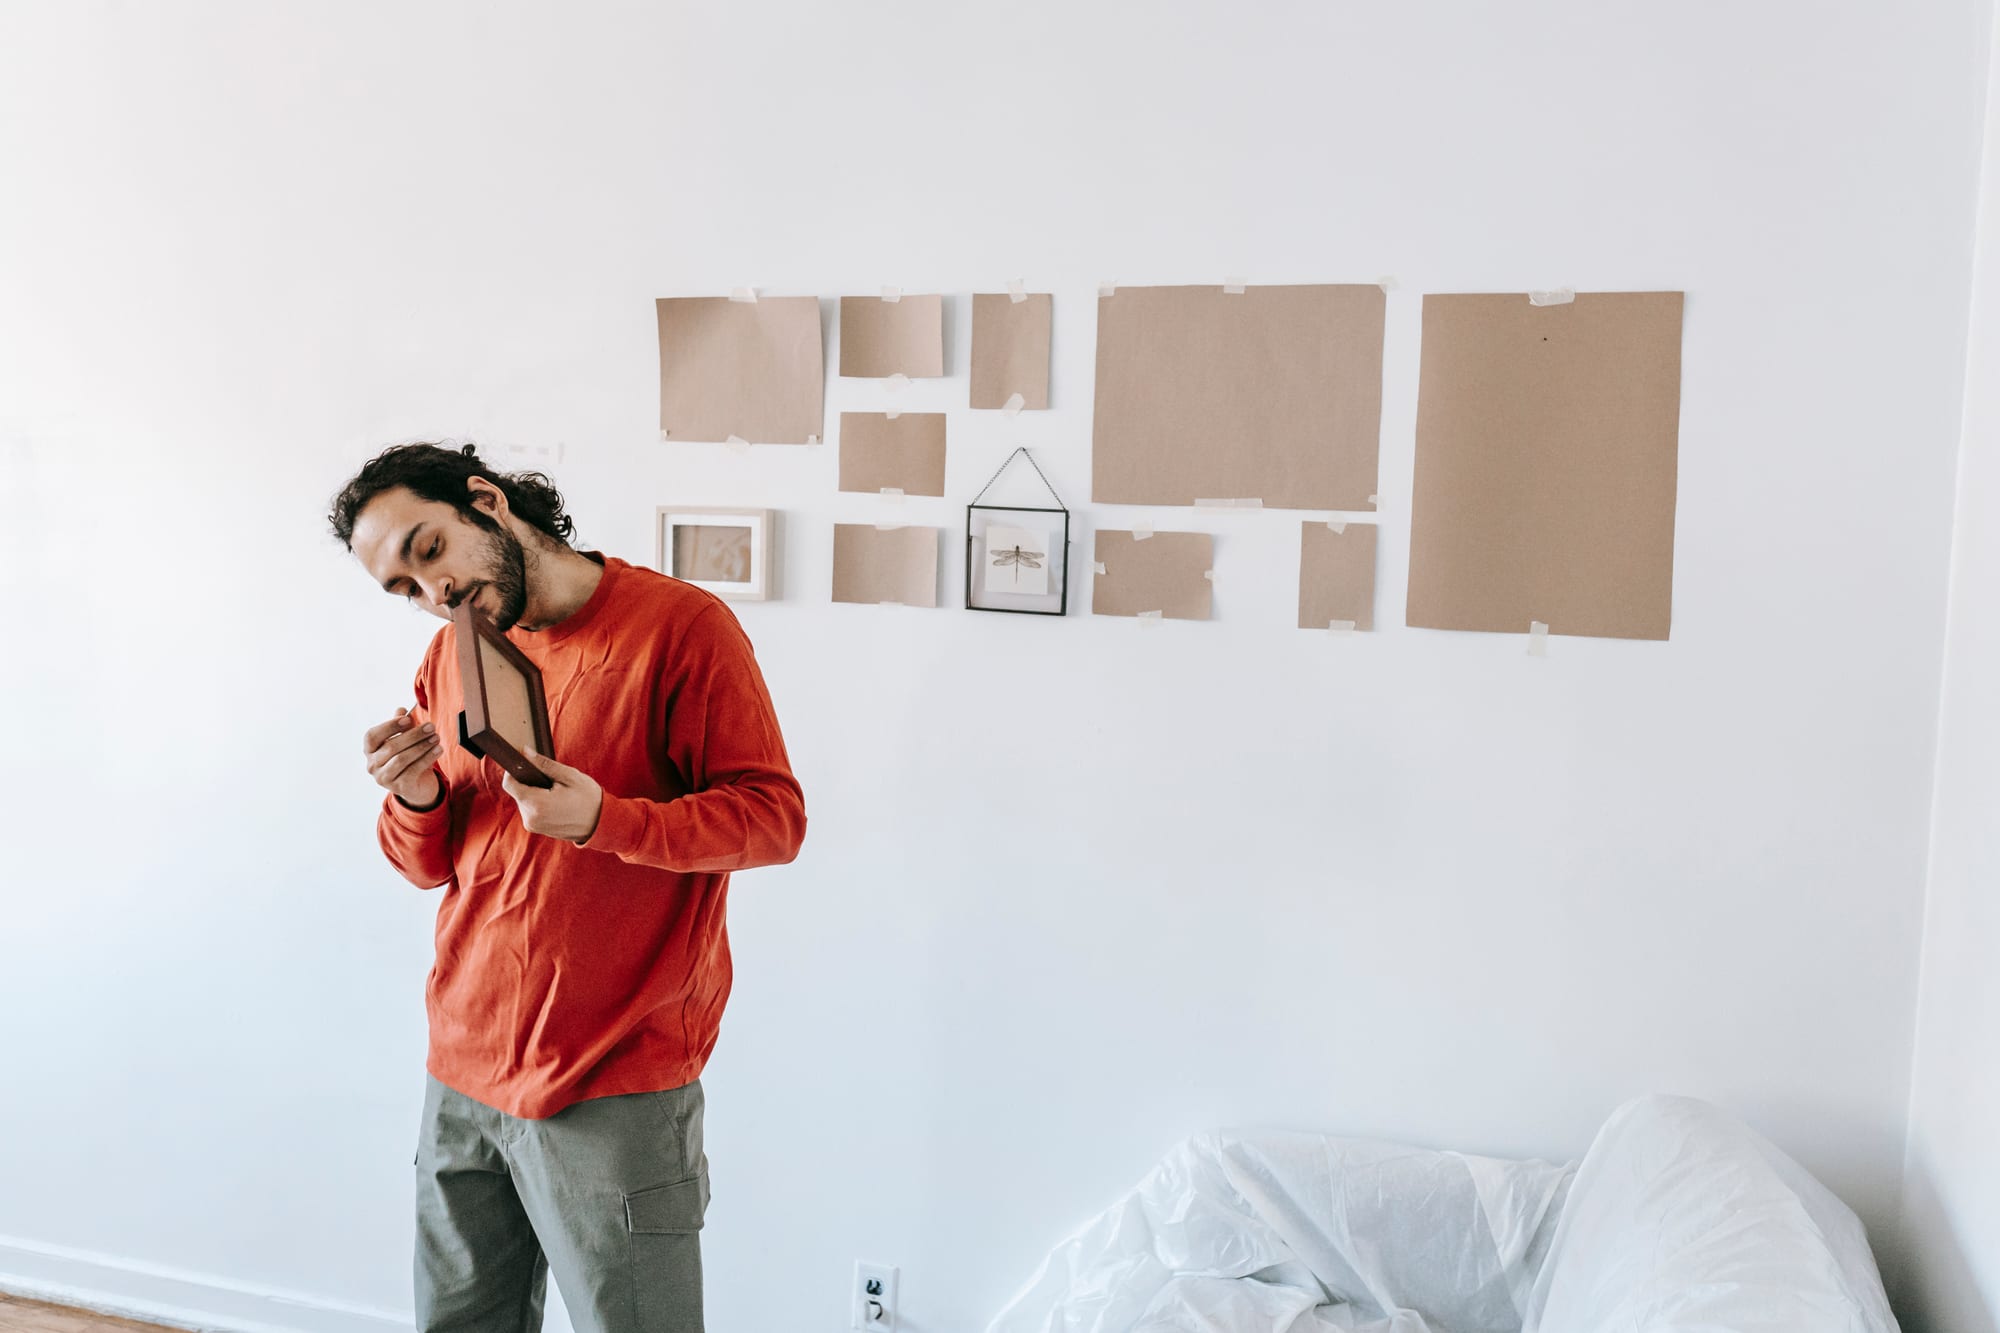
Now it's time to attach any picture wires which may need to be used for heavier frames or larger prints – this can also provide extra stability when adjusting framing position from time to time. Take a length of picture wire, measure it against your frame size, and then cut accordingly with either scissors or heavy-duty clippers. Attach each end of the wire around both frame hooks by looping them around their respective hooks and securing them with two screws per hook.
Finally, when everything looks evenly lined up and secured lift up one side of your frame onto its mounting point – doing this gradually gives you more control over how level everything looks while preventing any accidental slips during the installation process. Move onto another side then give each frame hook one last twist to make sure everything looks even before fully releasing the frame onto its mounting point.
Voilà! You’ve now successfully hung up your framed print! Whether a personal image or artwork from an artist, framing prints can add so much character to any room while giving it some intangible feeling that flat pictures just don't possess - enjoy!
Restore and Frame Old Pictures With MemoryCherish
If you’re planning on framing your old pictures, MemoryCherish is a great option to restore and frame them. We offer an extensive selection of frame sizes, and high-quality digital photo restoration technology to help bring your images back to life.
What sets MemoryCherish apart from other frame companies is their expert photo restoration services. After you have chosen the frame of your choice you can easily upload any image on our website and we will give it a complete makeover before printing it out onto archival-grade photo paper – this ensures that your family photos stay looking as vibrant as the day they were taken.
Once printed, our team will carefully place each restored image into the frame, then package it up securely so you can enjoy them right away! You can rest assured knowing that your memories are being treated with extra care throughout every step of the framing process.
Overall, MemoryCherish offers an easy and convenient way to preserve your most cherished memories while also allowing you to frame them in a way that suits both your style preference and budget. So if you’re looking for a reliable frame company that can provide top-quality prints plus expert restoration services all at an affordable price – MemoryCherish is worth considering!
How to Place Your Photo Restoration Order with MemoryCherish
No matter how many photos you might have, placing your photo restoration order has never been easier. You may upload your photographs using MemoryCherish’s order page. You will then be required to fill out the form, indicating your name and email address. Click the “Upload” button to select the images that you want to restore.
Next, personalize your order by adding prints. You may also request colorization for your photos.
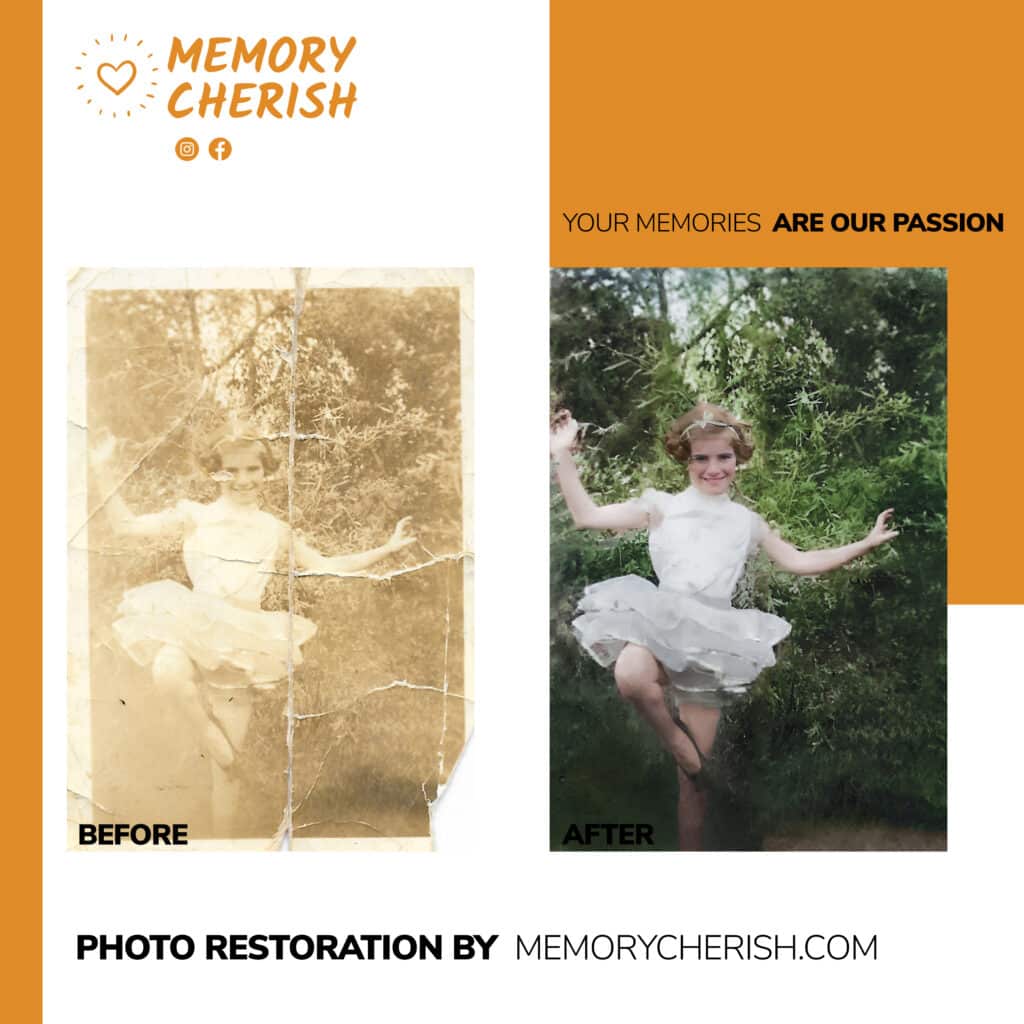
Once you picked all the options above, you need to choose the processing speed. You can pick from the standard and priority options, which would take three to five business days or 24 hours, respectively.
Lastly, hit the “Add to Cart” button and type your payment information before submitting.
Individually Restored
It is easy to can find a photo restoration company that promises to get the job done right the first time for a lower price. However, most of these companies tend to use automated software to work on their projects. This eliminates accuracy as it is challenging to catch all the details in one go.
Fortunately, at MemoryCherish, our team of artists restores every photo by hand, spending several hours at their working tables to ensure that images are visually stunning and crisp. We pay attention even to the tiniest specks on your pictures to ensure that you’ll get the most out of your investment.
A lot of our works have already been featured in the biggest media outlets, including ABC, NBC, and FOX.
Our Services
MemoryCherish offers a wide range of photo restoration services to help you cherish old memories. Our services include:
- Colorization
- Color correction
- Photo upscaling & resizing
- Detail restoration
- Background replacement & enhancement
- Water & mold image restoration
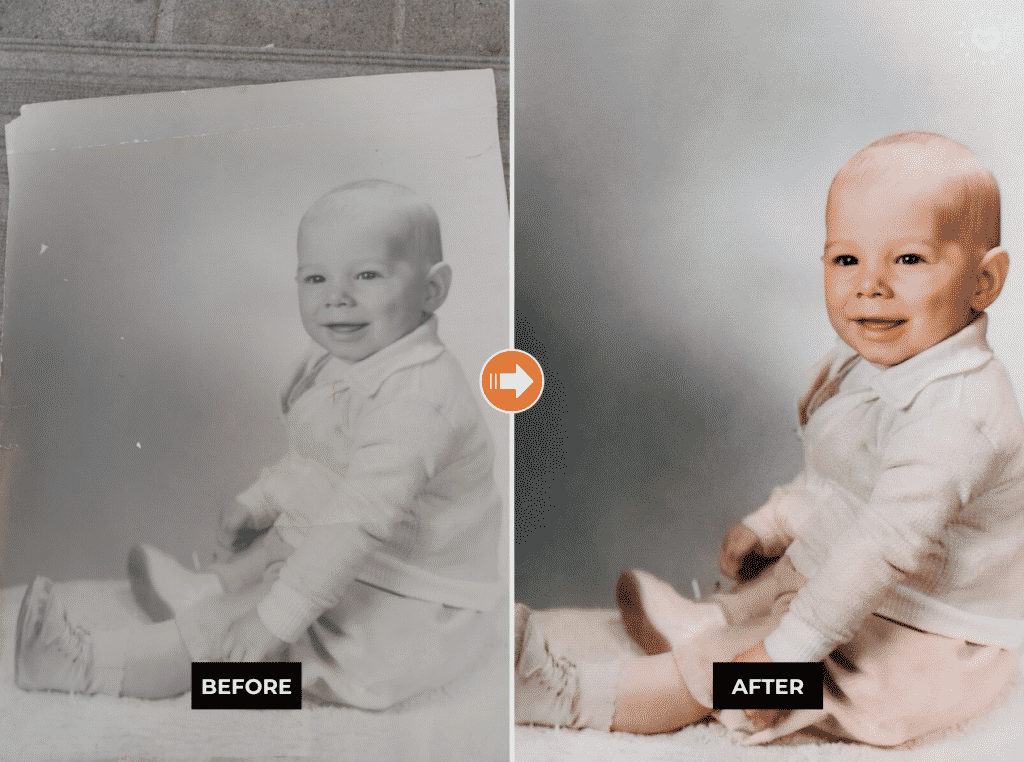
Costs
Prioritize quality over the price tag. Photo restoration is an endeavor that you hope to get right the first time, so it’s best to work with the pros. MemoryCherish can restore your pictures for $38 per photo. The final costs, however, may vary, depending on the customization options that you have selected.
Revisions
Since you will be spending your hard-earned money on your precious photographs, you want everything to be nicely done. If you are still unsatisfied with our work, you are entitled to one round of revisions free of charge for the retouches.
When sending back the photos for revision, it’s best to indicate the specific things you want to see in the restored pictures.
Got Questions?
If you find the photo restoration process overwhelming or if you have other questions, you may always send us an email at support@memorycherish.com. We’ll be more than happy to get back to you as soon as we can to help you make the right decision.
Trust the Experts!
Do you have old photographs that have faded or deteriorated over time due to exposure to ultraviolet rays, pollutants, or acid burns? Worry not! We are here to help you give your pictures a brand-new look so you can hold the memories for years to come. Our portfolio speaks for us.
Final Thoughts
Framing a print can be an intimidating task if you’re not sure where to start. But with MemoryCherish, you can frame your prints with ease and confidence. Our team of experts provides top-notch framing services that bring out the best qualities in your photos.
With our professional help, you don't have to worry about choosing the wrong frame or damaging your print during installation – both of which are common problems faced by DIYers. We take extra care to make sure that everything goes smoothly from start to finish, so you can frame your prints with peace of mind.
Ready to restore your own photos?
Our artists bring your damaged photos back by hand, most within a few days.
Rated 4.96 out of 5 stars.4.96/5 · Loved by 400,000+ families