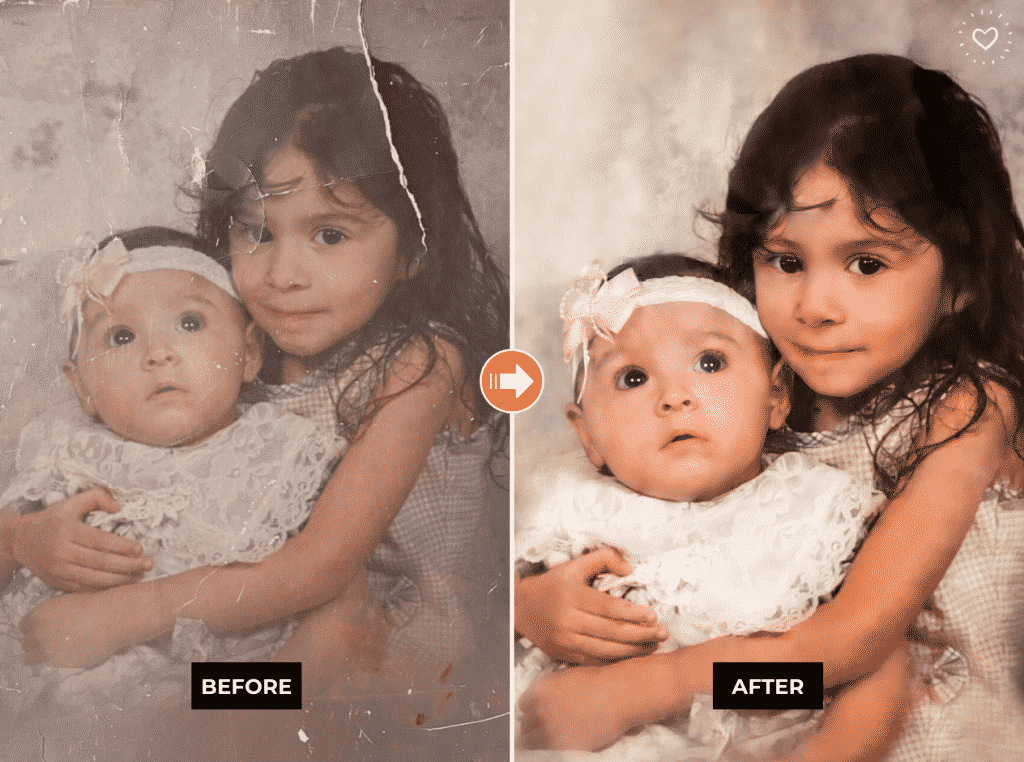
Do you have old photos hidden away in a shoebox? If so, clean them off before scanning or restoring them. The more dirt and dust you can remove, the better the photo will look when restored. By following these 7 tips to clean old photos before restoring them, your memories will be preserved for generations to come!
- Cleaning Your Old Photos: A Step-By-Step Guide
- Step 1: Make Digital Copies Of Your Old Photos
- Step 2: Wear Lint-Free Gloves
- Step 3: Use Compressed Air Or A Soft Brush To Remove Dust
- Step 4: Gently Remove Dirt With Cleaning Liquids
- Step 5: Allow Your Picture To Dry
- Step 6: Scan Your Photos Again – Now Damage-Free!
- Step 7: Receive Your Restored Photo In The Mail
Cleaning Your Old Photos: A Step-By-Step Guide
When you clean old photos, it is important to work in a clean environment. Dust and dirt can transfer from the surface of your photo onto any other surface as well as into nooks and crannies that might otherwise be missed. Here are the things you will need for cleaning your photos:
- Canned air (used for computer keyboards)
- Lint-free cloths
- A soft brush
- Professional cleaning wipe or spray
- Lint-free gloves
Step 1: Make Digital Copies Of Your Old Photos
The first thing you should do is turn on your scanner and make a few backup copies of your photographs, which may seem redundant. Each cleaning technique has its own set of dangers, and the end result might do harm the surface of your photo. Once you’ve completed the initial scan, you can move on to actual cleaning!
Step 2: Wear Lint-Free Gloves
Wearing clean gloves is the first step to avoiding unnecessary damage. If you don’t have lint-free gloves, clean your hands before touching any of your old photos! This is due to the oils on your hand leaving a fingerprint or slipping palm, which may attract dust or smudge your scan.
Step 3: Use Compressed Air Or A Soft Brush To Remove Dust
Now, you can use compressed air or a clean, soft paintbrush to remove dust from your photo. You can use the brush to gently agitate the surface of the picture and knock off any particles that you saw on your initial scan.
Step 4: Gently Remove Dirt With Cleaning Liquids
If you see any stubborn dirt or spots that won’t clean by using compressed air, then it is time to bring out the big guns. There is a variety of cleaning liquids on the market you can use to clean your old photos, but make sure you buy a high-quality one to avoid damaging your photos.
Step 5: Allow Your Picture To Dry
When you clean your picture with a cleaning product, be sure to give it ample time to dry. Do not use a hair blower or any other heat source on the photo while it is still wet because this can cause warping and damage the surface of the print.

Step 6: Scan Your Photos Again – Now Damage-Free!
Once your photos have dried, you can scan them again and get the rest of the damage cleaned up using our professional photo restoration service here at MemoryCherish. Simply upload your scan to our website, pick your restoration options & place your order. Within up to 24 hours, you will receive back your old photo damage-free!
Step 7: Receive Your Restored Photo In The Mail
Once you are satisfied with the restoration, we will send your restored photo to you in archival-quality photo paper. Now, those precious memories are preserved for generations to come!


