
Rated 4.96/5 from 2,185+ verified reviews
How to Restore Old Photos at Home (and When to Call an Artist)
A plain, honest guide to scanning, cleaning, and fixing your old family photos, and knowing when hand restoration is worth it.
Love it or every cent back. Free revisions until it’s right, and if we can’t make it perfect, a full refund, cash, not store credit.



Trusted by 400,000+ families · Restoration for museums & historical societies · 37+ years of combined experience
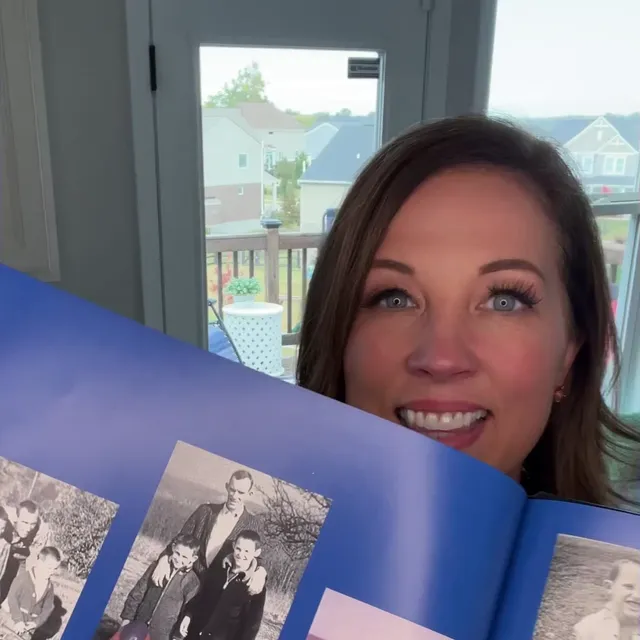
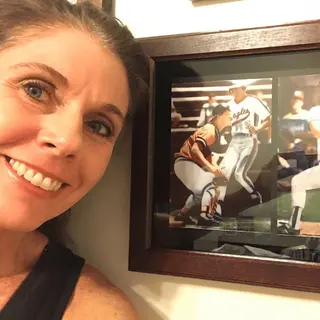
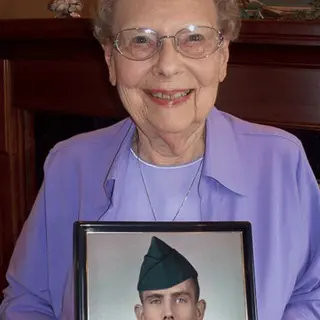
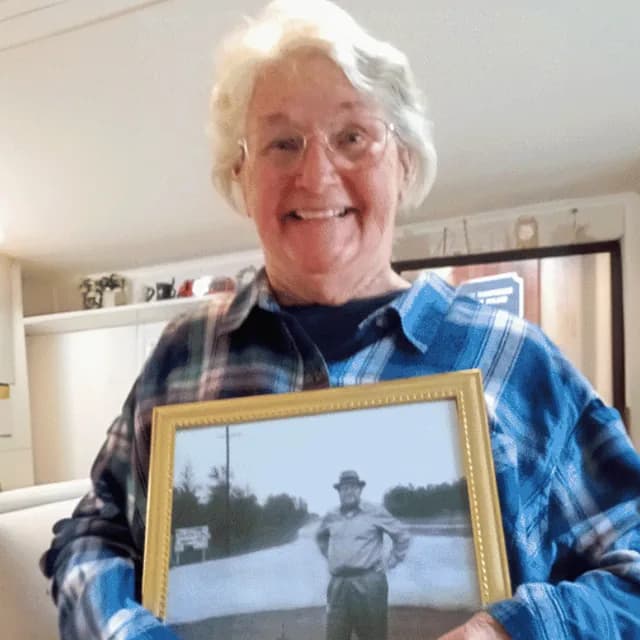
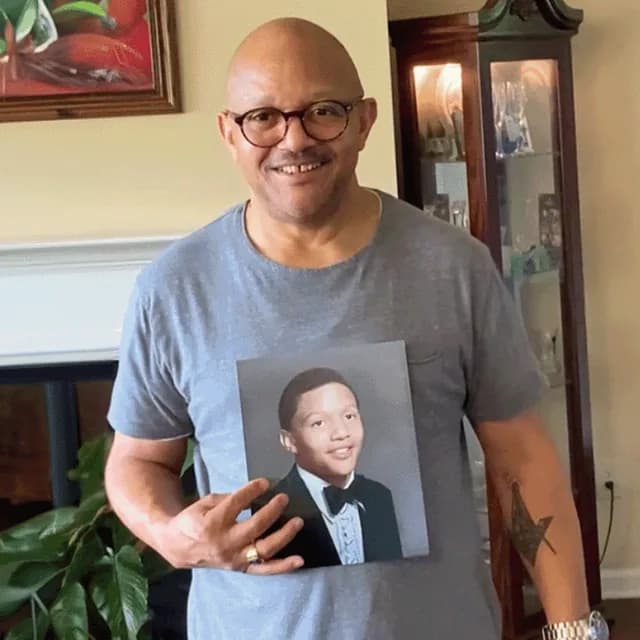
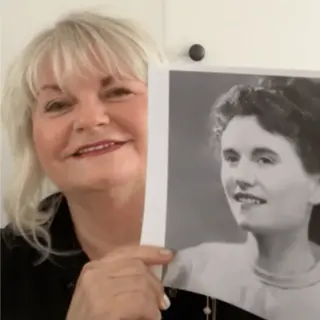
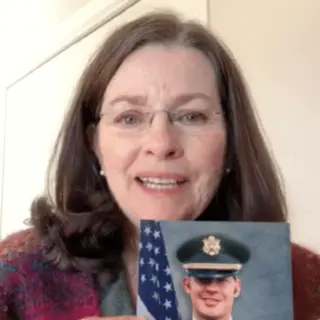
From $38 per photo, you choose your artist
Studios charge $50–$500 and quote by how damaged your photo is. We never price by damage. Restoration starts at $38, and you pick the artist that’s right for your photo.
- Done by hand, never AI. We only recover what’s there. We never invent a face.
- Love it or every cent back within 30 days, in cash, not store credit. Free revisions until it’s right.
- No shop to drive to. Upload from your kitchen table in 2 minutes, or mail it in if you’d rather.
Start by making a clean digital copy. Scan at 600 DPI, or photograph the photo in soft, even light. Gently dust the surface, never scrub. Then try free tools like GIMP or a phone app for small fixes. For tears, heavy fading, or missing faces, a hand restoration keeps the real person true.
New here? Here’s how it works
- 1
Send us your photo
Snap it at the kitchen table, or mail it in, no scanner needed.
- 2
A real artist restores it
By hand, never AI. Free revisions until it looks right.
- 3
Love it, or your money back
If we can’t make it perfect, every cent back, cash, not store credit.
Photos not with you? Order now and send them later — it’s an option on the order form. And uploading only sends us a copy: your photo never leaves your hands.
Find a photo like yours
Whatever happened to your photo, we’ve brought one back from worse
Torn, water-stained, faded, creased, in pieces. Pick your photo’s problem and see it already solved.
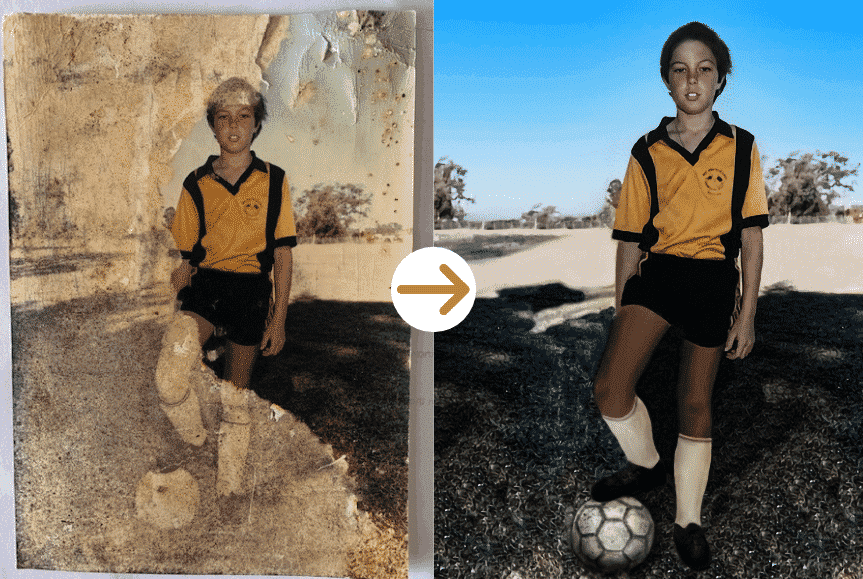
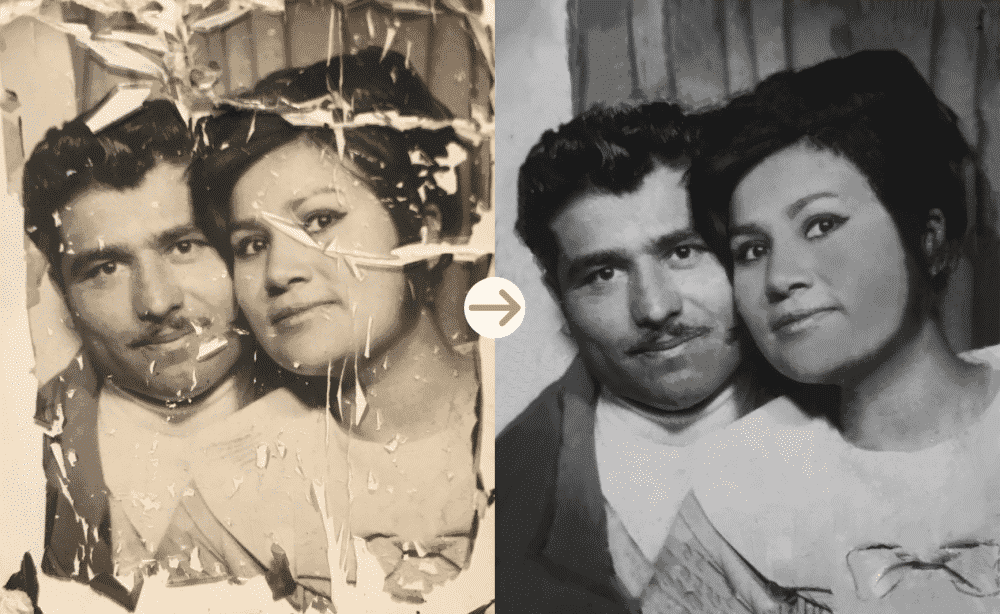
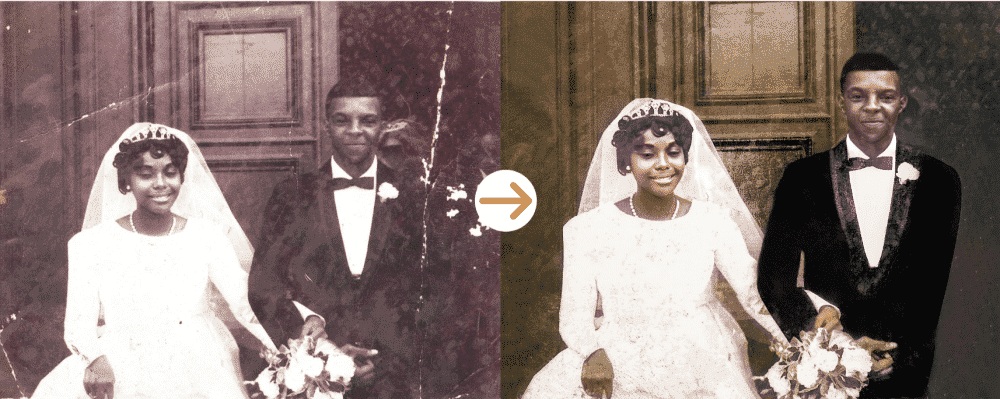
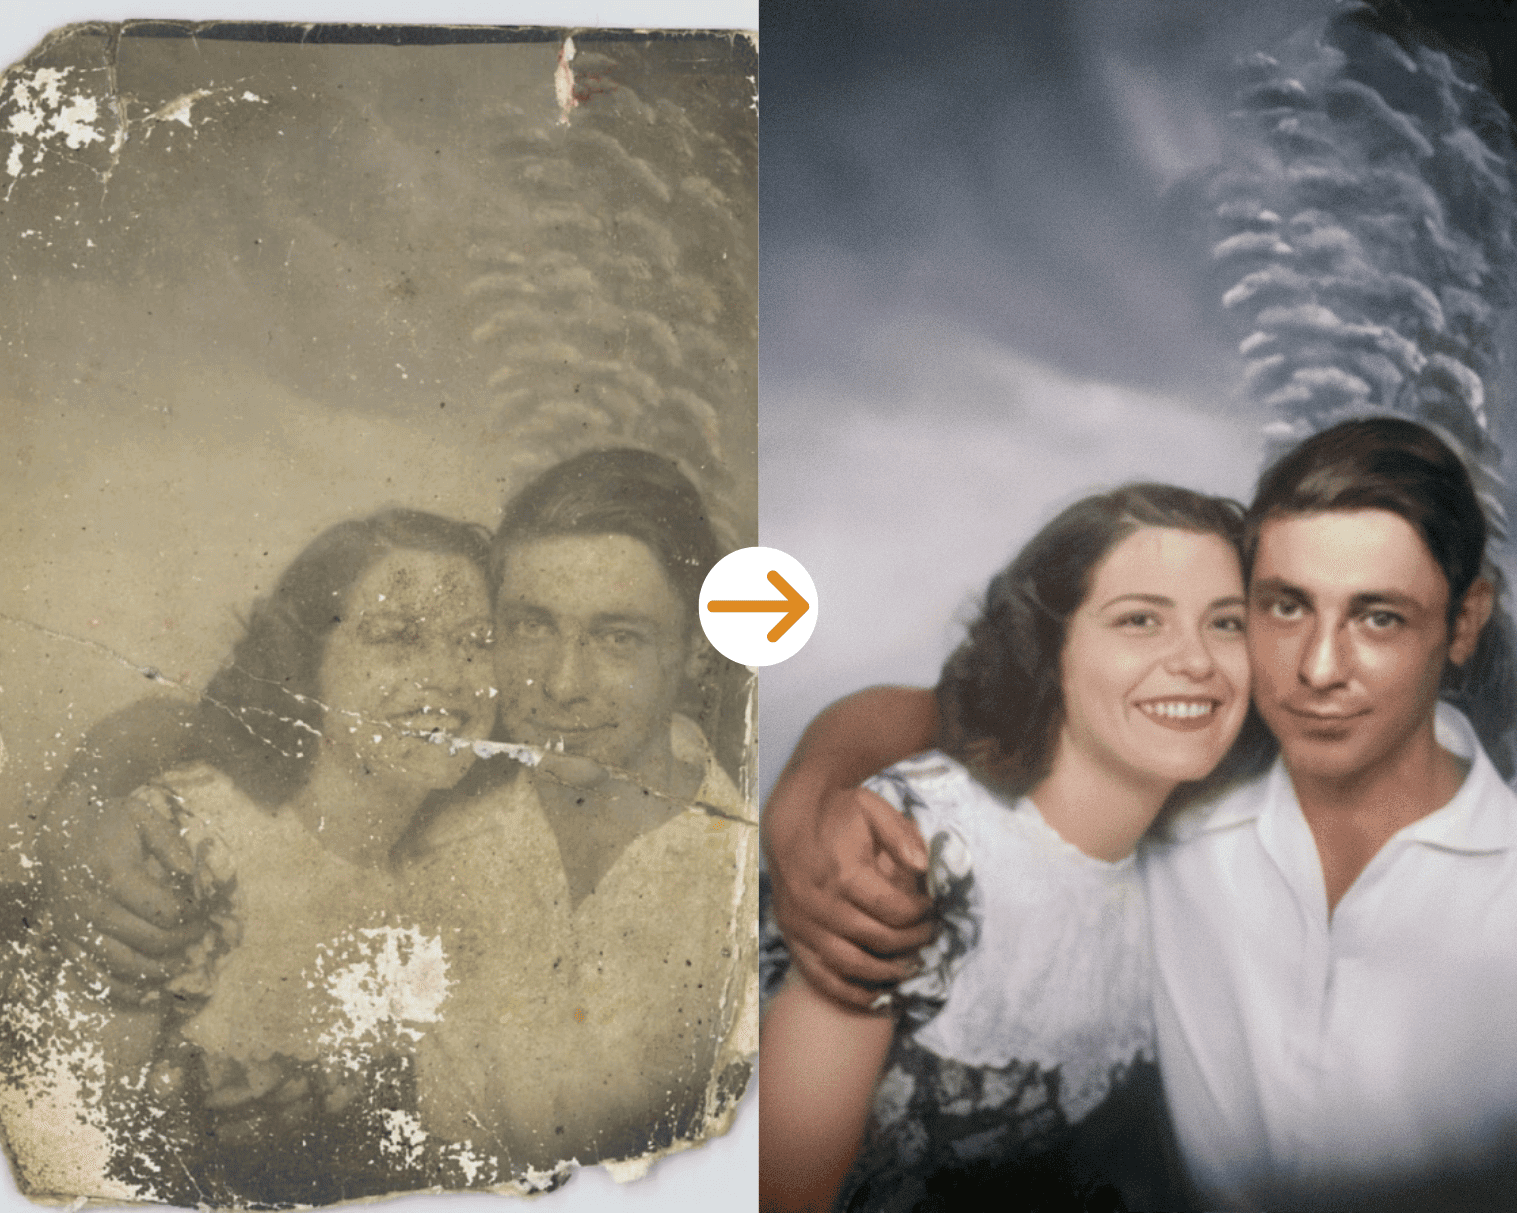
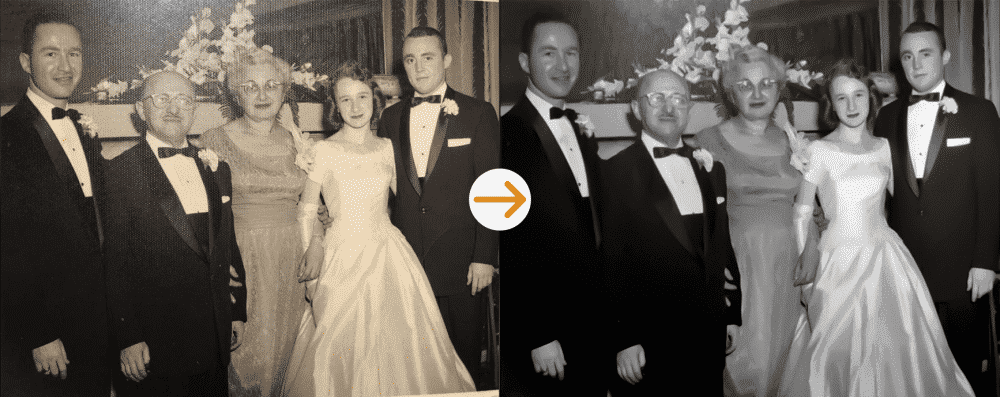
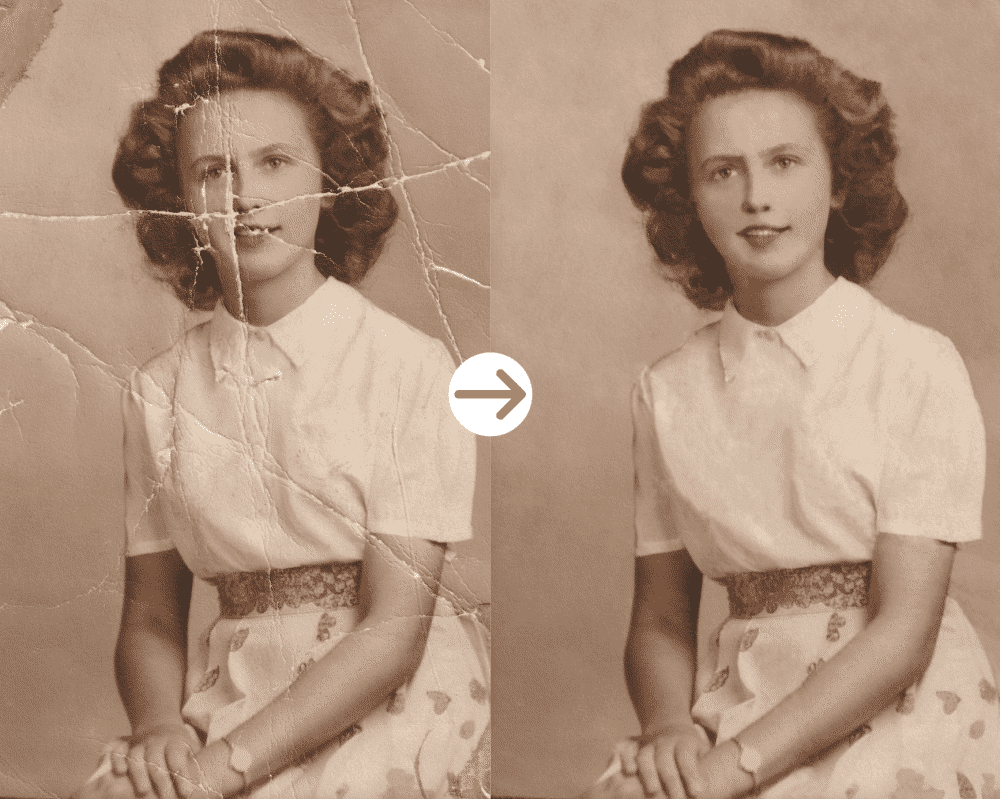
“I never thought this photo could be saved, and now it looks brand new. I actually cried when I opened it.”
Bring your old photos back to life with the top-rated restoration studio
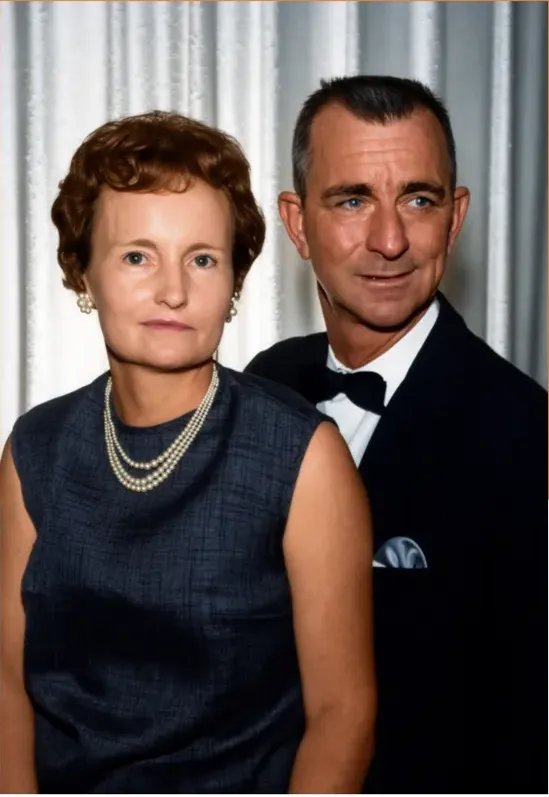
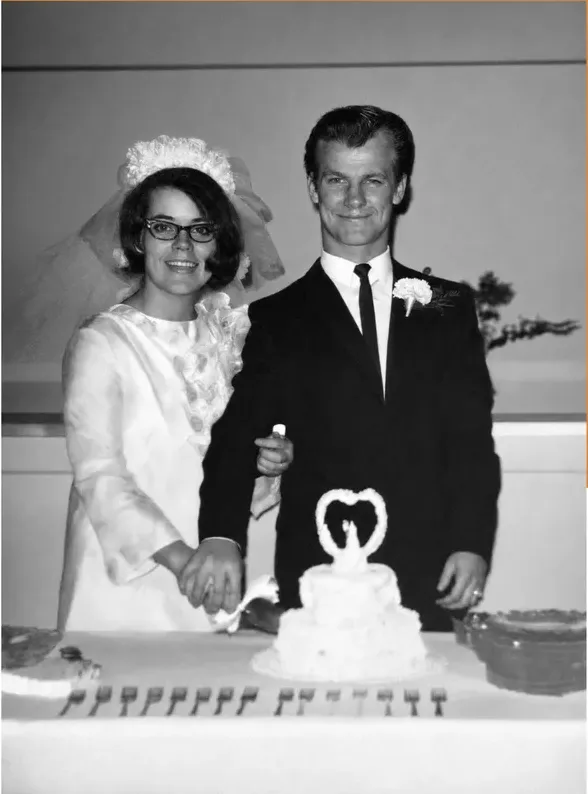
No photo is too far gone for our artists, including the ones other services turned away. Torn, water-stained, faded, creased, stuck to glass, even in pieces. We’ve fixed them all, by hand, one photo at a time. We also colorize black-and-white photos and recover blurry faces, and we can enlarge a small print so it’s ready to frame. If a photo can’t be saved, we’ll tell you honestly, and you won’t pay a cent.
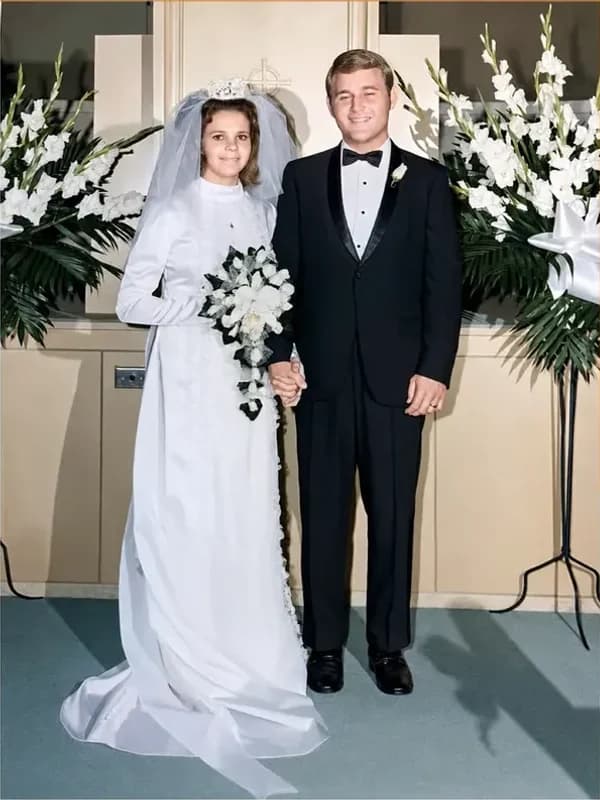
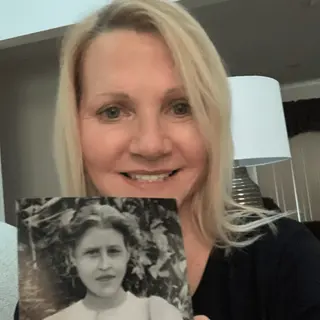
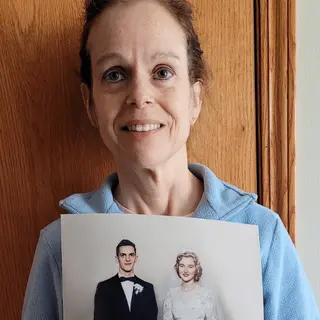
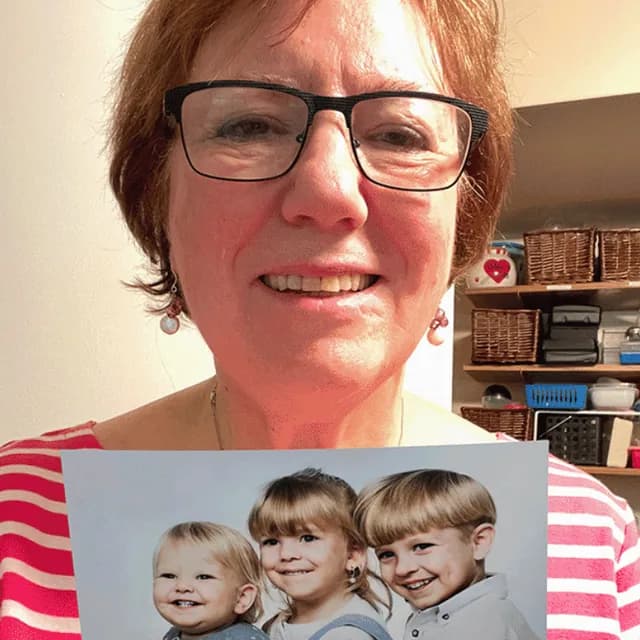
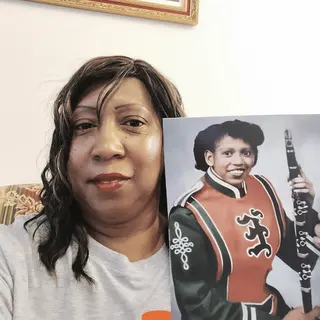
Lynn’s photo · Arlington Heights
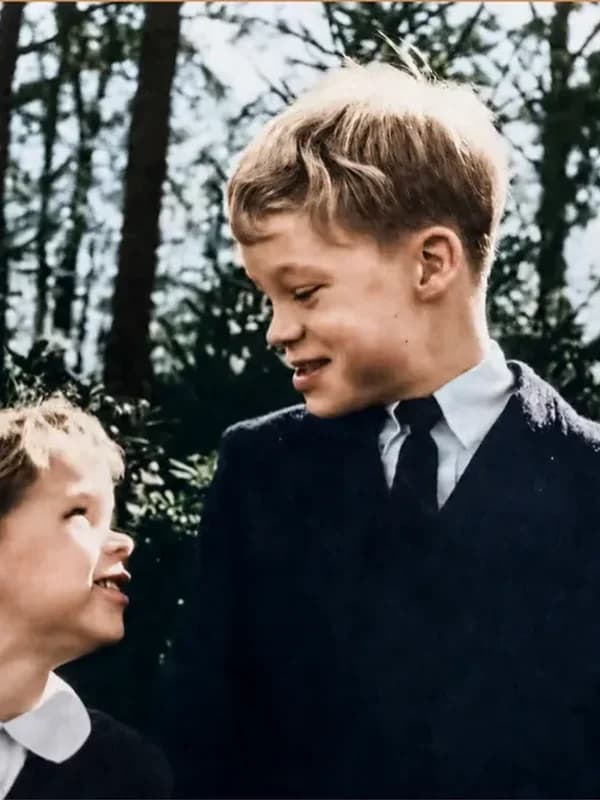
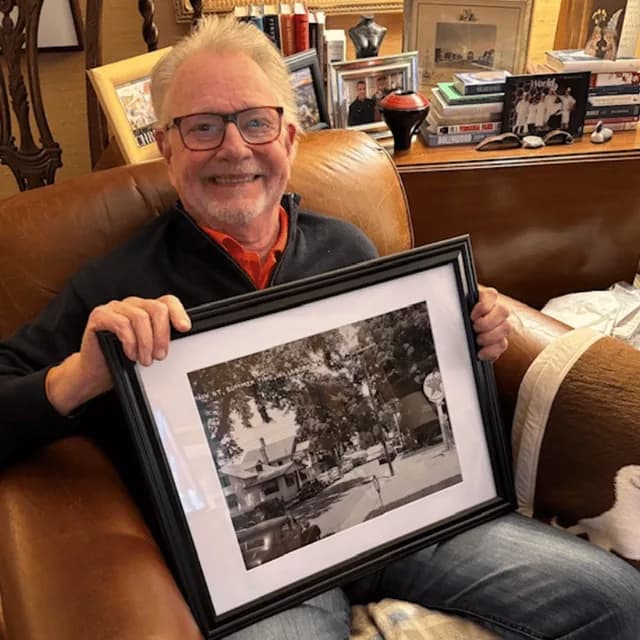
Harold’s photo · Lahaina
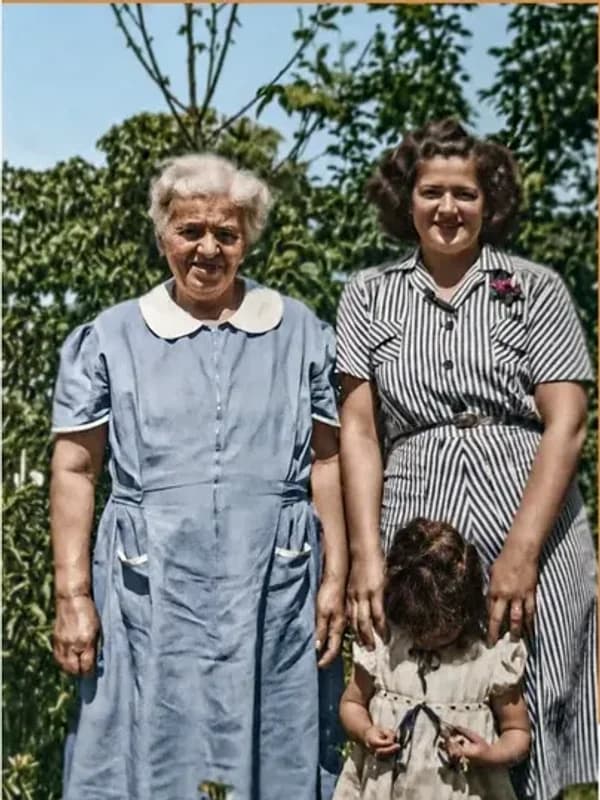
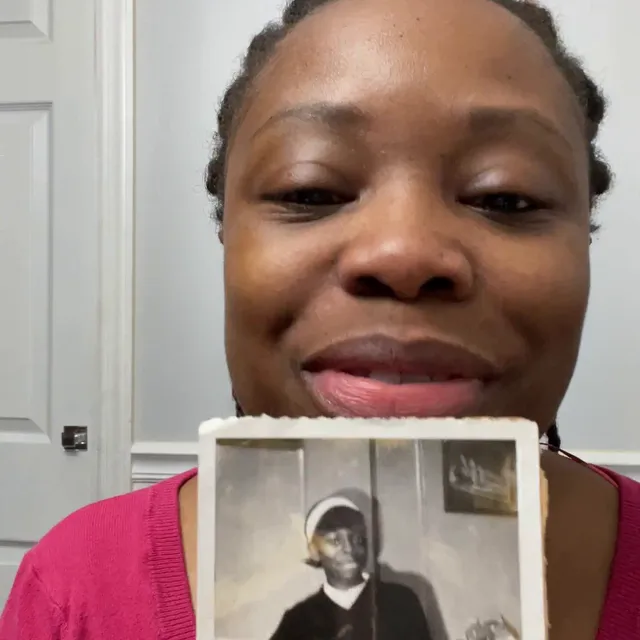
Betty’s photo · Mystic
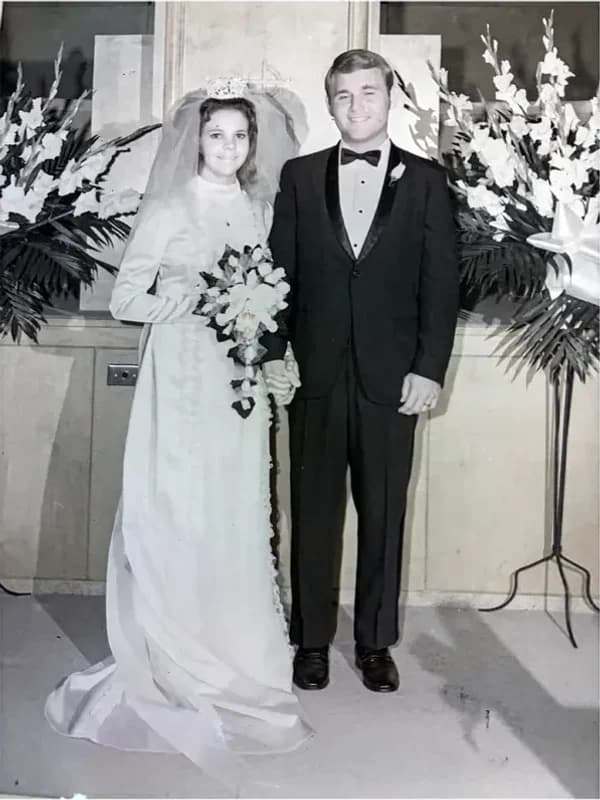
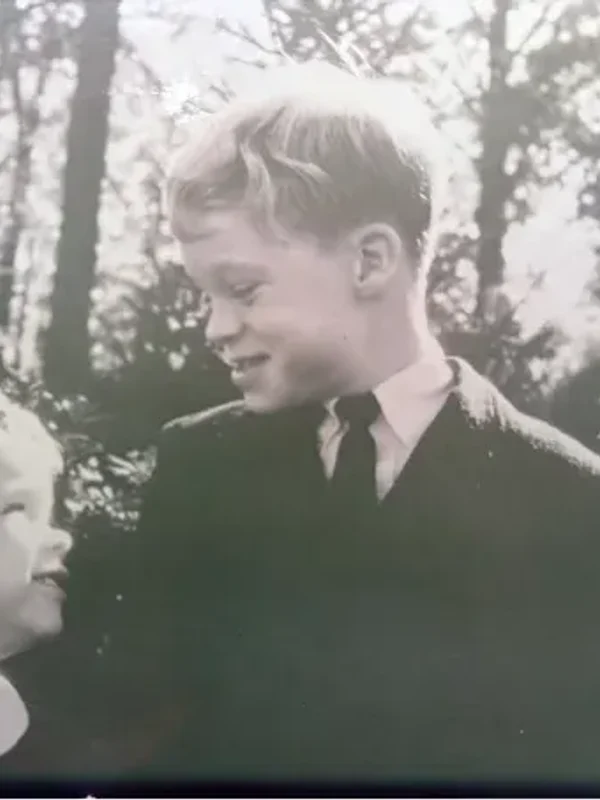
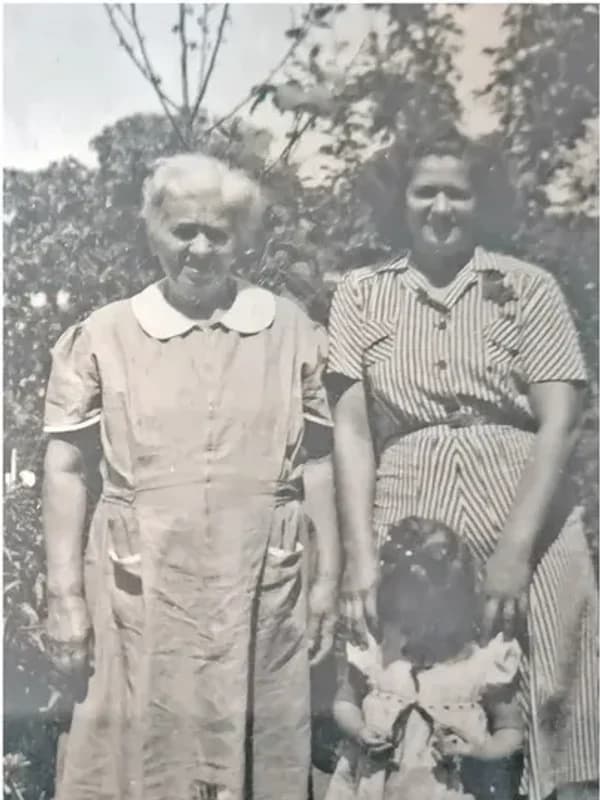
Hundreds of photos we’ve finished lately, shown before and after:
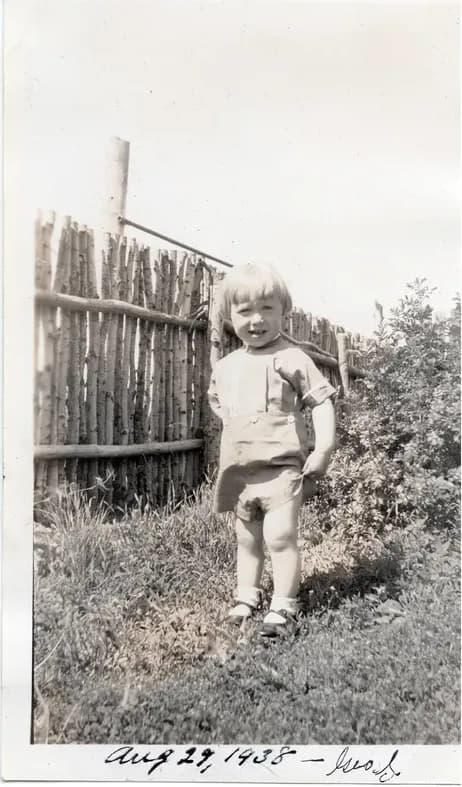 Before
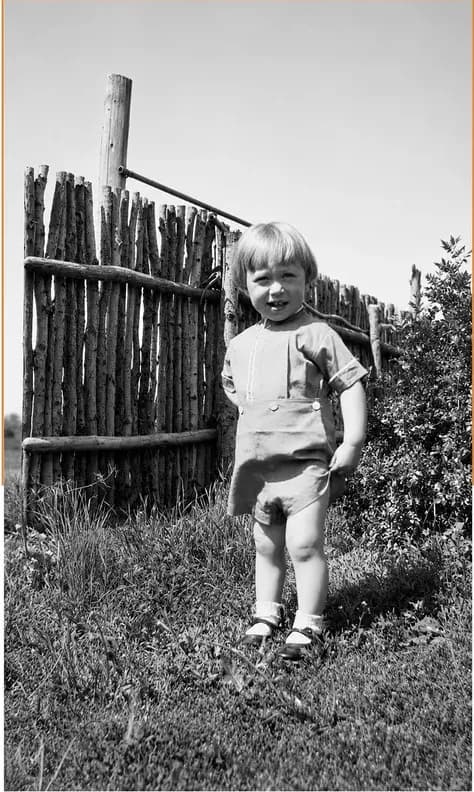 After
After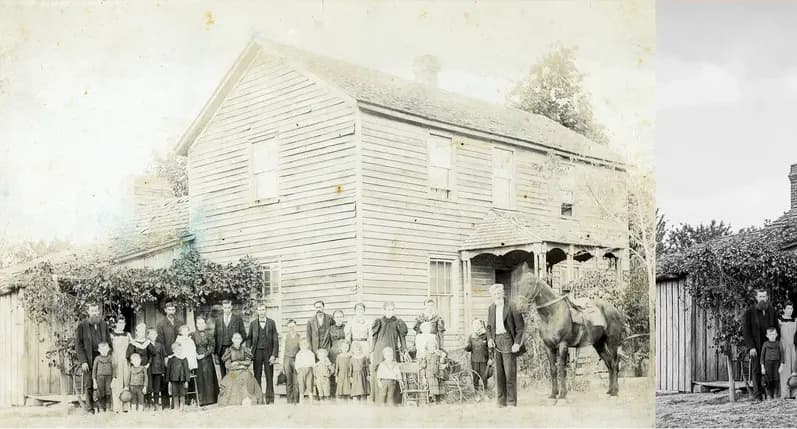 Before
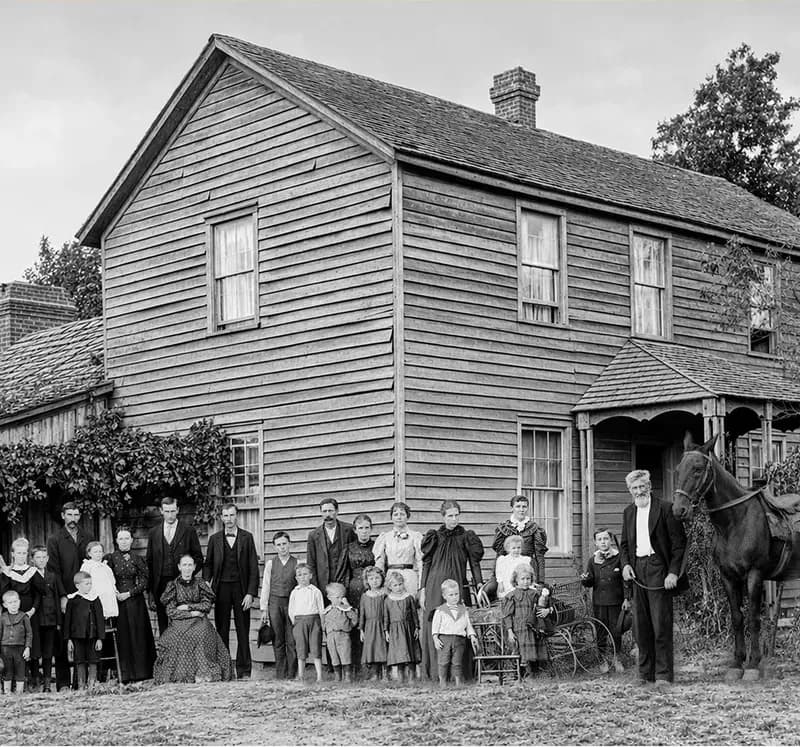 After
After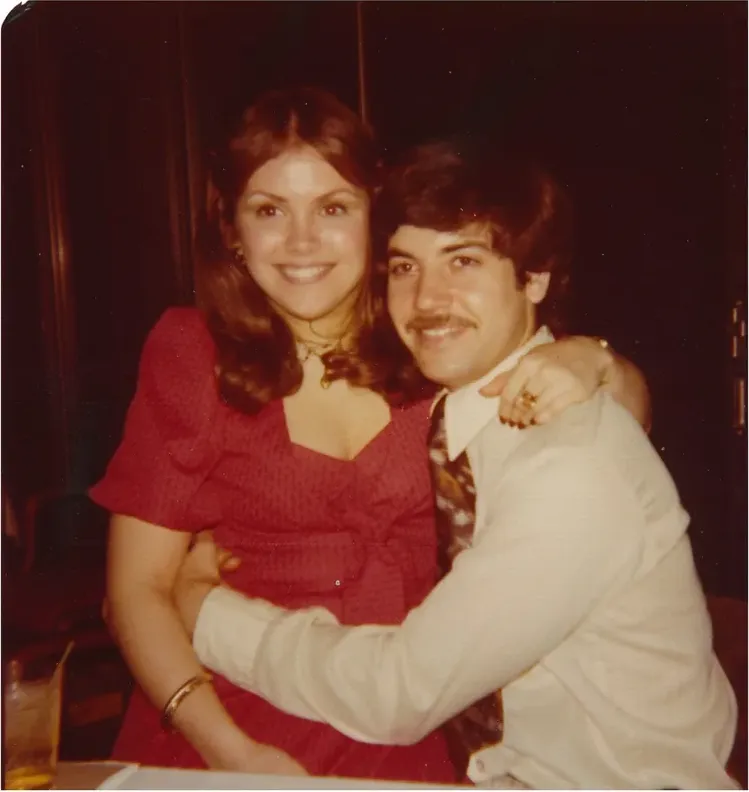 Before
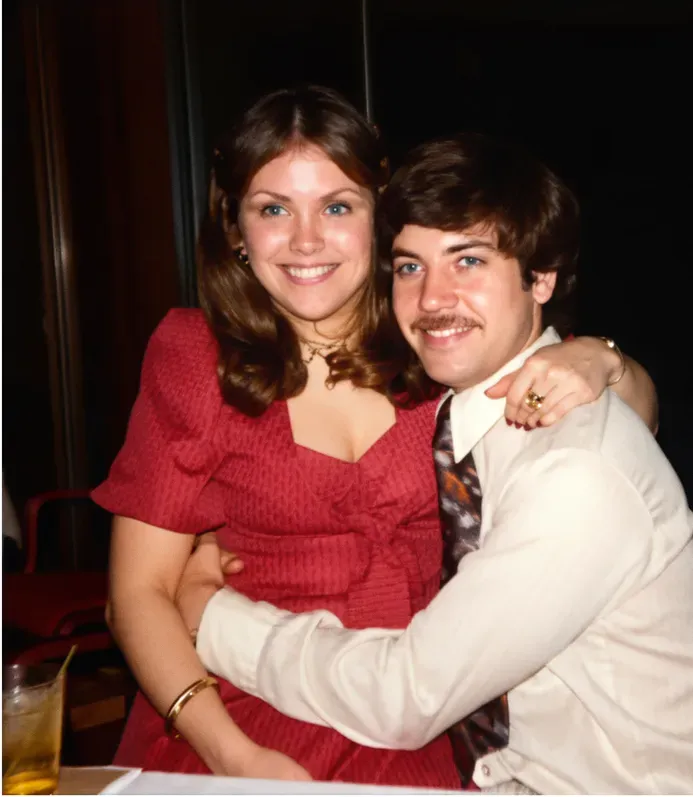 After
After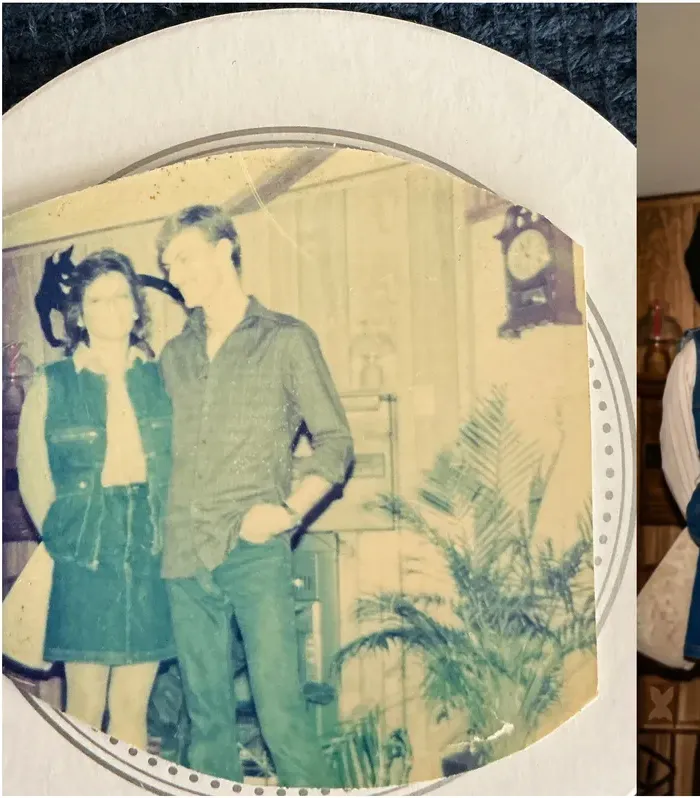 Before
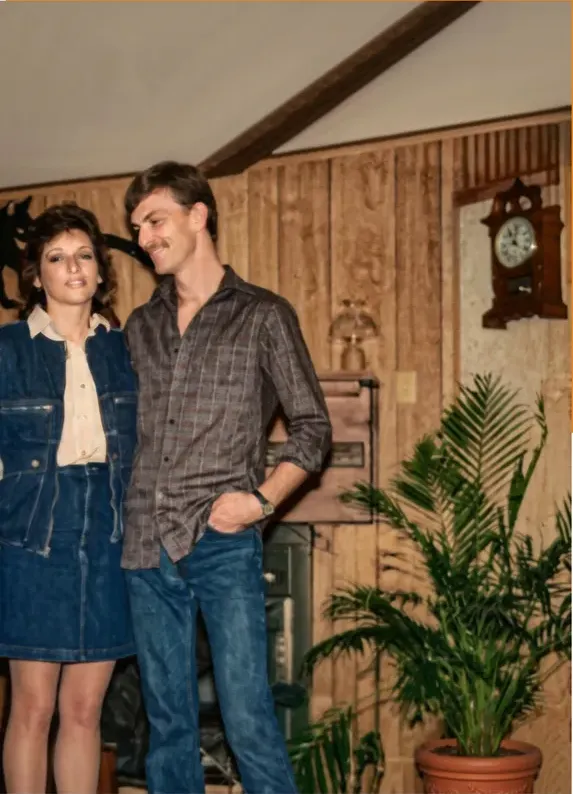 After
After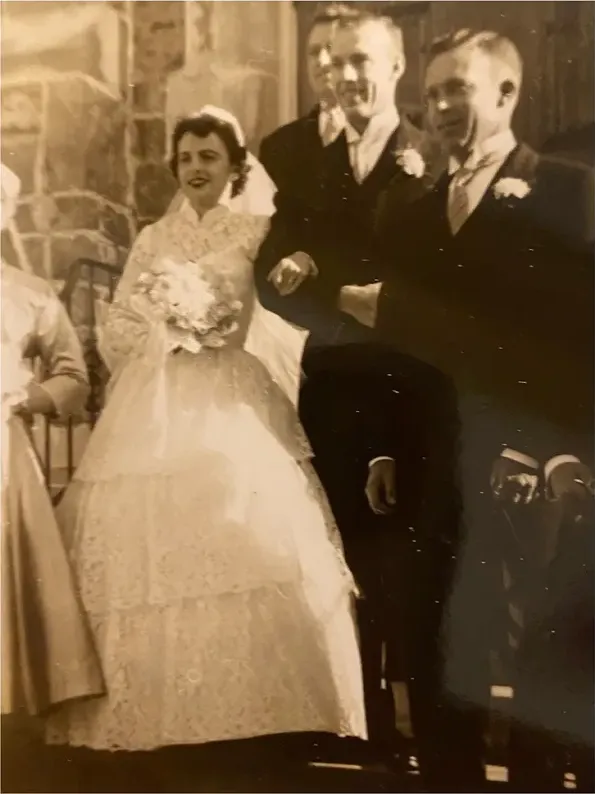 Before
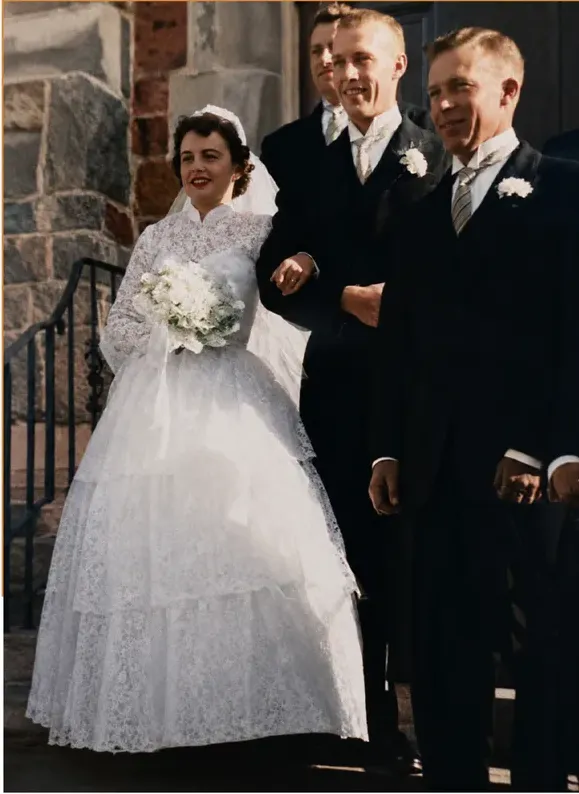 After
After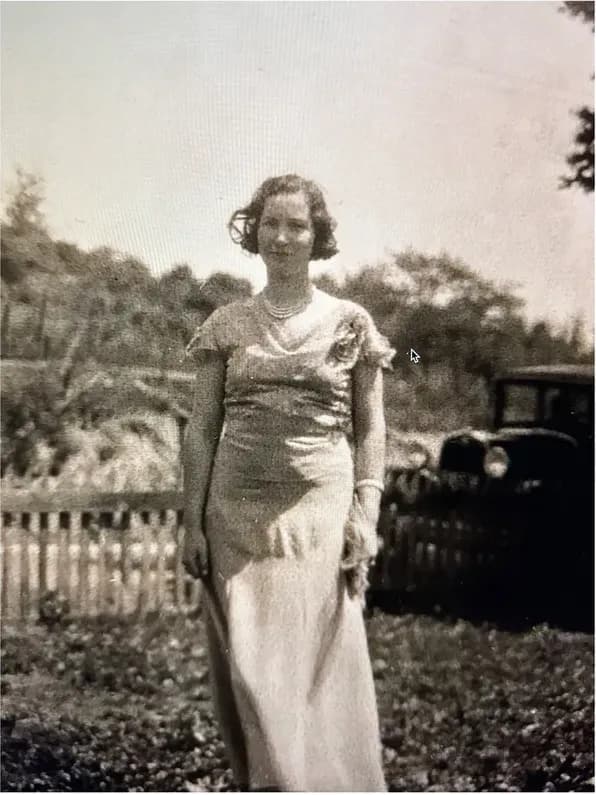 Before
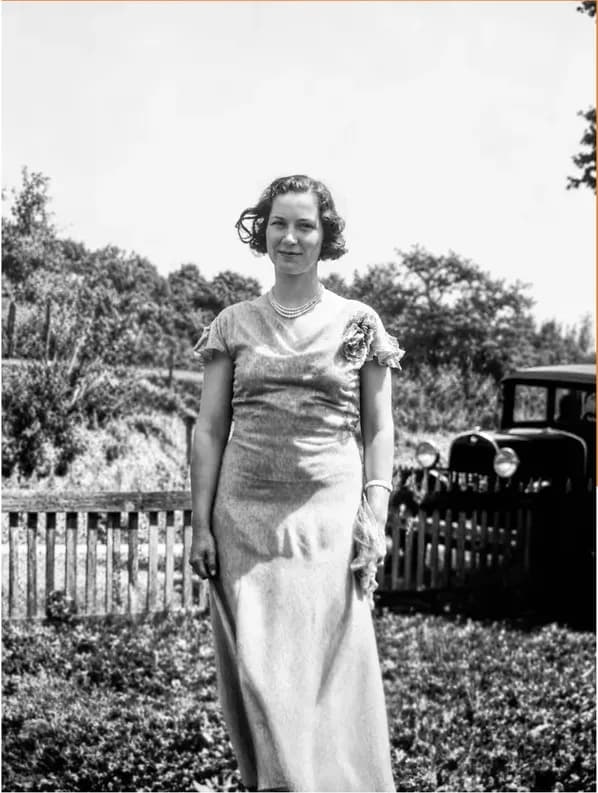 After
After
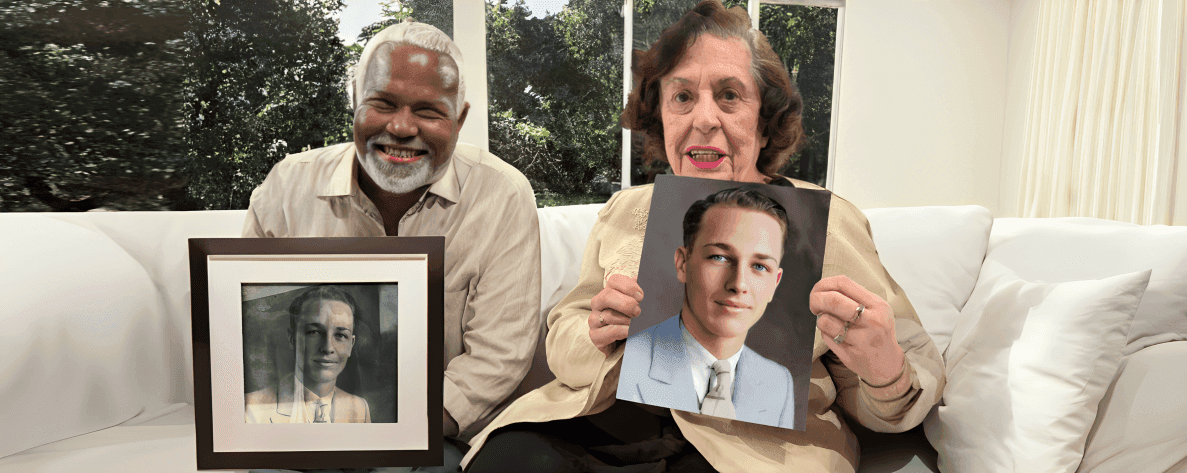
From $38 per photo, you choose your artist
Every photo is backed by our MemoryCherish Love It or Your Money Back Guarantee.
3 easy steps to restore your photos
- 01
Take a picture of your photo, right at your kitchen table
Use your phone or a scanner. Either works. Your original never leaves your hands. (Prefer to mail it in? You can. Tracked and insured, and we send it back free.) Then choose your options and pay securely.
- 02
Our restoration experts work their magic
A real artist, not a program, sits down with your photo. They mend the tears and lift the stains, and they’ll add true-to-life color if you’d like. Most photos, honestly, take us about 4 careful hours.
- 03
Get it back and approve it before it’s final
Your restored photo arrives by email in a few days (24-hour rush available). Nothing is final until you say so. Free revisions until it looks exactly like you remember. Then, if you’d like, we’ll print it museum quality, ready to frame.
Remember when your town had a photo shop?
Someone behind the counter knew your name. You’d bring in a torn print of your mother, and a week later it came back in a paper envelope, mended, because the person who fixed it actually cared how it turned out.
Most of those counters are gone now. The drugstores shut their photo restoration desks. What replaced them are apps that run your mother’s face through a computer and hand you back a stranger.
We started MemoryCherish to bring the counter back. Real artists, all of them here in America, with 37+ years of combined experience between them. They restore photos one at a time, by hand, and they don’t call one finished until it looks exactly the way you remember. The only difference from the old counter is that you don’t have to drive, and the envelope arrives by email in a couple of days.
The MemoryCherish family
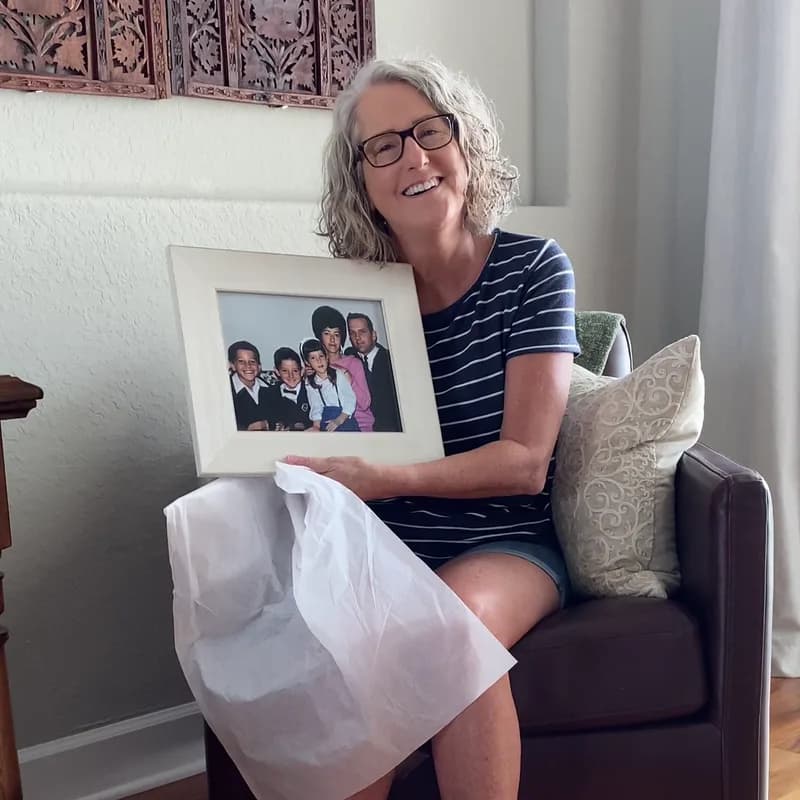
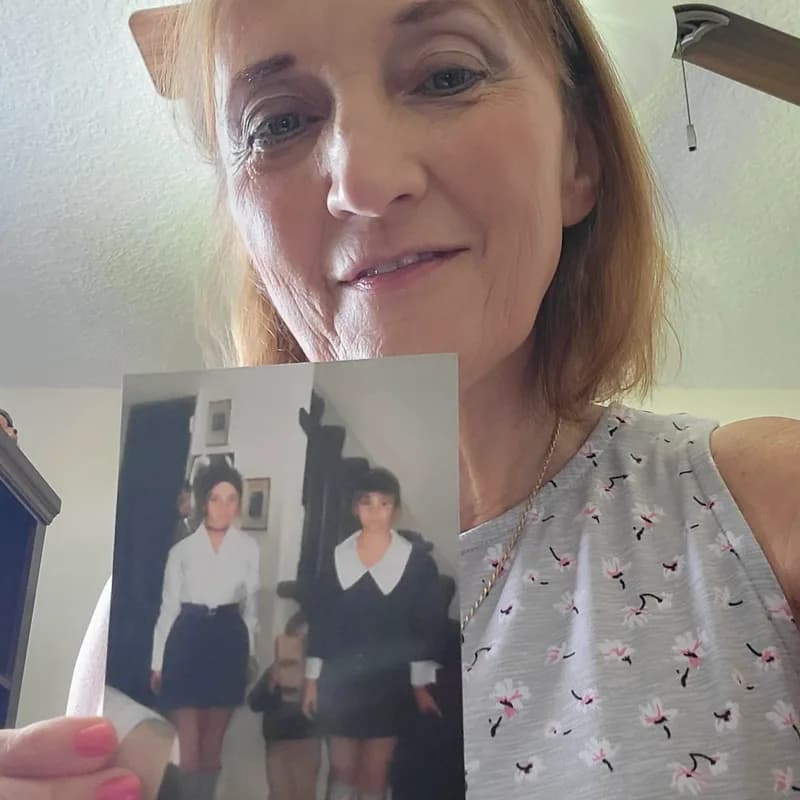
Keep your family’s memories in the family
Get your restored photos back and hang them where people will see them. Give the next generation a chance to:
- Relive some happy episodes of your childhood
- Feel the joy your parents felt on their wedding day
- Show your grandchildren the house their great-grandparents moved into
A single photograph can mean a lot. Pictures are more than paper. They remind us of a time we felt happy and loved. We work on each one by hand until it looks the way it did on the hallway wall, and if you’d like, we’ll print it so it can hang there again.

Your photographs are in good hands
The same hands that restore photos for museums.
Our artists have handled complex restorations for world-class museums and historical societies. With 37+ years of combined experience between them, they don’t call a photo finished until it looks the way you remember it. Blemishes, scratches, a tear straight across her face. We’ve fixed worse.
Who is MemoryCherish’s photo restoration service for?

Grandparents & Parents
Reminisce over vintage photos of you when you were young, or remember your smile in an old photo. Turn back time by bringing your memories back to life. Share beautiful stories with your family through clear, newly restored photos, which can soon become a family heirloom.

Children & The Young-at-Heart
Give the gift of the past, turn an old photo of your loved ones new again. Gifting your parents or grandparents one of their favorite memories, restored and colorized, is a sure way to fill up their hearts with emotion.

Businesses with a Legacy
Proudly hang a newly restored picture that shows your company's rich history to remember every day just how far your company has come. Get the best version of your photos restored and framed on the office wall.
If there’s a shoebox in your closet you’ve been meaning to do something about, this is for you.
Why families choose our photo restoration service

MemoryCherish
- Museum-quality results: We restore each photo 100% by hand and don't stop until it looks right. An average photo restoration takes us 4 hours. With us, your photos are restored the proper way.
- Experienced artists: Our studio artists are vetted for quality, having worked for world-class institutions in the past. Every one of our restoration artists is US-based and paid a fair wage.
- Honest pricing: What you see is what you pay, guaranteed. From $38, you choose your artist, and the price never depends on how damaged the photo is.
- A guarantee with your money behind it: if you don't love your restoration, you get every cent back. Cash, not store credit. And your restored files are yours forever, free. No subscriptions, no expiring download links.
Other Companies
- Run your photo through automated software, then charge you like it was handmade.
- Advertise one price, then stack on fees. Colorization extra, rush extra, “reconstruction” extra, cloud storage extra.
- If you're unhappy? Store credit. Your money stays theirs.
Looking for “photo restoration near me”?
You won’t need to drive anywhere, and you shouldn’t have to. The photo counters that used to do this work are gone (Walgreens quietly discontinued photo restoration in 2024). What replaced the drive is simpler. Take a picture of your photo with your phone, right at your kitchen table. Your original never leaves your hands. Our American artists fix it up by hand and email it back in a few days. If you’d rather mail the original, you can. Tracked and insured, and we send it back free.
And if you’d rather talk to a person first, call us: +1 (307) 218-6920
What our customers say
4.96 out of 5 from 2,185+ verified reviews
- Rated 5 out of 5 stars
Read moreShow less
Thank you so very much! I received my finished pictures yesterday and I am thrilled with how they turned out. Every step of the way I have had confidence that would be the outcome. Your staff and artists are amazing. Your customer service made things very easy, and every question I had received a prompt and competent reply. I feel like a valued customer. Next week, I will be with my six siblings as we gather for a mini-reunion for the first time in years; no kids, no grandkids, just us. We are all now in our 70s, and missing our big sister who passed two years ago, but we felt the need to come together for a few day to enjoy each other while we can. That is why I ordered seven copies of my restored photo, one for each of us. Thank you, again. I will be recommending your company to everyone I know. And I'll share this experience on my Facebook page.
Charlotte Verified customer· 8th October 2026 - Rated 5 out of 5 stars
Memory Cherish did a wonderful job restoring our photo. After the initial restoration, we had a couple of color modifications that we asked to be included. These were done in a timely manner, and the photo looks beautiful. This was the second photo that we have had restored with Memory Cherish. I would recommend this company highly for their great work.
Lori Verified customer· 17th September 2026 - Rated 5 out of 5 stars
Read moreShow less
Memory Cherish is fantastic! This is the second photo they have refinished for me and it is better the. Perfect! Very sentimental picture of my Dad who recently passed and my Mom wanted this picture. She is over the moon. I know we will send more as we find these precious moments in our lives! Her friend saw the copy and was amazed and said she def wants to utilize your services! Thank you so much! Wonderful customer service as well!!
Heather Verified customer· 17th September 2026 - Rated 5 out of 5 stars
Very pleased with new photo. It was amazing how the revised photo looks.
Marilyn Verified customer· 14th September 2026 - Rated 5 out of 5 stars
Read moreShow less
You can do cheap and inferior, or you can do excellence. The artists, customer service, and ease of ordering at Memory Cherish are all beyond excellent. This is the second time we’ve entrusted precious family portraits to this stellar company and both times we have been blown away with the museum quality of their work. Their customer service is exemplary. Fast, efficient and so very helpful. This is an American company who does it right. We are grateful, and beyond pleased! Thank you so much!
Julie Verified customer· 10th September 2026 - Rated 5 out of 5 stars
Memory Cherish did a beautiful job restoring a photo from 1974. They emailed me the restored photo about one week after I shipped them the photo.
Terry Verified customer· 26th August 2026
Pulled from our Reviews.io page, which we can’t edit. Updated with every release.
America’s most-loved photo restoration service
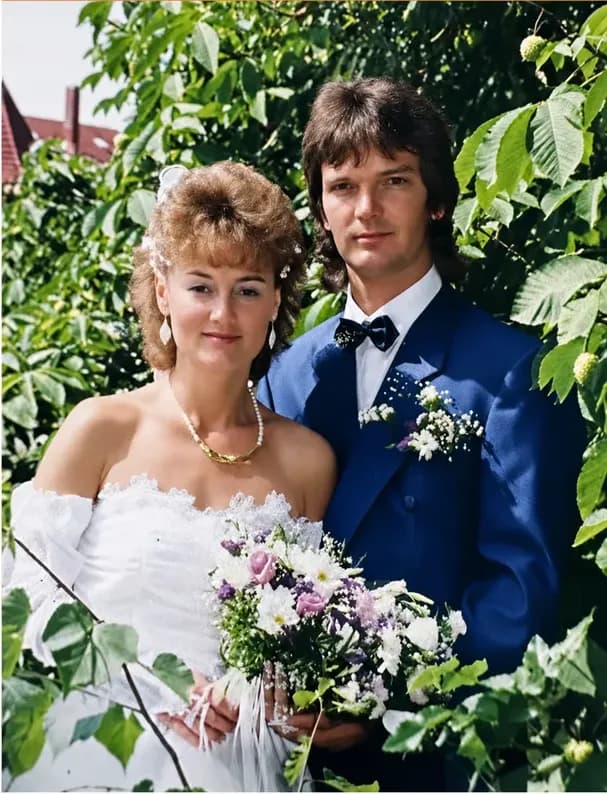
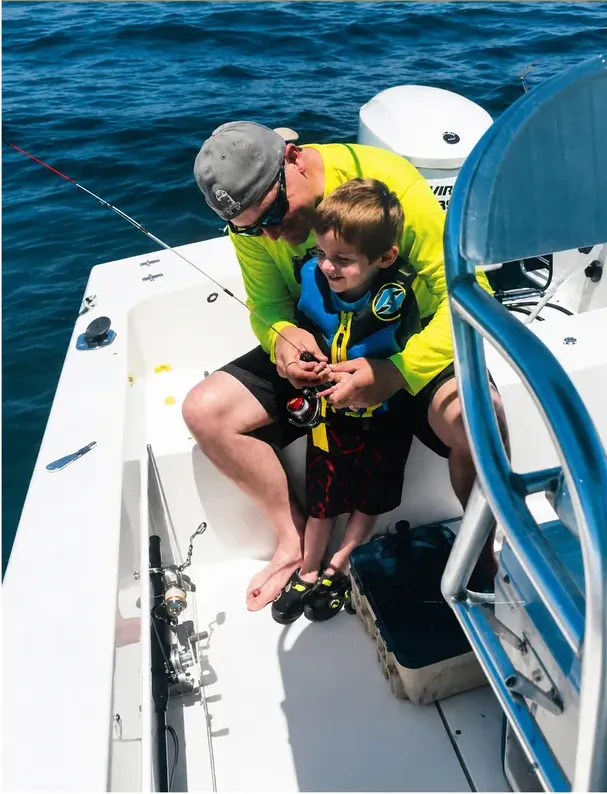
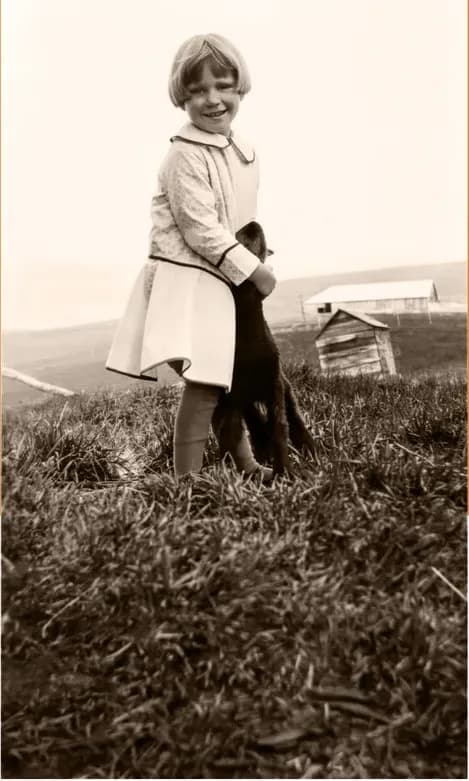
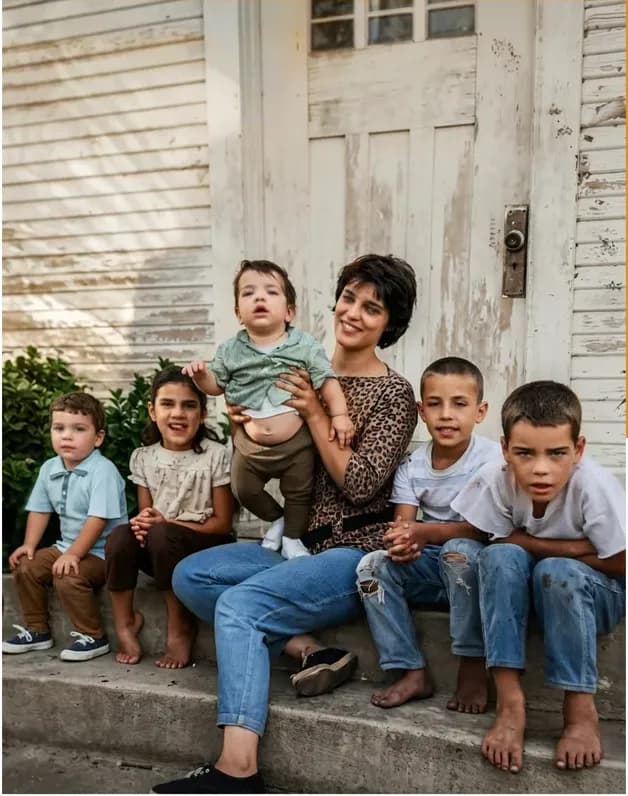
See what our photo restoration service does with the photos everyone else gave up on. Tears, creases, even mold. Our artists have repaired it all.
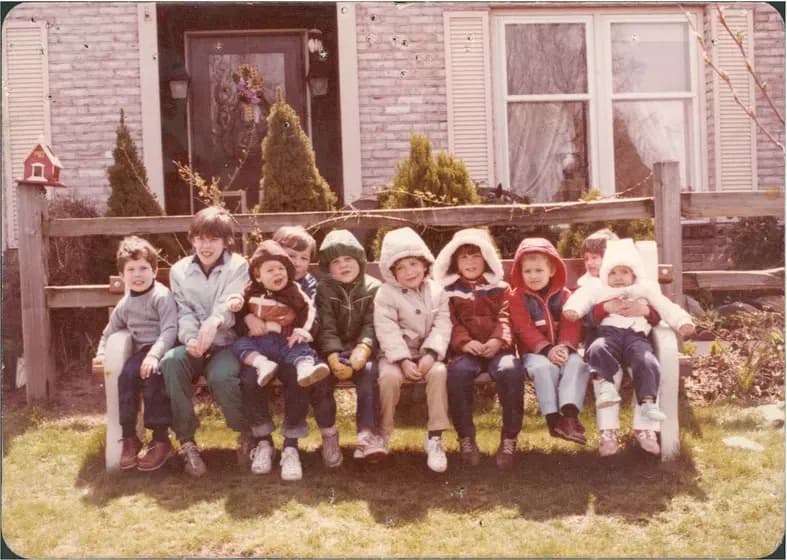 Before
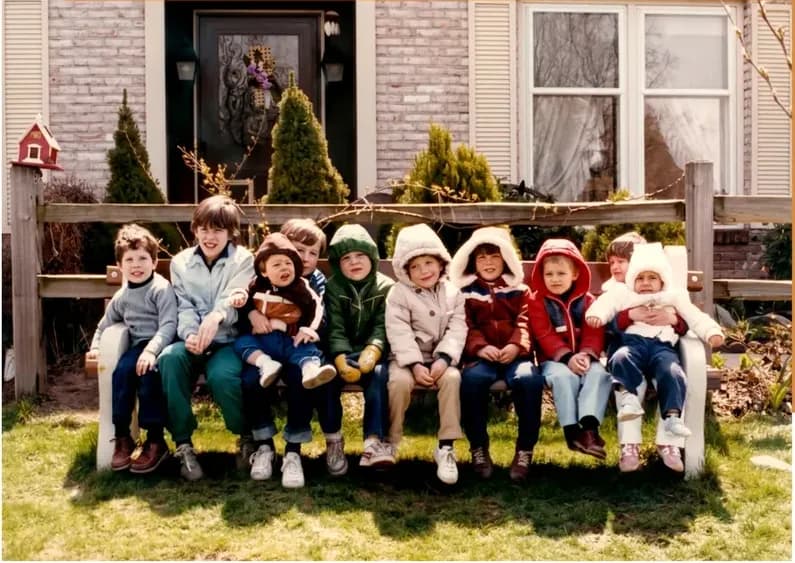 After
After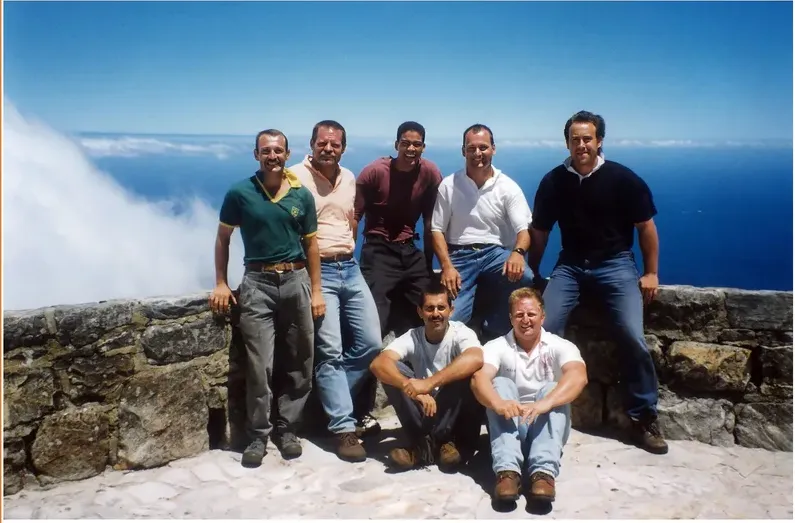 Before
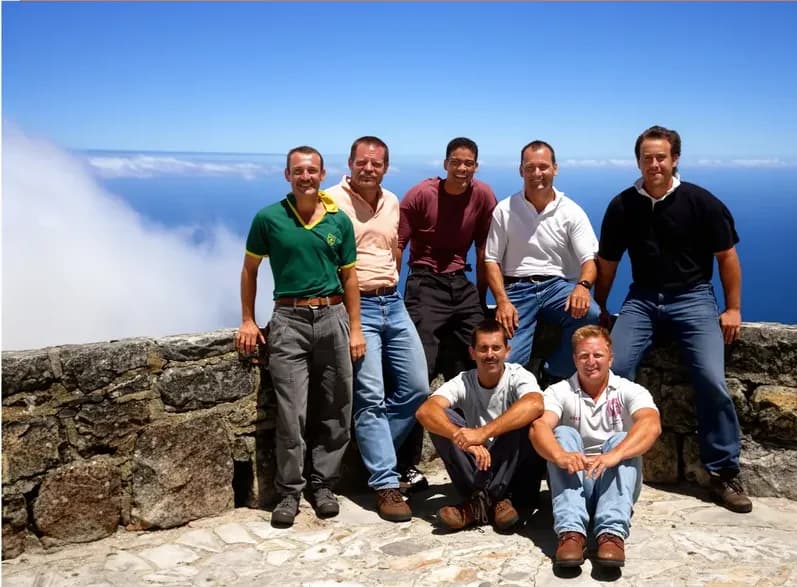 After
After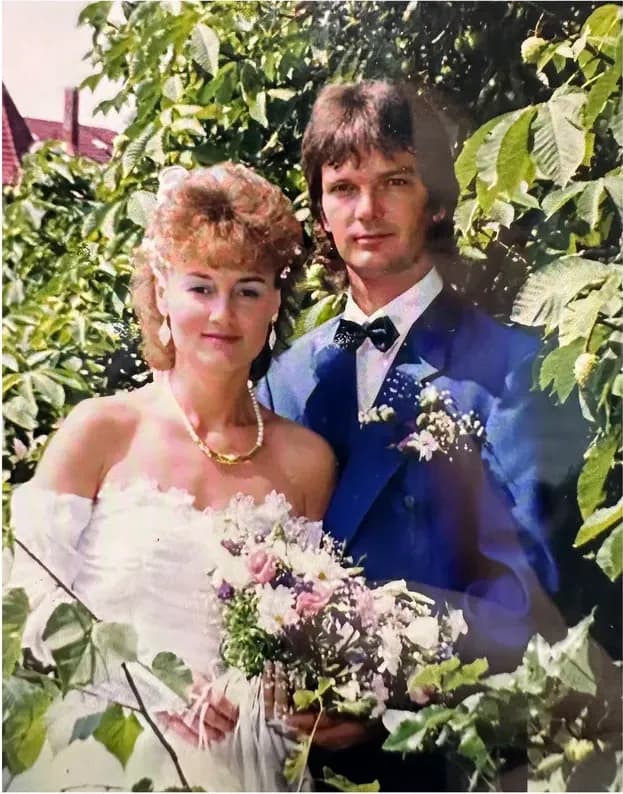 Before
 After
After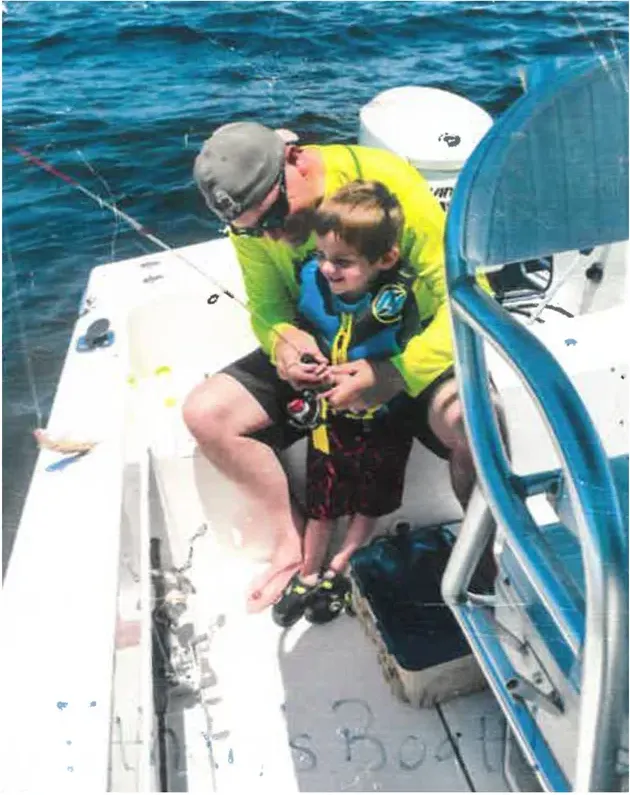 Before
 After
After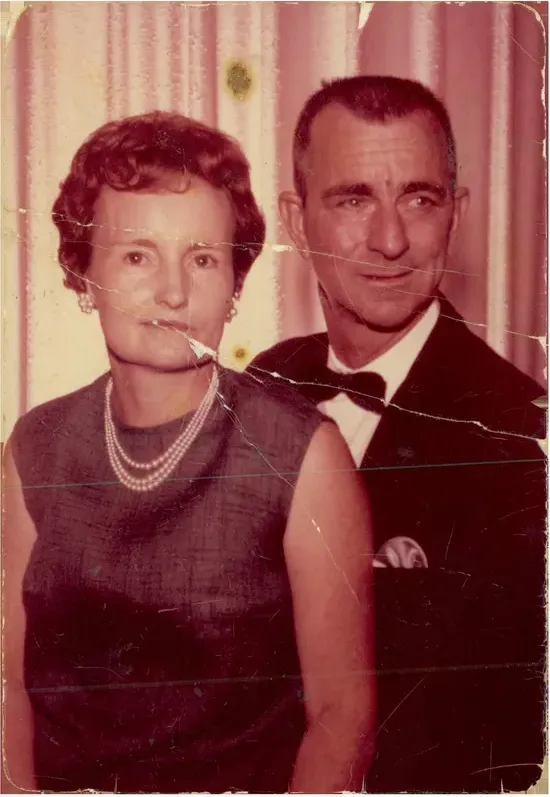 Before
 After
After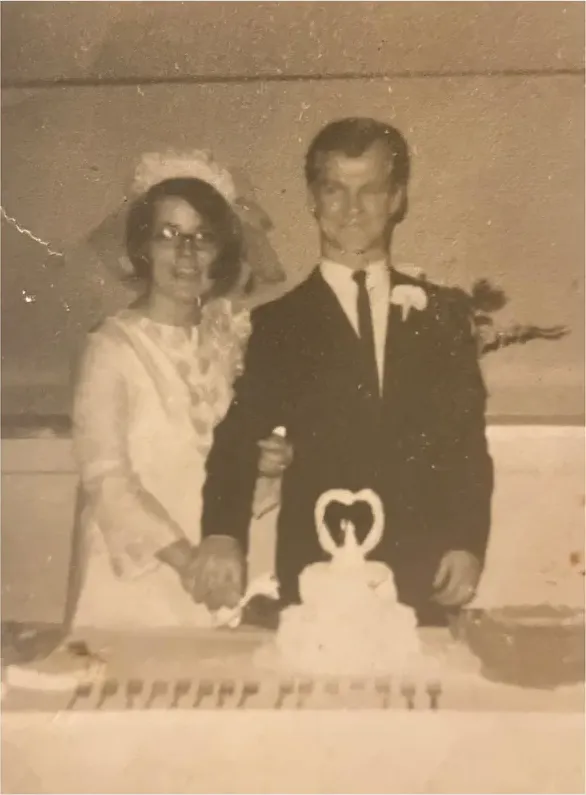 Before
 After
After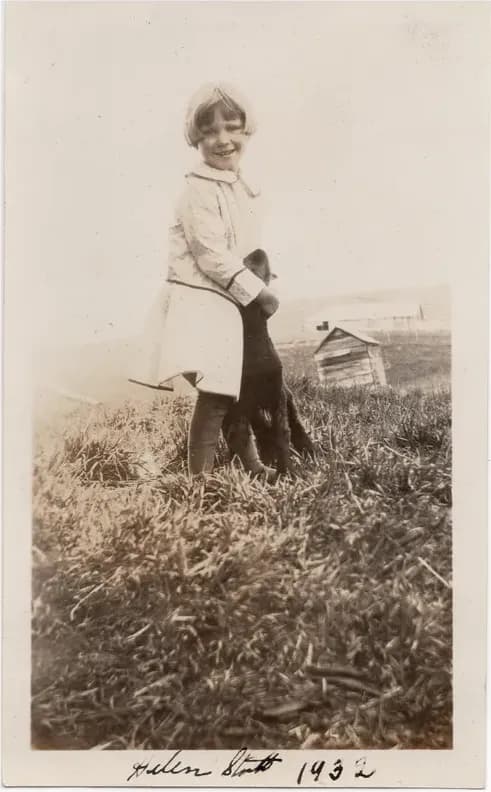 Before
 After
After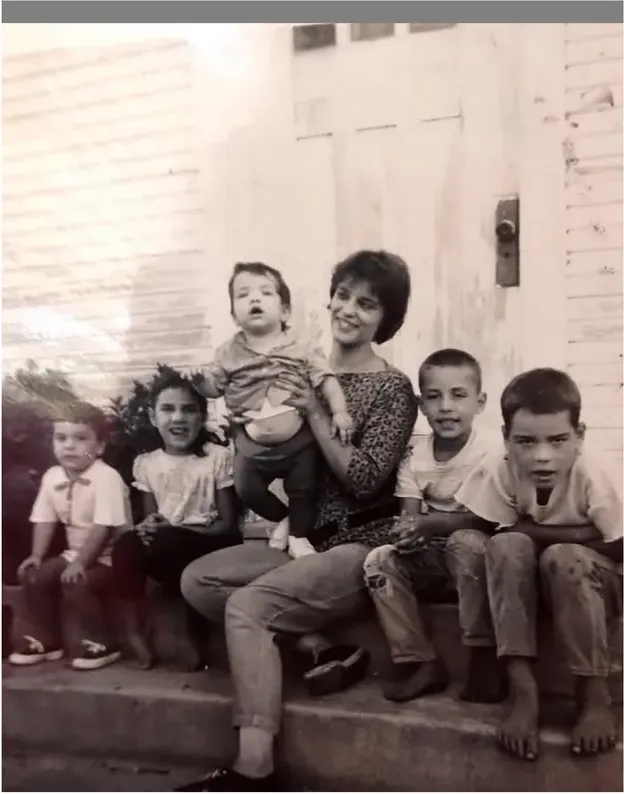 Before
 After
After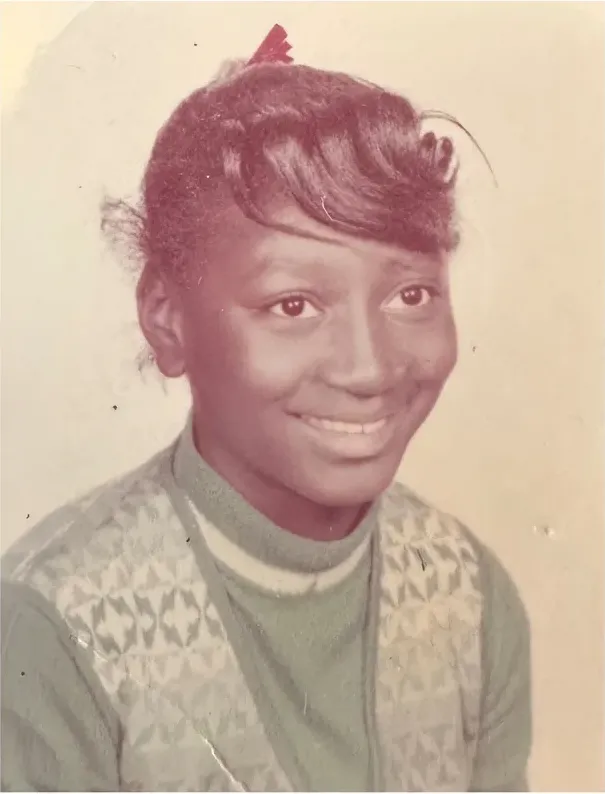 Before
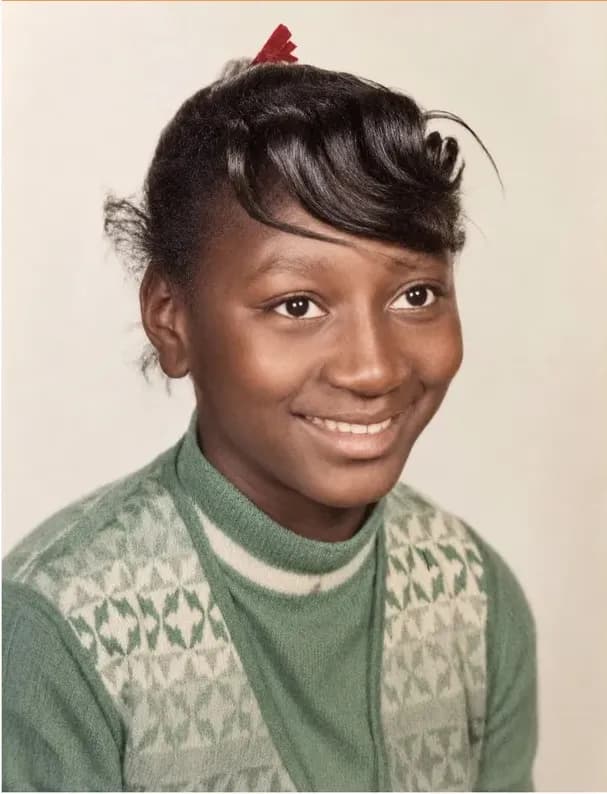 After
AfterYou can expect the same care when you send us yours.
Frequently asked questions
What is the best way to scan an old photo at home?
Can I clean a dirty old photo with water or a cloth?
What free tools can I use to restore old photos?
Can a blurry photo be made sharp?
When should I stop DIY and hire someone?
Do you use AI to restore photos?
Do I have to mail in my original photo?
How much does professional photo restoration cost?
Where can I get old photos restored?
Right here, from your kitchen table. There’s no shop to drive to anymore (most drugstore photo counters are gone): you take a picture of your photo with your phone, upload it, and our American artists restore it by hand within a few days. If you’d rather talk to a person first, call +1 (307) 218-6920.
Who restores old photos?
Real restoration artists do. At MemoryCherish, only humans ever touch your photo. Our artists have 37+ years of combined experience and have restored photos for museums, historical societies, and hundreds of thousands of families. You can meet the team on our Who We Are page.
Does Walgreens restore old photos?
Not anymore. Walgreens discontinued its photo restoration service in 2024, and most drugstore photo counters are gone. MemoryCherish is where those customers come now: restoration done by hand by American artists, from $38, delivered in a few days, with no store visit needed. Read our full Walgreens comparison here.
Can a photo that’s torn, faded, or water-damaged really be restored?
Almost always, yes. Even photos other services turned away. Tears, creases, water stains, fading, mold, fire damage, photos stuck to glass, photos in pieces: our artists restore them all by hand. And in the rare case a photo just can’t be saved, we’ll tell you honestly and you won’t pay anything.
What is photo restoration?
Can I trust MemoryCherish?
What degree of “damaged” can MemoryCherish handle?
How much does it cost to restore a photo?
Restoration starts at $38 per photo. You choose one of three artist levels — Experienced Artist at $38, Head Artist at $58, or Senior Artist at $148 — and the price never depends on how damaged the photo is: a torn photo costs the same as an easy one at the same level. Free revisions and your digital files are always included, and nothing is ever added after. You’ll see your full total on the order form before you pay a cent, and the three artist levels are laid out on our Why choose us page.
Can old, damaged photos be restored?
Can faded photos be restored?
How are my restored photographs delivered?
What if I don't like something about the photo restoration?
How soon can I get my photo restoration after I order?
Most photos come back in a few days. You’ll pick your speed on the order form. And if you need it tomorrow (a memorial service, a birthday), there’s a 24-hour rush. Tell us the date and we’ll treat it as a promise.
What if I need support with photo scanning?
Do you have a price list I can look at?
The simplest price list is the order form itself: start an order (about two minutes, no commitment) and you’ll see your exact total for your photo before you pay anything. You choose the artist level, and the price never depends on the damage. You can also see all three artist levels and what each one includes on our Why choose us page.
Who owns the rights to my photos?
Should I just use an AI photo app?
You can try one free. Many of our customers did first. Here’s what they tell us: the app “restored” the photo, but the face that came back wasn’t quite Mom anymore. AI apps don’t recover your photo’s real details. They borrow face parts from strangers in a database and paste them in. For a photo of someone you love, that’s the one thing that can’t happen.
Our artists only recover what’s really there. That’s why every restoration includes a before-and-after comparison and your approval before it’s final: it has to look like her, or you don’t pay.
I have more questions. Is there a person I could talk to?
If you have any more questions, email our team at support@memorycherish.com, or give us a call at +1 (307) 218-6920. A real person will get back to you and walk you through anything you're unsure about.
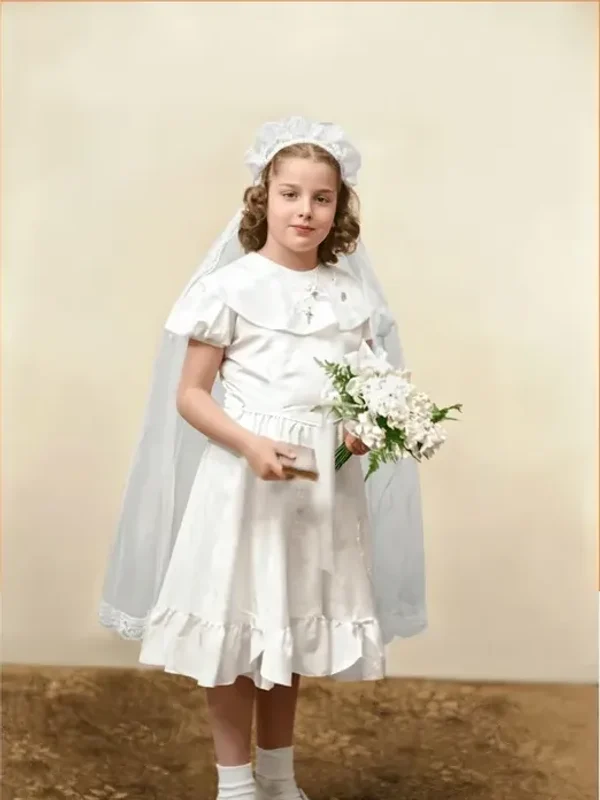
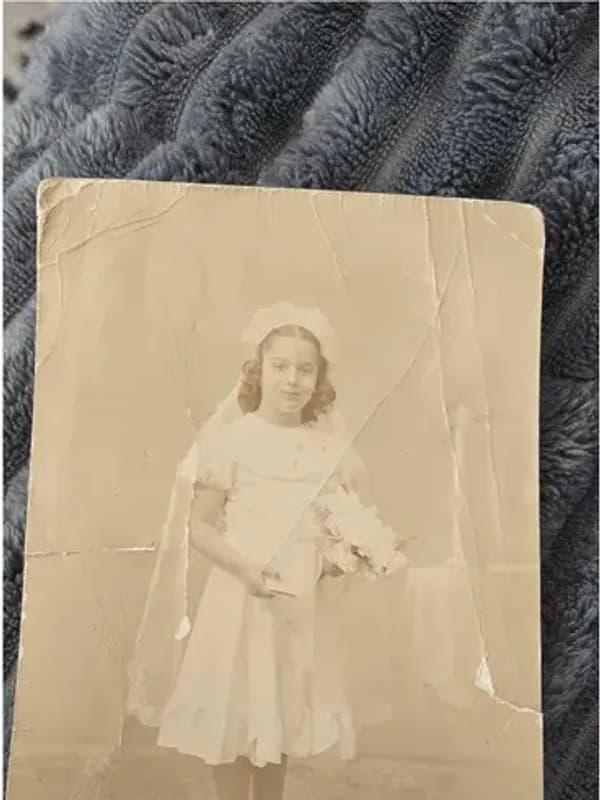
Love your restoration or get your money back
We’re confident you’ll love it. And in the rare case you don’t, we’ll refund you. Every cent, in cash. From $38 per photo, priced by the artist you choose, never by the damage.
Bring the shoebox out today
Join the 400,000+ families who got their old photos fixed up. Our American artists don’t stop until your photo looks exactly the way you remember it.
From $38 per photo, you choose your artist
The MemoryCherish Guarantee: Love it or every cent back within 30 days. Cash, not store credit. Free revisions until it looks exactly like you remember. And if a photo just can’t be restored, we’ll tell you honestly and you won’t pay a thing. Read the full guarantee
“It now reminds me of how I knew him for real.”


First, make a good digital copy
Before you fix anything, get a clean digital copy. This protects the original and gives you something safe to work on. It also means you can share the photo without passing the fragile print around.
A flatbed scanner gives the best result. Scan at 600 DPI for a standard print, and 1200 DPI for a small or wallet-size photo. Save the file as a TIFF or a high-quality JPEG. Wipe the scanner glass first, and place the photo face down and straight.
No scanner at home? Your phone camera works well. Lay the photo flat near a window in soft daylight, not direct sun. Turn off the flash, which causes glare and hot spots. Hold the phone directly above the picture, fill the frame, and tap to focus before you shoot. Take a few and keep the sharpest one.
Handle and clean old prints gently
Old photos are more delicate than they look. The emulsion, which is the thin image layer on the front, can lift or flake. Handle every print by the edges, and wash and dry your hands first. Clean cotton gloves help if you have a pair.
For loose dust, use a soft, dry brush or a gentle puff of air, working from the center outward. Do not use water, household cleaners, or a damp cloth on the image side. Moisture can bond photos together or dissolve the emulsion. If prints are stuck to each other or stuck to glass, stop and leave them alone. Forcing them apart tears the surface for good.
Store the originals well once you are done. Keep them flat in acid-free sleeves or boxes, away from heat, damp, and sunlight. A closet inside the house is far kinder than a hot attic or a cold basement. Good storage now saves you a bigger repair later.
Simple fixes you can try at home
Once you have a good scan, some small problems are easy to improve with free or low-cost tools. You do not need to be an expert to make a faded photo look brighter and cleaner.
- Free software: GIMP and Photopea run on a computer and cost nothing. The Photos app on iPhone and Google Photos on Android both have simple edit sliders.
- Brightness and contrast: Nudge these to bring back a washed-out or dark image. Small changes look more natural than big ones.
- Cropping and straightening: Trim rough white borders and level a crooked scan.
- Spot removal: A healing or clone tool can hide small specks, dust, and light scratches.
- Color cast: Old color prints often turn orange or yellow. A white-balance or color slider can calm that down.
Always work on a copy of the file, never your only scan. Save your steps as you go, so you can go back a step if a change looks wrong.
What DIY can and cannot fix
It helps to be honest about the limits before you spend an evening on it. Home tools are good at brightness, color, and small specks. They struggle with anything the camera never captured in the first place.
Blur is the clearest example. If a photo was out of focus or shaken when it was taken, the fine detail was never recorded. No slider and no app can invent it back. Some softness can be sharpened a little, and contrast and edges can be improved so a blurry photo reads better. But a truly blurry face cannot be made perfectly crisp, and anyone who promises that is guessing. We would rather tell you the truth.
The same goes for large missing pieces, a torn-off corner that held a face, or heavy water damage that has eaten into the image. These need a person to rebuild them carefully, matching skin, hair, and background by hand.
When to skip DIY and let an artist do it
Some photos are worth handing to a professional from the start. Consider a hand restoration when the photo has deep creases, tears, missing sections, mold, or fading so heavy that faces are hard to make out. These repairs take skill and patience, and one wrong move on the original cannot be undone.
This is what our artists do. They are real people here in the United States who restore photos by hand, never with AI. That matters, because AI apps are fast and cheap but they guess. They invent detail and quietly change a face until it is not quite your grandmother anymore. A human artist studies the real person and stays faithful to them.
You never have to mail the original unless you want to. Upload a scan or a phone photo from home, anywhere in the US, and an artist gets to work. If you prefer, you can mail the print in, tracked and insured. Most restorations come back in about one to three days.
What it costs, and our promise
Prices start at $38 for the first photo. The price depends only on the artist tier you choose, not on how damaged the photo is. A badly torn, water-stained picture costs the same as a lightly faded one. Local restoration studios often charge $50 to $500 and take longer.
You also get free revisions until the photo looks right to you. You never get stuck with a result you do not love, and every order is backed by a 100 percent money-back guarantee. We are a family-owned company, rated 4.96 out of 5, and trusted by more than 400,000 families.
Try the home steps first. If the photo is beyond them, we are glad to take it from there.
Keep exploring
- Photo Restoration Near Me
- Photo Restoration in Charlotte
- Photo Restoration in Chicago
- Photo Restoration in Houston
- Photo Restoration in Las Vegas
- Photo Restoration in New York City
- Photo Restoration in Phoenix
- See the full before-and-after gallery
- Read customer reviews
Last updated July 14, 2026