How to Restore Old Photos: 7 Essential Tips
Do you want to learn how to restore old photos?
Restoring old photos can bring precious memories back to life. Faded images, cracks, and discoloration are common issues, but they can be fixed.
With the right techniques, you can make your cherished photos look new again. This step-by-step guide will walk you through the entire restoration process.
No need to be a professional to achieve stunning results. Whether you're dealing with scratches or fading, we've got you covered.
You'll learn how to use both manual and digital tools. Old family photos hold sentimental value, and restoring them preserves history.
By following this guide, you'll create lasting memories for future generations. Let’s get started on restoring those timeless images!
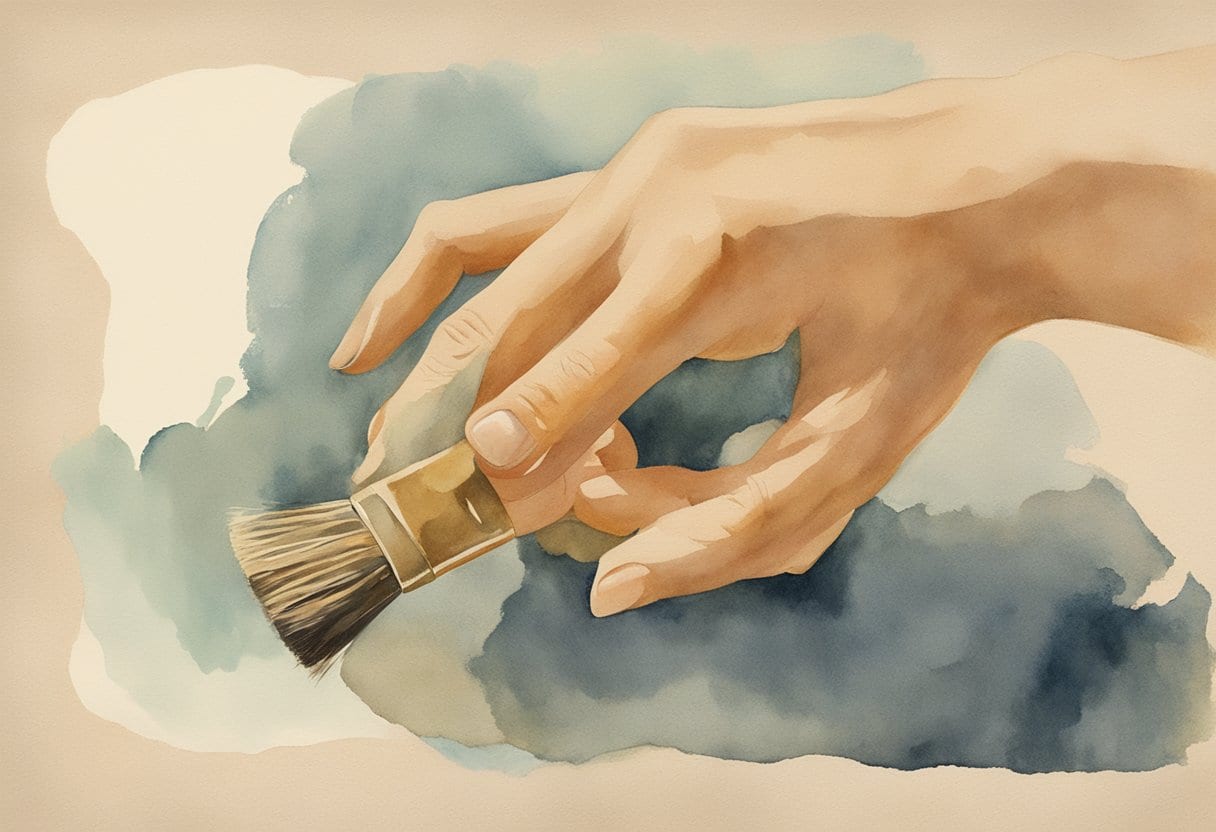
1) Clean the Surface Carefully
Old photos hold precious memories, but they can get dirty over time.
To start, lay a clean towel on a flat surface. Putting the photo on the towel helps keep things steady.
Your next step? Wear gloves. This prevents fingerprints and oils from your hands from messing up the photo.
Use a can of compressed air to blow away dust and dirt. It's like dusting off a treasure map, revealing hidden details.
If there's still some stubborn dirt, grab a soft brush or cloth. Gently brush the photo, careful not to damage it. Think of it like brushing lint off a favorite sweater, but even more carefully.
For tougher spots, a dry cleaning sponge can work wonders.
Lightly rub the sponge on the photo, using short, gentle strokes. It's similar to erasing pencil marks from your homework, but remember, less pressure is better.
In cases where mold or mildew are present, clean gently with a soft brush. Try not to spread the mold to other parts of the photo.
Lastly, ensure the photo is dry before storing it. Wet surfaces can lead to more damage.
2) Remove any Dirt or Debris
Dust and dirt can do serious harm to old photos.
To start, gently wipe the photo with a soft brush. This removes loose particles without scratching. Don't rush this process. Each stroke should be slow and careful.
For stubborn dirt, try a dry cleaning sponge.
Lightly rub the sponge over the photo surface, focusing on dirty areas. Use gentle pressure and avoid large, forceful strokes to prevent damage.
Dealing with water-damaged photos?
Use cold distilled water to rinse, not tap water. Tap water has minerals and chemicals that could harm your photos.
Carefully rinse in a shallow dish and don’t soak too long.
Next, blot the photos with blotting paper. Place the paper on the photos and press gently. This absorbs moisture without harming them.
Let the photos air dry completely before handling. Be patient. Rushing can cause more damage.
Avoid cleaning with household chemicals or cleaners. These can wreck the photo's surface. Stick to soft brushes, sponges, and distilled water for the best results.
3) Use a Flatbed Scanner
Picture the moment you first found that old album in the attic. Can you smell the dust? Those photos hold stories.
A flatbed scanner is a great tool to bring those memories back to life.
One neat trick is to place a piece of silky fabric over the photos. This avoids shutting the lid, which can help with delicate or odd-shaped items.
Once scanned, you can edit the background in software.
Choose the right DPI settings.
For small photos, 1200 DPI is ideal. Bigger photos can be scanned at 300 DPI. This ensures you capture every detail without creating massive files.
Flatbed scanners do take time, as each photo needs individual attention. Yet, the quality makes it worth it.
Simply wipe the scanner glass clean between scans to avoid dust spots on your images. A quick wipe can save hours of editing later.
4) Adjust Brightness and Contrast
Adjusting brightness and contrast is crucial in bringing old photos back to life. It's often the first step in the restoration process.
Begin by finding the right tool, whether you're using Photoshop, Pixlr, or another software.
Consider starting with a duplicate layer. Why? This keeps the original safe. You don’t want to mess up and lose the original image forever.
Next, locate the brightness and contrast settings in your software.
For example, in Photoshop, you can find these settings under the "Image" menu, then "Adjustments." Moving the sliders can make a huge difference.
Don't overdo it, though. Too much brightness can wash out an image, making it look unnatural.
Same with contrast; too much can make the details disappear. Aim for a balanced look.
Imagine seeing the original colors and details pop back out. Isn’t that exciting?
These tweaks, while small, can transform an old, faded photo into something that looks almost new.
5) Repair Tears and Scratches Digitally
Ever found an old photo with tears or scratches? Digital tools can bring it back to life. Think of it like giving the photo a second chance.
First, scan the damaged photo. High resolution is key.
The more detail you capture, the easier the repair. Aim for at least 300 DPI (dots per inch).
Open the scanned image in a photo editing program.
Select the areas that need fixing. Tools like the Magic Wand or Lasso help isolate the damage.
Zoom in for a closer look. Accuracy matters.
Next, use the healing tools. Features like the Healing Brush, Clone Stamp, or Inpaint can work wonders. These tools copy details from undamaged parts and blend them into the damaged area.
For larger tears or missing sections, reconstruct the image. This step requires patience.
You might need to blend several areas or layers to make the repair seamless.
Lighten or darken areas if needed. Adjust brightness and contrast to match the repaired parts with the rest of the photo.
Lastly, save your work. Always keep a copy of the original scan. You never know when you might need to start over or make further adjustments.
However, you can always opt for professional restoration services, such as MemoryCherish.
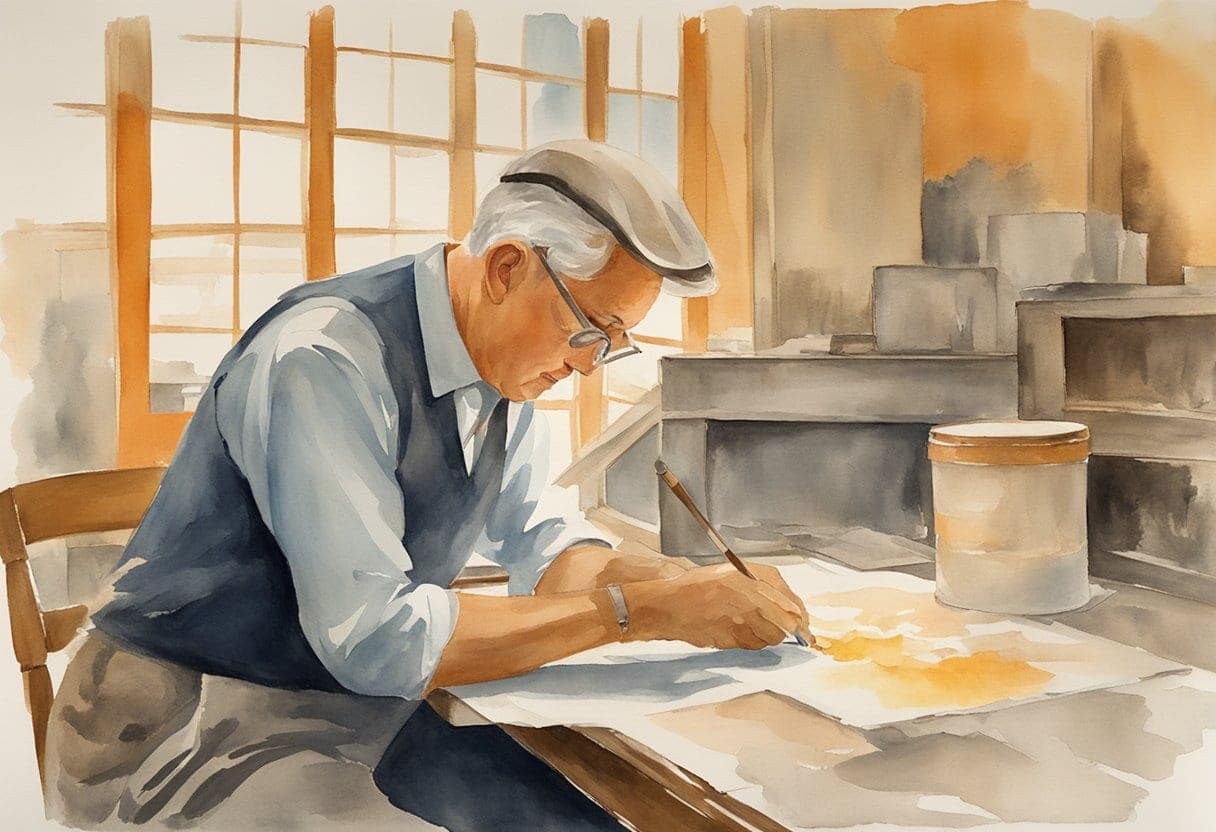
6) Restore Colors to Faded Photos
Have you ever discovered an old photo and noticed how the colors have faded? Don’t worry, restoring those vivid colors is easier than you think!
At MemoryCherish, we specialize in bringing cherished memories back to life.
Our expert team specializes in restoring photos to their original beauty, no matter the damage.
Whether your images are faded, water-damaged, or affected by mold, we have the techniques to bring them back to life.
With advanced technology and skilled artists, we ensure high-quality restoration that preserves the essence of your memories.
Our process begins with a careful assessment of each photo to determine the best restoration approach.
We take pride in our attention to detail, ensuring that every pixel is treated with care. MemoryCherish offers free revisions, so you can be confident in the results.
We prioritize secure payment options, making the process smooth and worry-free. Let us help you preserve your family history with love and expertise!
7) Sharpen the Image
Sharpening an image can make a world of difference. You know those old family photos where faces are a bit blurry? Imagine being able to see every detail clearly again. It's like wiping grime off a window.
AI tools promise to do it in one click, though what they add is guesswork, not your photo’s true detail.
Automated sharpeners can process your photos in seconds. On faces, look closely before you trust the result.
Sharpening improves clarity and makes the subject pop. Even faded details can come back to life.
The process is simple but impactful. It’s not just about aesthetics, it's about preserving memories vividly.
Understanding Photo Restoration
Restoring old photos involves not just fixing damage but also preserving precious memories. It requires understanding the types of damage that can occur and why it's important to take action.
The Importance of Restoring Old Photos
Old photos can be priceless treasures. They hold family history, capture unforgettable moments, and sometimes are the only visual memory of certain events or people.
When a photo gets damaged, those memories can fade away. Restoring them brings back these moments, allowing current and future generations to appreciate and learn from the past.
Imagine flipping through a photo album and seeing your grandparents' wedding photos in perfect condition. It can be a powerful connection to your heritage.
Taking care of old photos also shows respect for the fragile nature of the materials used.
Old photo paper and chemicals degrade over time. Restoring them preserves this art form, keeping it vivid for years to come.
Common Types of Photo Damage
Photos can suffer from various types of damage over time. Some common problems include:
- Fading: Colors and details fade due to exposure to light and air.
- Scratches and Tears: Physical damage from handling or improper storage.
- Stains and Spots: Water, mold, or accidental spills can leave marks.
- Curling and Warping: Humidity and temperature changes cause photos to bend or warp.
Each type of damage requires specific techniques for restoration.
Understanding the cause of the damage is crucial in choosing the right method for restoration. It helps ensure that photos are treated appropriately and don't suffer further harm.
Conclusion
In conclusion, learning how to restore old photos is a rewarding experience. It allows you to breathe new life into cherished memories.
By following these steps, you can restore old photos with ease. From fixing scratches to enhancing colors, the results can be incredible.
Restoring old photos helps preserve history for future generations. It’s a meaningful way to keep family stories alive.
Whether you use software or manual techniques, the effort is worth it. Every time you restore old photos, you're saving a piece of the past.
The process may take time, but the memories you preserve will last forever. Now, it's time to restore your old photos and bring those memories back to life!
Ready to restore your own photos?
Our artists bring your damaged photos back by hand, most within a few days.
Rated 4.96 out of 5 stars.4.96/5 · Loved by 400,000+ families