How To
How to Digitize Photos for Preserving Old Memories

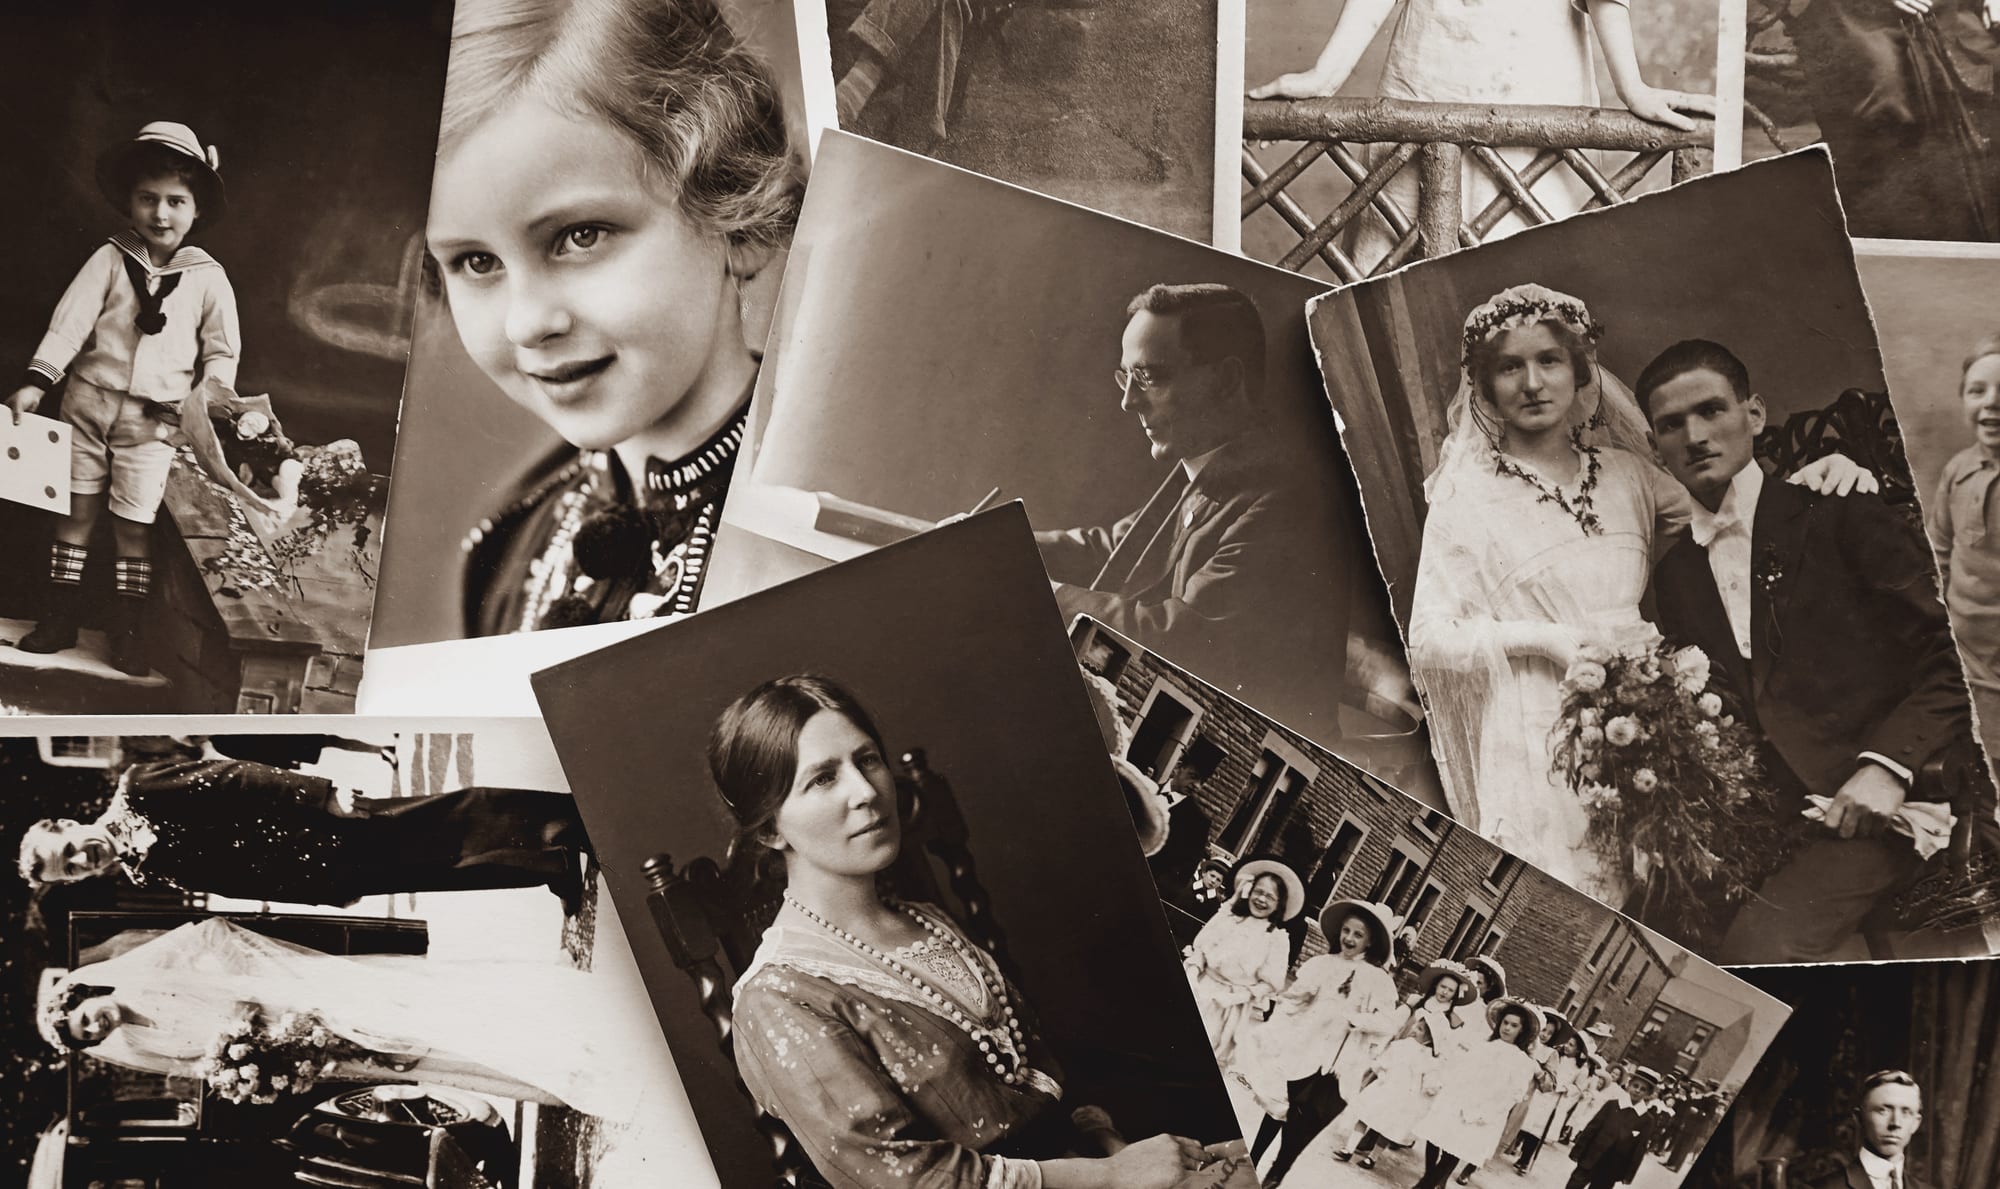
Digitizing old photos is an excellent way to preserve memories for future generations. Maybe you've just rediscovered an old photo album of your parents' wedding day or a family vacation, and now wish to share these memories with your grandkids.
Alternatively, you may have recently found some old photos of your grandparents and would like to preserve them for generations.
Regardless of the reason, digitizing old photos is a great way to preserve memories for years to come.
It can be daunting, however, if you don't know how to go about it. In this article, we'll explain the process of digitizing photos and the benefits of doing so.

The Benefits of Digitizing Old Family Photos
Digitizing your old family photos is an excellent way to preserve your memories and keep them safe for future generations. It involves scanning your physical photographs into digital images, allowing you to store and share them without damaging the original print.
Preserving our memories through digitization also has several additional benefits such as being able to enhance the aesthetic quality of an old photo and being able to share it with family and friends.
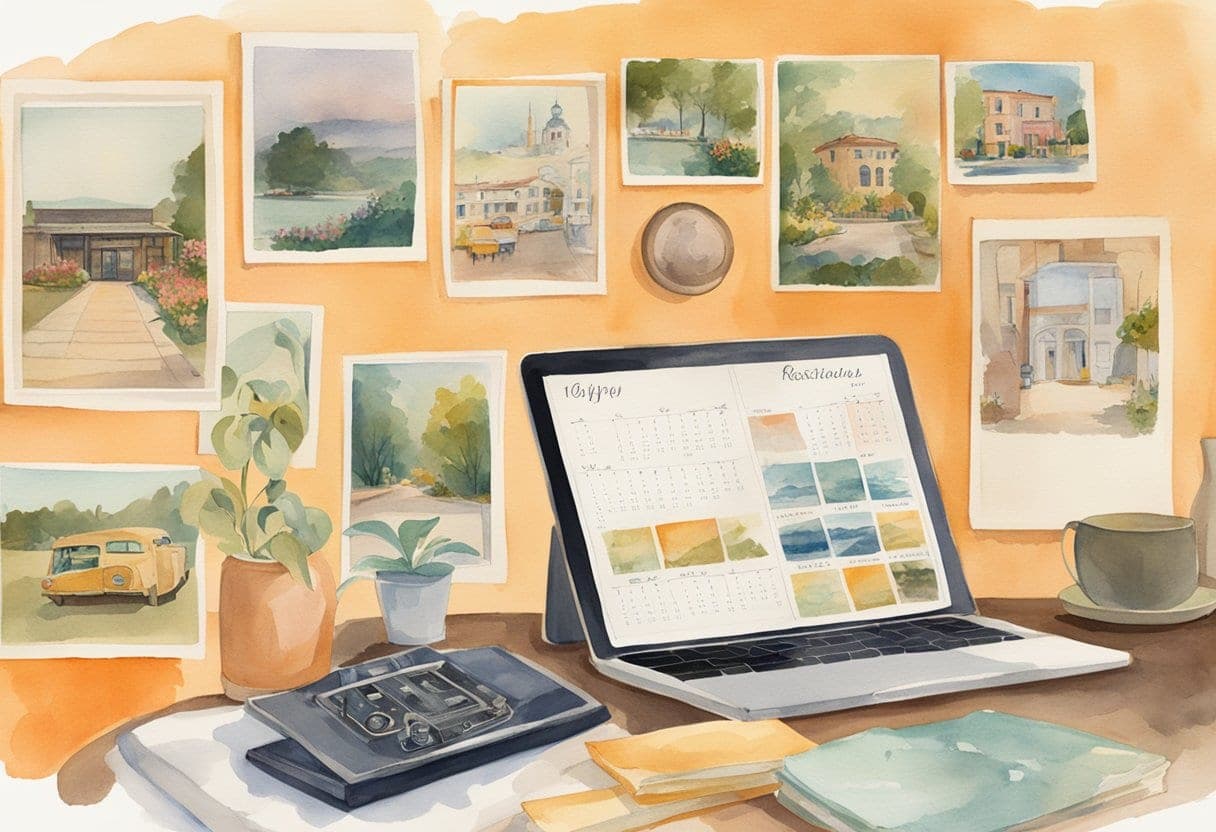
How to Digitize Old Photos Using Different Methods
There are several different methods available when it comes to digitizing old photos. Let's go through them.
Using a Smartphone
Using a smartphone for scanning photos is a great way to quickly and easily preserve your memories. Smartphones are lightweight and small, making them perfect for carrying around with you on the go, so you can snap photos of your old prints wherever you are.
The first step in digitizing photos with a smartphone is to make sure that the phone is set up correctly. To do this, ensure that you have enough storage space on your device and that the camera app is fully updated.

Next, adjust the settings on your camera app to capture high-quality images with plenty of detail. You may also want to increase the color saturation or brightness depending on how much detail you want in your digitized photo.
When taking the picture, be sure to use a steady hand and avoid any sudden movements as this can result in blurred images. Additionally, try not to zoom in too much as this will reduce the quality of the image.
After photo scanning, it’s time to transfer it to your computer so it can be stored safely for future generations. The easiest way to do this is by connecting your smartphone directly via a USB cable or sending it wirelessly over Wi-Fi or Bluetooth connection. Once transferred to your computer, you can store and share these photos online
Using a Scanner
Using a scanner to digitize photos is an easy and cost-effective way to preserve your memories for future generations. To start, you'll need a good quality scanner that can work with multiple sizes and types of photographs, both traditional prints, and slides. Additionally, considering that most scanners come with software these days, it's important to make sure the software is compatible with your computer before purchasing.
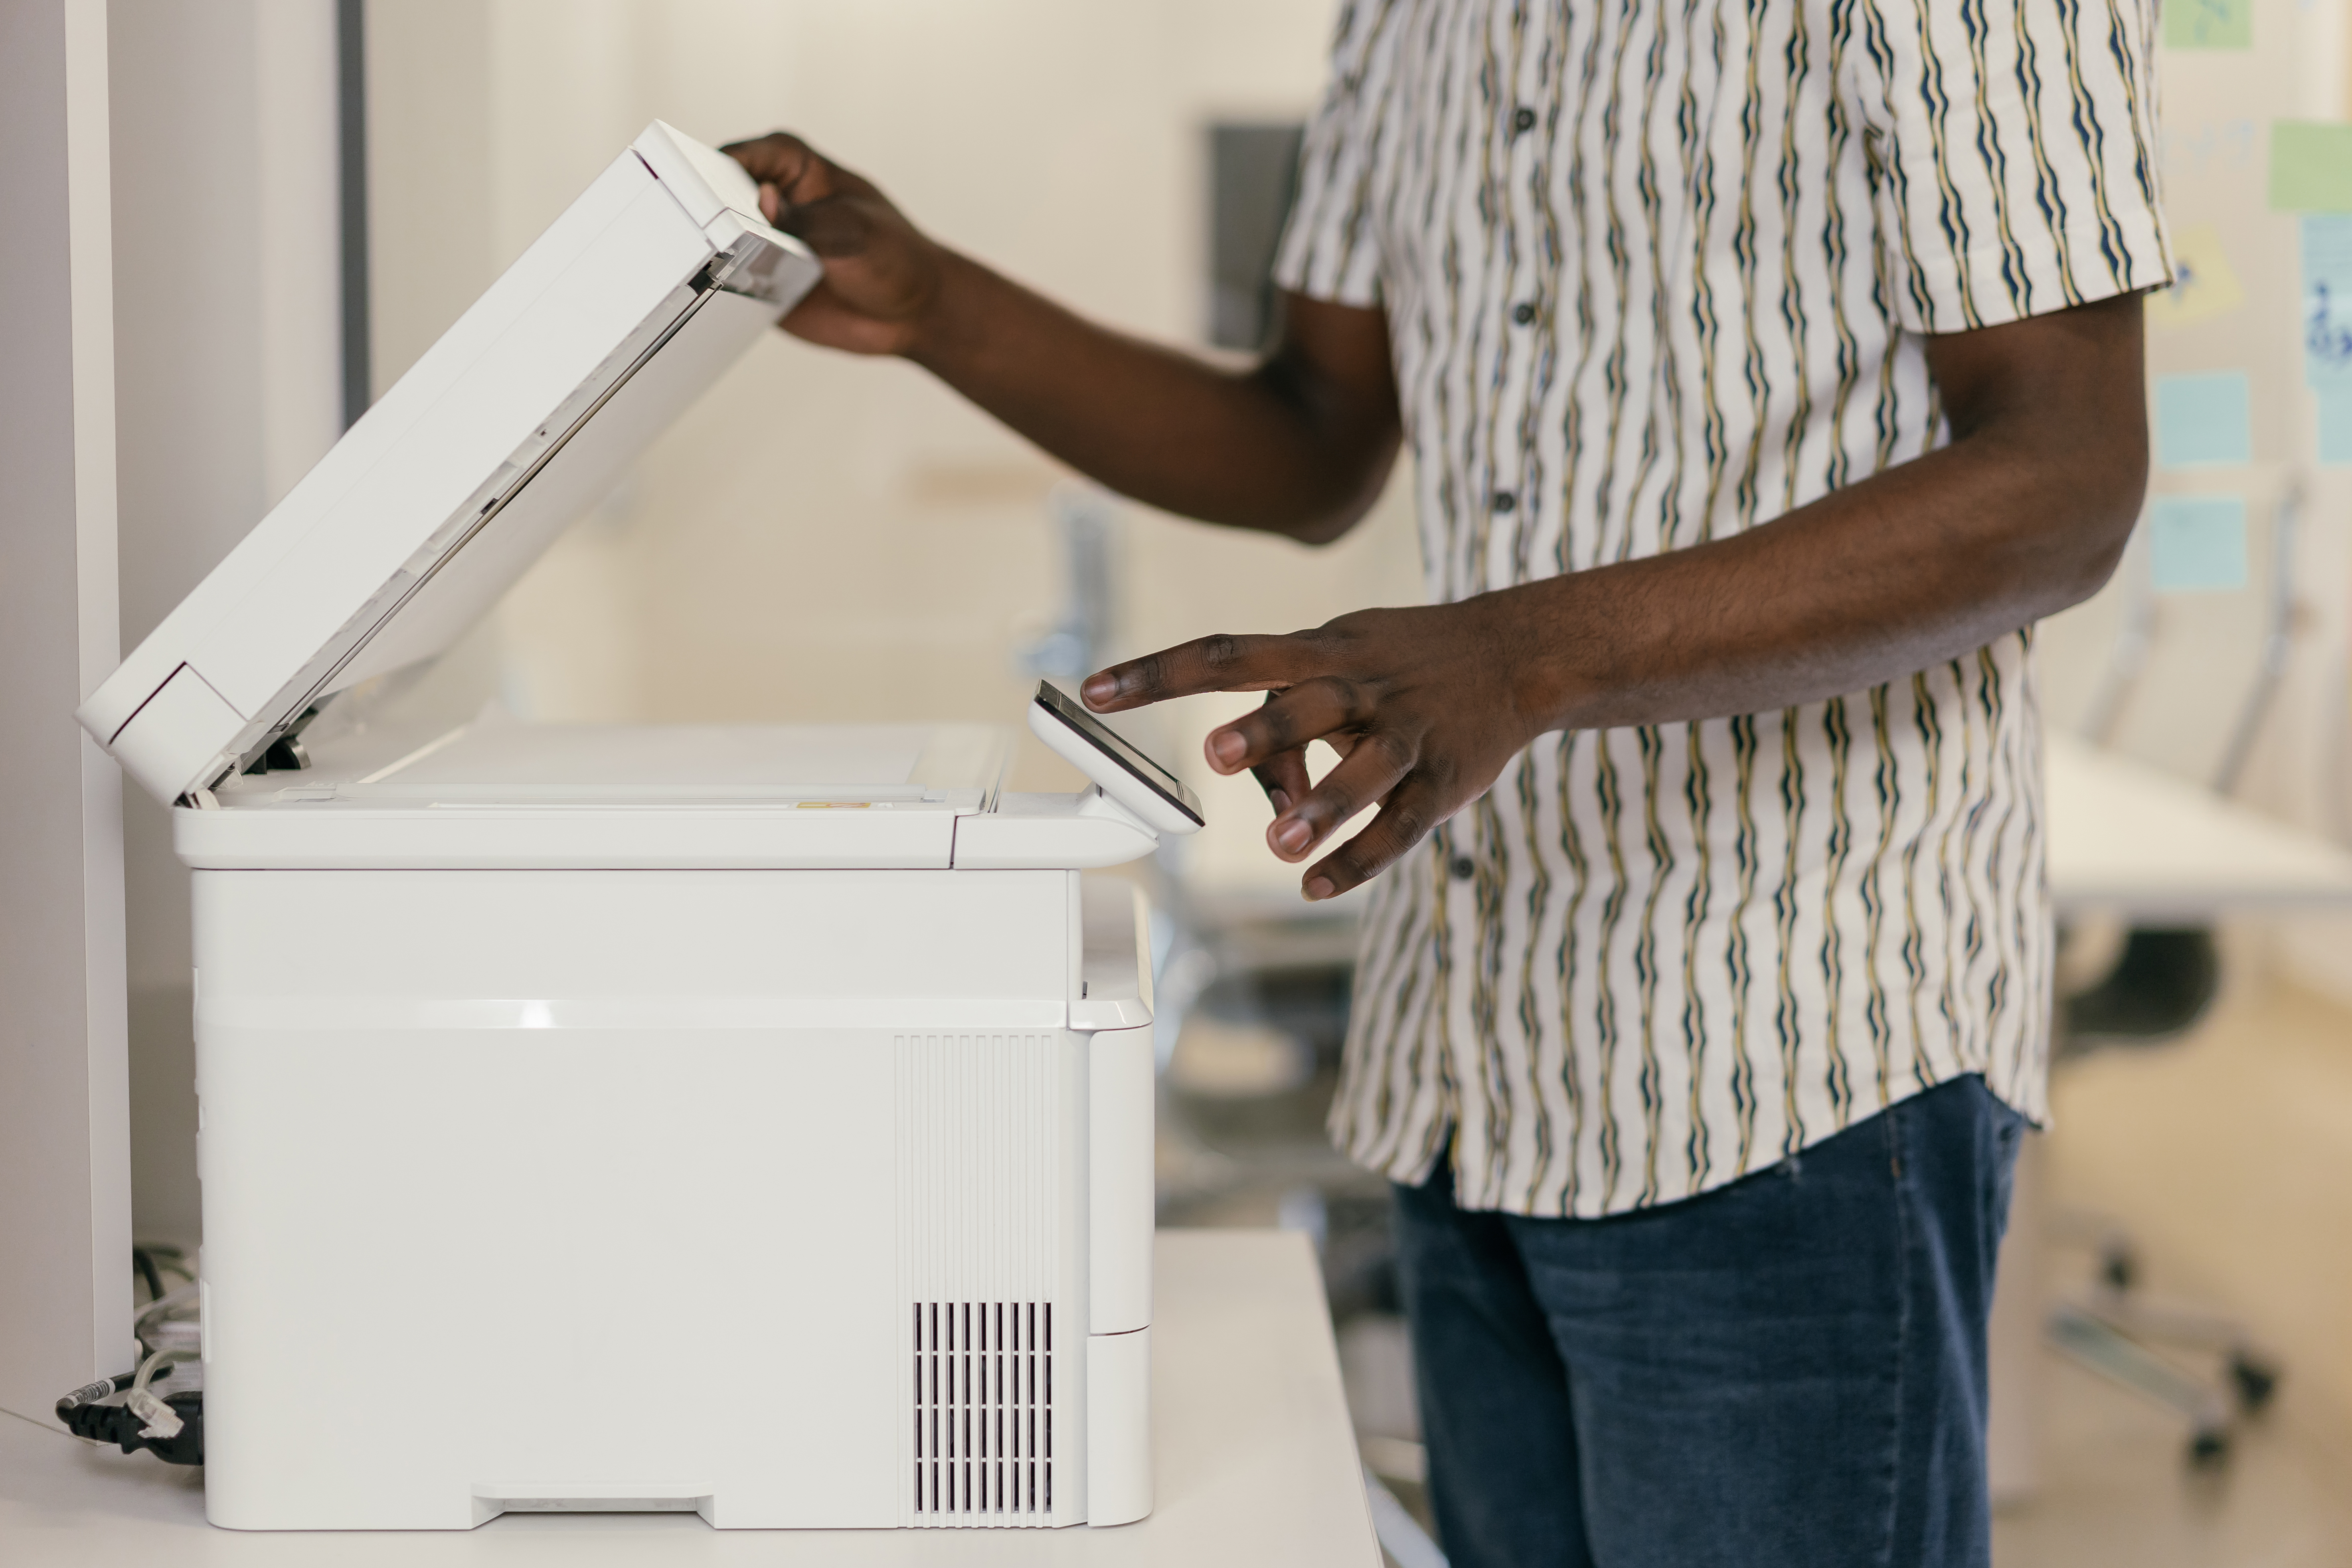
Once you have the necessary equipment, it's time to begin digitizing your photos! Begin by placing the photo you want to scan on the scanner bed and closing the lid. Next, open the scanning software on your computer and adjust any necessary settings such as brightness, resolution, color balance, or cropping. Be sure to select a resolution that will capture enough detail while keeping file size manageable; 600 dpi or higher is usually best for prints and 3200 dpi or higher is recommended for slides.
If you're using an all-in-one printer/scanner combo device instead of a dedicated scanner, be sure to check out any additional scanning options that may come with this type of machine - these often provide more advanced features such as dust removal or auto-cropping which can help save time during post-processing editing later on down the line.
Using a Camera
Using a camera to digitize photos is an increasingly popular way of preserving memories that are more than just simple snapshots. Not only can you capture crisp, high-quality images with vivid detail and color that rivals that of professional photographers - but you can also do it without having to leave the comfort of your own home!
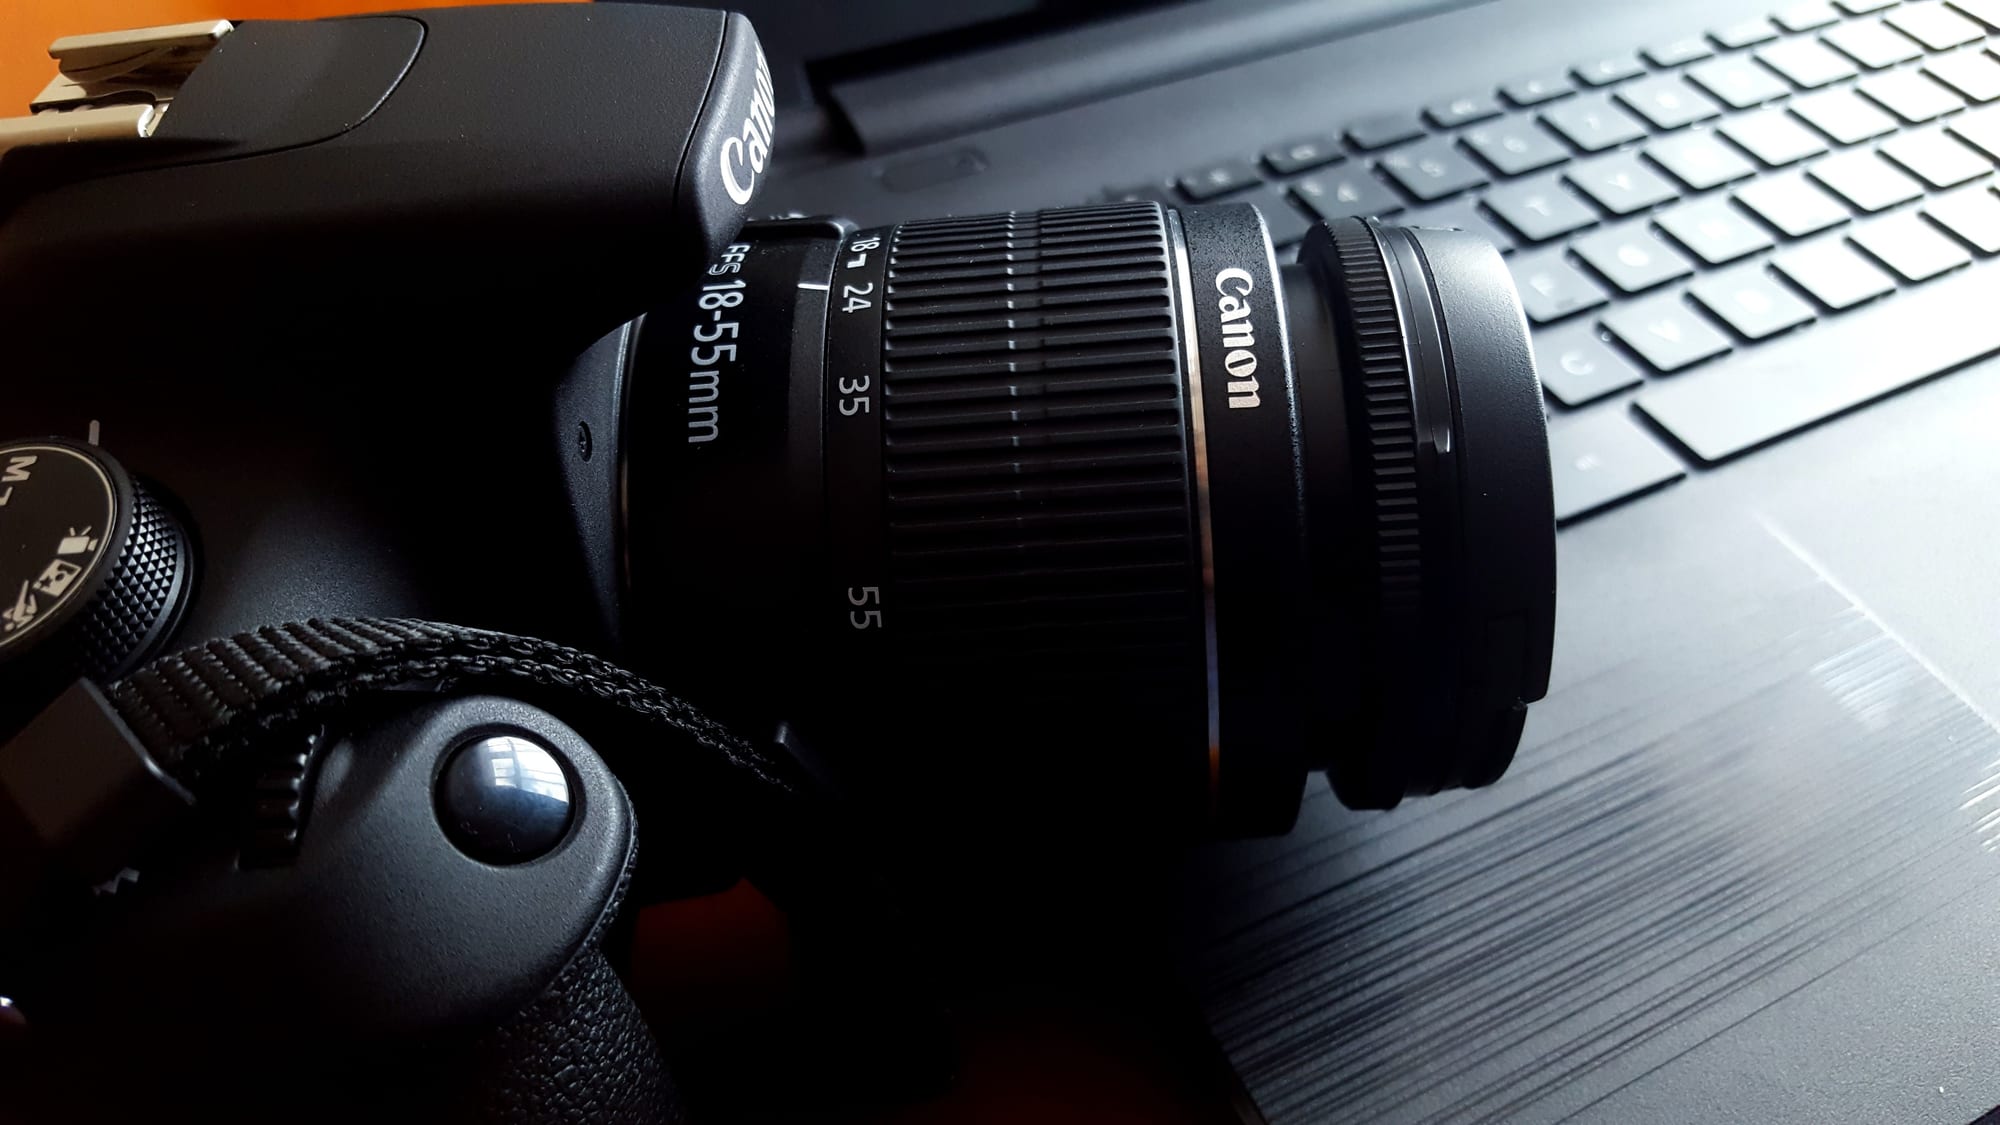
To begin, you'll need a camera capable of capturing digital photos at the resolution necessary to achieve the highest quality scan possible. For most photographs, a resolution of at least 24MP (megapixels) is recommended to fully capture all details and produce good-looking results. Additionally, if your goal is to make prints or large enlargements, then investing in a higher-resolution camera will be worth it since these types of images require more pixels for printing than those used for digital sharing.
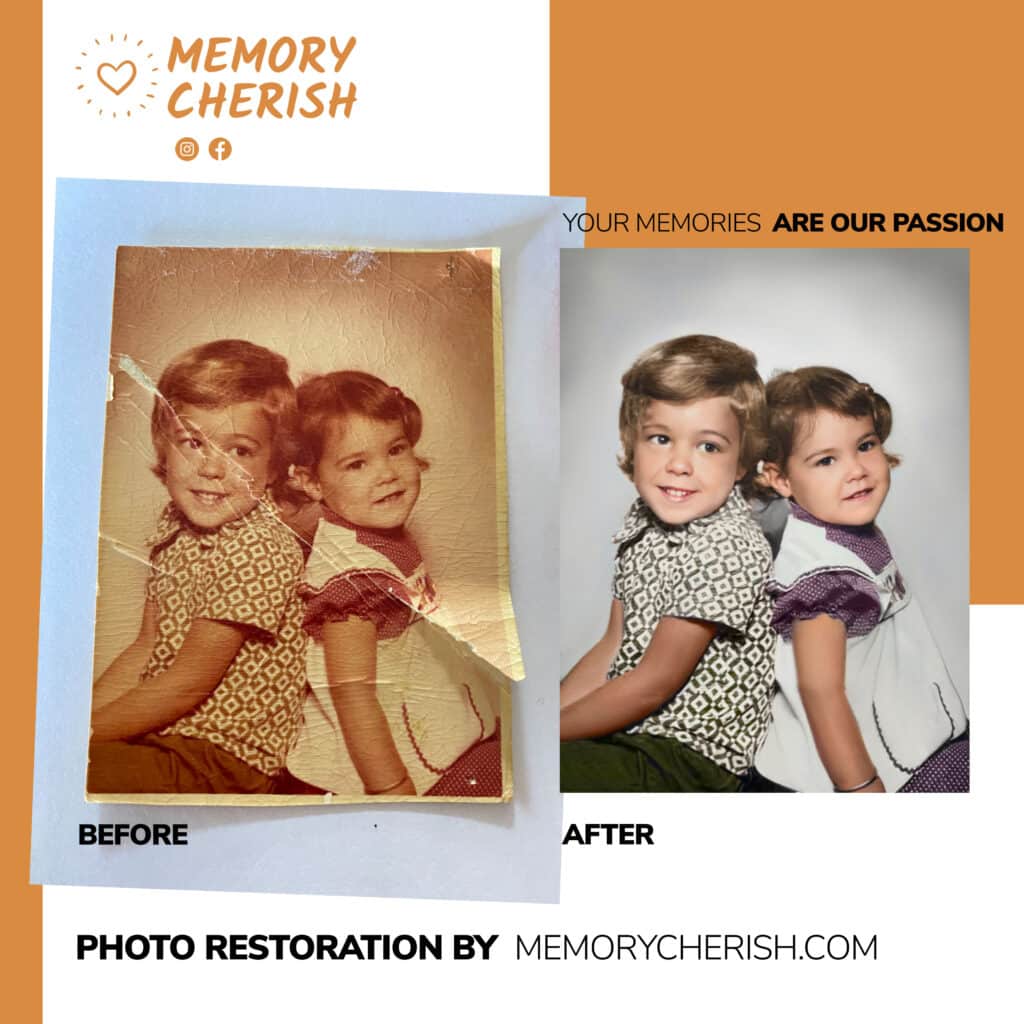
Using a Professional Service
Digitizing photos with a professional photo digitizing service like MemoryCherish is the perfect solution for anyone looking to preserve their memories with ease and convenience without having to leave the comfort of their own home. With just a few clicks, customers can upload their photos for digitization, then choose from a variety of options for image restoration to bring back detail that might have been lost over time due to fading or wear and tear.
Unlike using a camera or scanner to digitize photos, MemoryCherish also offers additional features such as automatic cropping and straightening of scanned images as well as color correction and photo retouching services - perfect for individuals wanting not only great looking scans but also beautifully restored digital versions of old photographs.
For those wanting not only great-looking digital versions of their photographs but also beautiful restored editions too – choosing a professional digitization service like MemoryCherish is an excellent option! Not only do we provide users with an easy way of preserving memories without having to leave home – but we also ensure fast delivery times and superior quality compared to other methods used when digitizing photos today!
How Do We Fix Your Picture?
Our specialty is the restoration of blurry and old photos!
Our restoration artists will closely examine and enhance your blurry image, remove stains, mold, blur, refine and add more detail and color to each picture.
No matter how many photos you want to fix, we won’t stop until they are in the best photo resolution. We can handle any damage to any photograph!
Our commitment to producing stellar quality restoration service has even landed us on news reports by ABC, NBC, and FOX news.
What Do I Need To Do?
First, you need to make your print photos clean and ready for restoration. You can check out how to clean your old pictures here.
Next, you need to carefully make photo scans of them. Then, you upload it here and pick your restoration options.
You place your order, and that’s it!
How Long Does It Take?
We would restore and send a digital copy of your sharpened image back to you by email in as little as 24 hours. If there is anything you would like us to change on your restored image, revisions are allowed on every restoration, completely free!
We also offer nationwide delivery of your enhanced photo prints!
Can I Contact Someone For More Information?
Our customer support is available 24/7 to answer any further questions. You can send us an email at: support@memorycherish.com.
Ready to restore your own photos?
Our artists bring your damaged photos back by hand, most within a few days.
Rated 4.96 out of 5 stars.4.96/5 · Loved by 400,000+ families