Old Photos
How To Colorize Your Black and White Photos: The Step-By-Step Guide
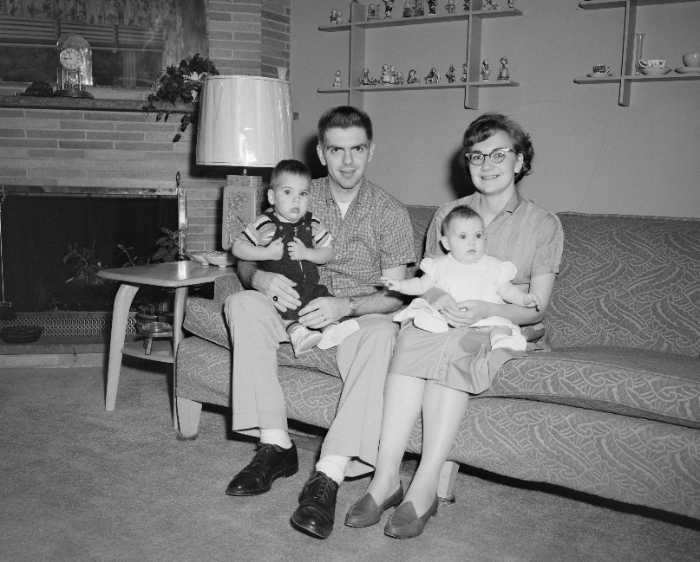
The appearance of color photographs is important and often underappreciated in the history of photography. In the early days, the only option for capturing images was with black and white colors. This often produced stale pictures that lack the richness of depth and dimensionality of color that we enjoy nowadays.
Do you have some old photos that you would love to see in color? With the right tools and techniques, it's not too difficult to add color to your black and white photos.
This step-by-step guide will show you how to colorize photos in just a few simple steps, as well as the most reliable way to add natural and realistic colors to your old photos. So grab your favorite black and white photo and let's get started!
Black And White Pictures
One of the most common questions we get is, "Why are old pictures always in black and white?". The answer is actually quite simple.
Early photography worked with film plates containing photosensitive chemicals that react to light. When light is shone on regions where the chemicals were more intense on the film, they become darker and unshaded areas remain clear. This then creates a negative black-and-white image.
Due to technological limitations, the chemical technology at the time was not advanced enough to make compounds that could generate more hues.
Color Photography
Up until the mid-1940s, creating a color photo was a complex and lengthy process. A photograph had to be taken, processed, printed, and then someone would paint the picture according to how it should look.
Only a few people were able to afford this process and so, black and white photography was naturally the norm for average people.
However, in modern times, we now have access to photo-editing software that can colorize images with just a few clicks in a matter of seconds!
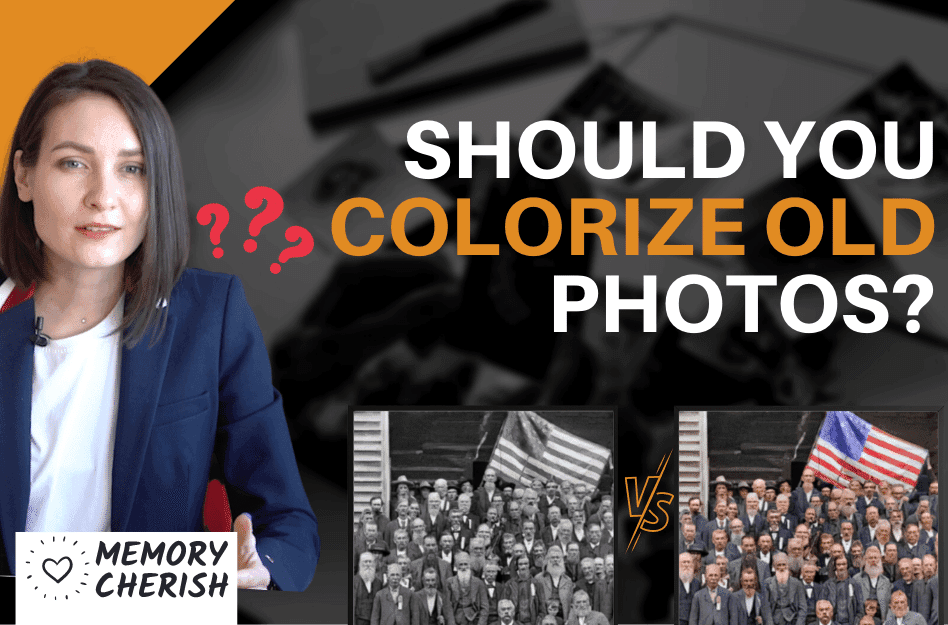
Why Colorize Black And White Photos?
Looking back, this method of capturing images can help us to focus attention on the subject matter by eliminating distractions from color. So why would you want to colorize a black-and-white photo?
Colorize Photos To Add Dimensionality
The biggest drawback of black-and-white photos is simply that they are flat and one-dimensional. Despite having an antique appearance to them, they lack the appeal and spice that color pictures have.
Color can give the illusion of depth by adding shadows and highlights. This is why black and white photos are often converted to sepia or some other color tone. It gives the photo a more “aged” look, which can add to its charm.
Colorize Photos To Add Emotions
Black and white pictures are often seen as more serious than color photos. This is because color can be used to convey emotion, while black and white tones are associated with formal occasions.
Most news photos are published in black and white. However, when you want your photo to come across as playful or whimsical, you think of adding more colors, and so, color photo.
To Refresh Lost Memories
One of the most common reasons for adding color to old photos is to refresh old memories and make them feel brand new again. When you colorize images, it's almost like you bring them back to life.
You can reignite nostalgia in old family photos by simply adding color to them.
How To Make Black And White Photo Colored
There are several methods of adding realistic colors to your photos.
Adobe Photoshop
This is probably the most used program to color photos. It offers a great deal of control and precision when adding colors.
Here's how you can use this software to add color to your old photos.
Step 1: Scan Your Picture
The first step is to scan your black and white photo. Make sure to set the resolution high enough so you can edit the image without losing quality. Once you have scanned or downloaded the image, open it in Adobe Photoshop.
Step 2: Isolate The Background
The next step is to create a layer mask. This will help you isolate the background and make it easier to color the subject of your photo.
Any adjustments you make at this stage don’t directly impact the photo and so, further modifications will be much easier down the line.
To do this, click on the "Layer" menu and then select "Add Layer Mask."
Next, you should use the quick selection tool to isolate your background. This will select and isolate objects in your photo with similar colors.
Step 3: Colorize Photos
Once you have your background isolated, it's time to start adding color. The best way to do this is by creating a solid color fill layer. This will add a new layer of color to your image without impacting the original photo.
To do this, click on the "Layer" menu and then select "New Fill
You should be able to modify and select a hue after creating a solid color adjustment layer. This color covers everything beneath it. However, it is an essential part of the process, and the next step will address this issue.
Step 4: Adjust The Blend Mode To Overlay
At the end of the last step, your resulting image will be a huge block of color without distinct boundaries. You need to adjust the color blending to get a more discernible image.
To do this, select the "Normal" drop-down menu and change it to "Overlay."
This blending mode will allow some of the black and white tones from the original image to show through. The resulting image should have a light application of the color you chose in the previous step.
Step 5: Adjust Color Imperfections
Now that the color has been added to your photo, you may need to make some individual adjustments. If there are any areas that are too light or dark, you can use the "Burn" and "Dodge" tools to correct them.
To access these correction tools, open the "Tools" menu and select either "Burn" or "Dodge." Use these tools to correct any areas of the photo that are too light or dark.
You may also want to use the "Smudge" tool to smooth out any rough edges in the color. To access this tool, open the "Tools" menu and select "Smudge."
Step 6: Add A Color Border
Adding a color border is a great way to make your black and white image pop. To add a color border, open the "Edit" menu and select "Canvas Size."
In the "Canvas Size" window, increase the width and height of the photo by a few inches. Then, click on the "OK" button.
Next, select the "Paint Bucket Tool" from the "Tools" menu.
Click on the color you want to use for the border and then click on the empty space around the photo.
Step 7: Paint Over Gaps
Now that you’ve gotten a general idea of how to colorize black and white images, you can continue using the method we’ve outlined until your old photo is bursting with color.
When you add color to your image, you can adjust it for better results. For example, we recommend using the brush tool to make fine-tuned adjustments and cover any spots you’ve missed.
Artificial Intelligence
This is what the free apps use to colorize photographs. You can find many AI-image coloring algorithms online that will colorize black and white images with little to no input from you, but the colors are guesses borrowed from other people’s photos, which is why the results often don’t quite look like the person you remember.
They work by utilizing "deep learning" which is a subset of machine learning that is concerned with emulating human patterns through repeated exposure. They use the information they get to predict the color that best suits the different parts of a black and white picture.
Restore Them Professionally.
This is the most dependable approach to having your old pictures colorized correctly since you will receive an image that is precisely how you desire it to appear.
Let's be honest, it is extremely time-consuming to use the image colorizer tools of Photoshop and AI. Sometimes, these tools cannot understand the exact color grading or hard light you want in your image. There might also be some features of your picture that are covered by a blur and are impossible to edit around with deep learning.
That is where we come in place!
We are MemoryCherish, the #1 image restoration company nationwide. With a little description, we can bring your old pictures back to life in full color.
How Do We Enhance Your Old Pictures?
Our specialty is bringing damaged photographs back to life and restoring their sentimental quality! Our restoration artists will closely examine your blurred image, remove stains, mold, blur, refine and add more detail and color to each image.
We won't stop until your photos are in the best condition. We can handle any damage on any photograph!
Our commitment to producing stellar quality restoration has even landed us on news reports by ABC, NBC, and FOX news.
What Do I Need To Do?
First, you need to make them clean and ready for restoration. You can check out how to clean your old pictures here.
Next, you need to carefully scan this photograph. Then, you upload it here and pick your restoration options.
You place your order, and that's it, we work our magic!
How Long Does It Take?
We would restore and send a digital copy of your sharpened image with beautiful added color back to you by email in as little as 24 hours.
If there is anything you would like us to change on your restored photo, revisions are allowed on every restoration, completely free!
We also offer nationwide delivery of restored pictures in prints!
Can I Contact Someone For More Information?
Our customer support is available 24/7 to answer any further questions. You can send us an email at: support@memorycherish.com.
Ready to restore your own photos?
Our artists bring your damaged photos back by hand, most within a few days.
Rated 4.96 out of 5 stars.4.96/5 · Loved by 400,000+ families